manage agent groups
How to manage agent groups in the OXO UI platform.
This guide will walk you through the process to how to manage agent groups.
For more information on what is an agent group and how to create one, please refer to the agent group documentation.
Navigate to the agent groups list page
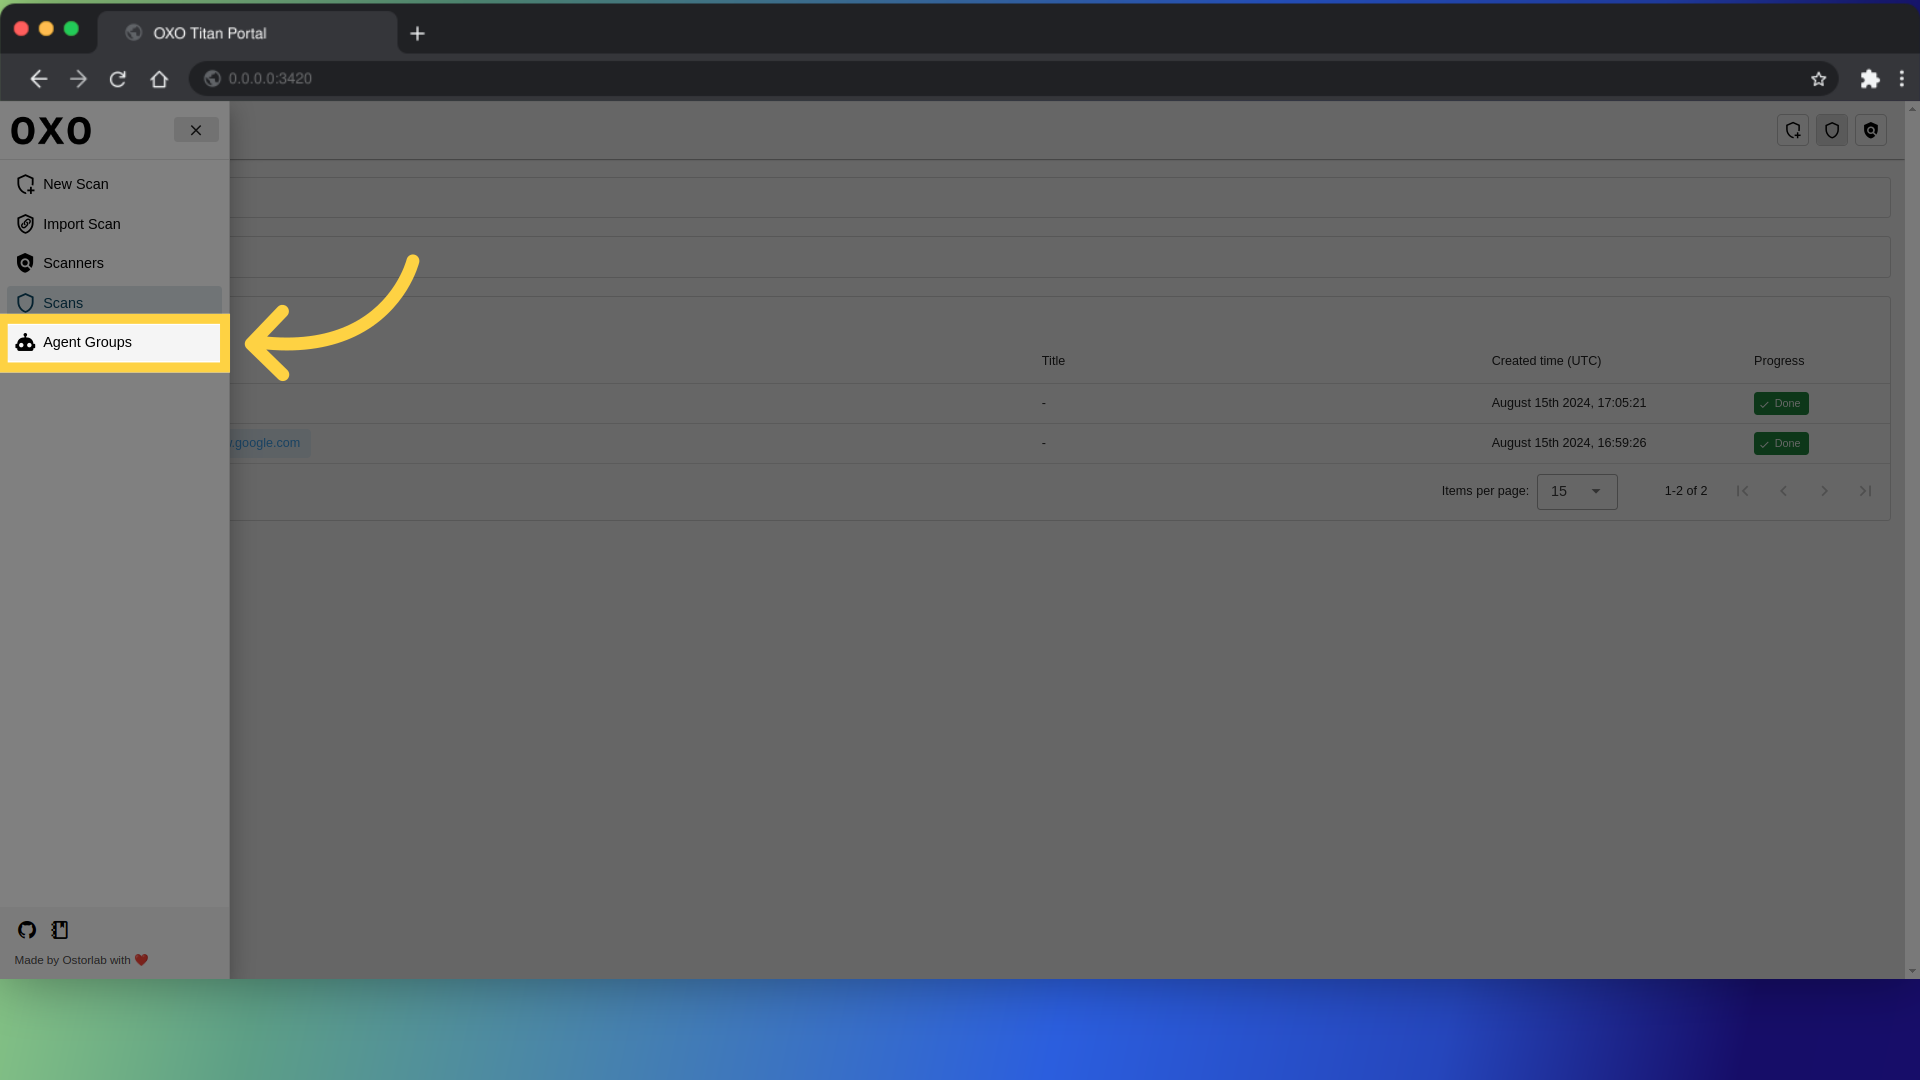
To access the agent groups page, click on the menu button
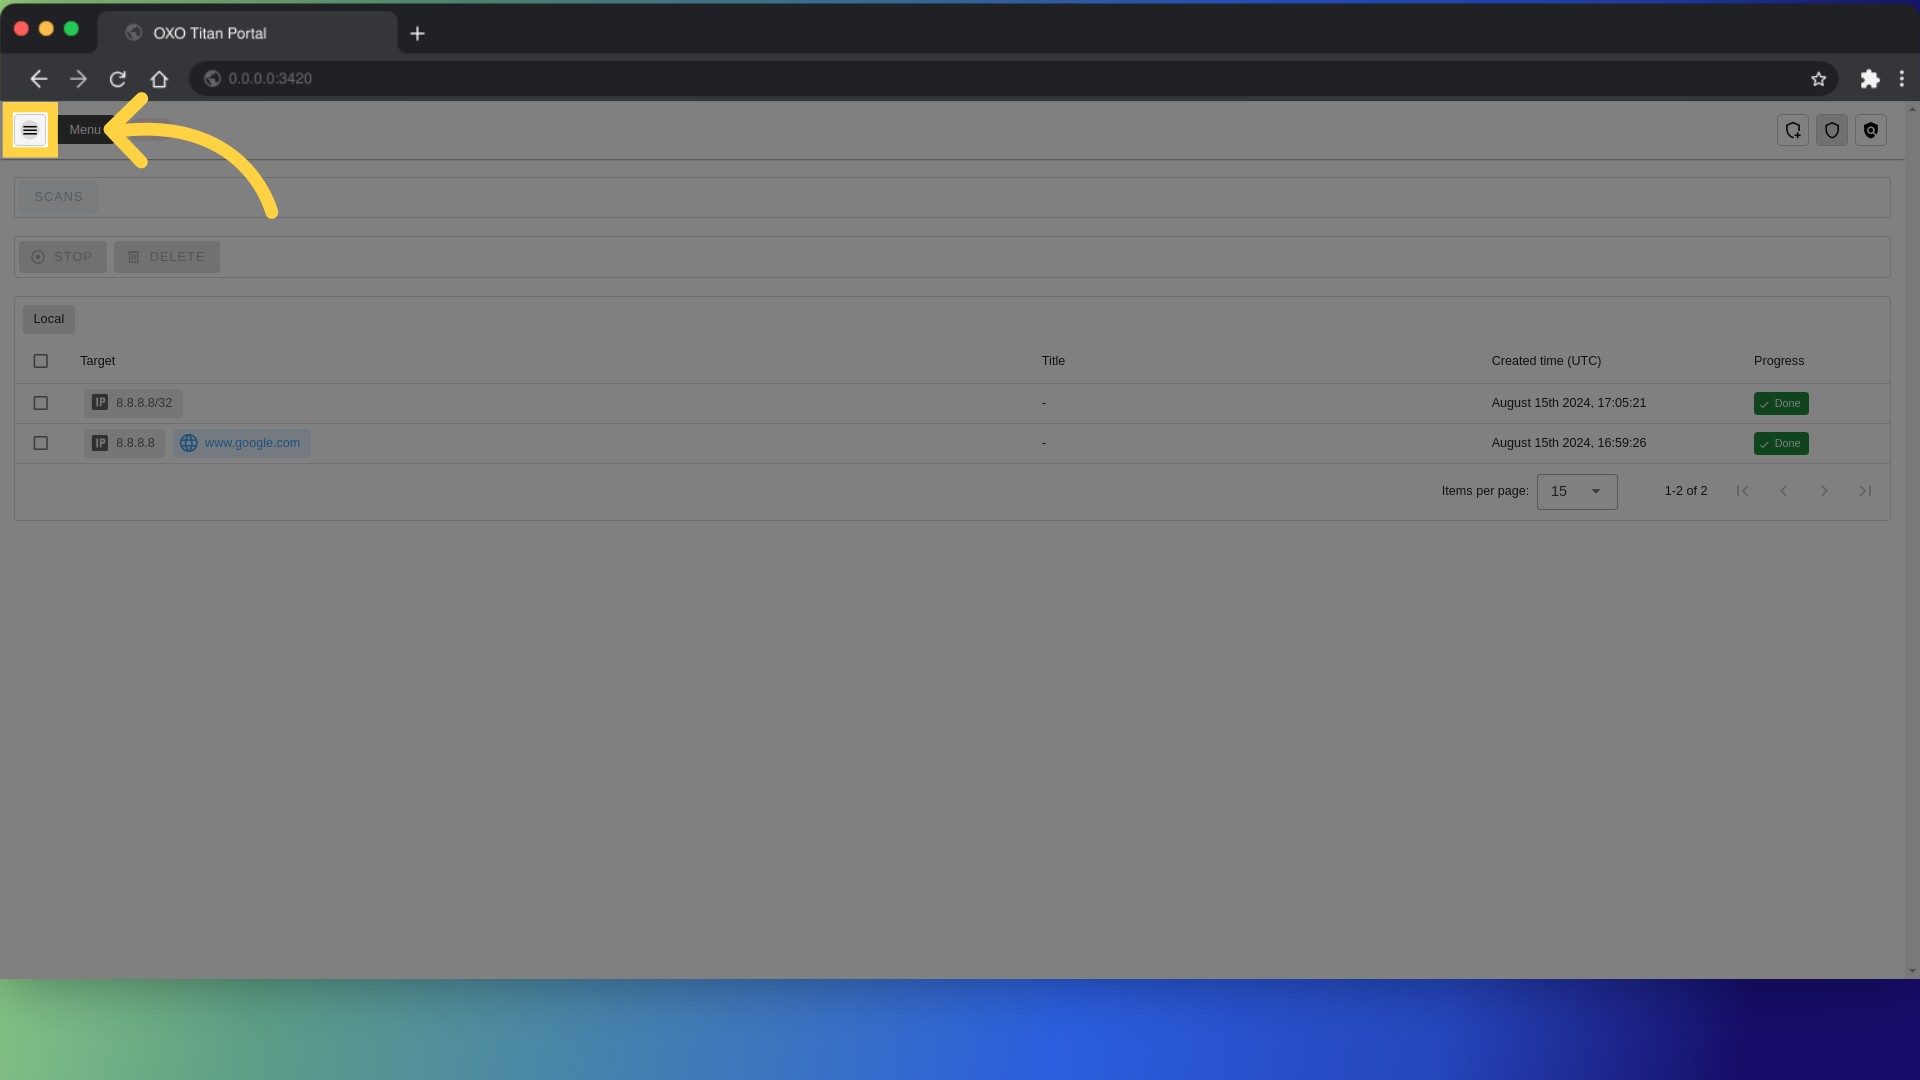
and click "Agent Groups"
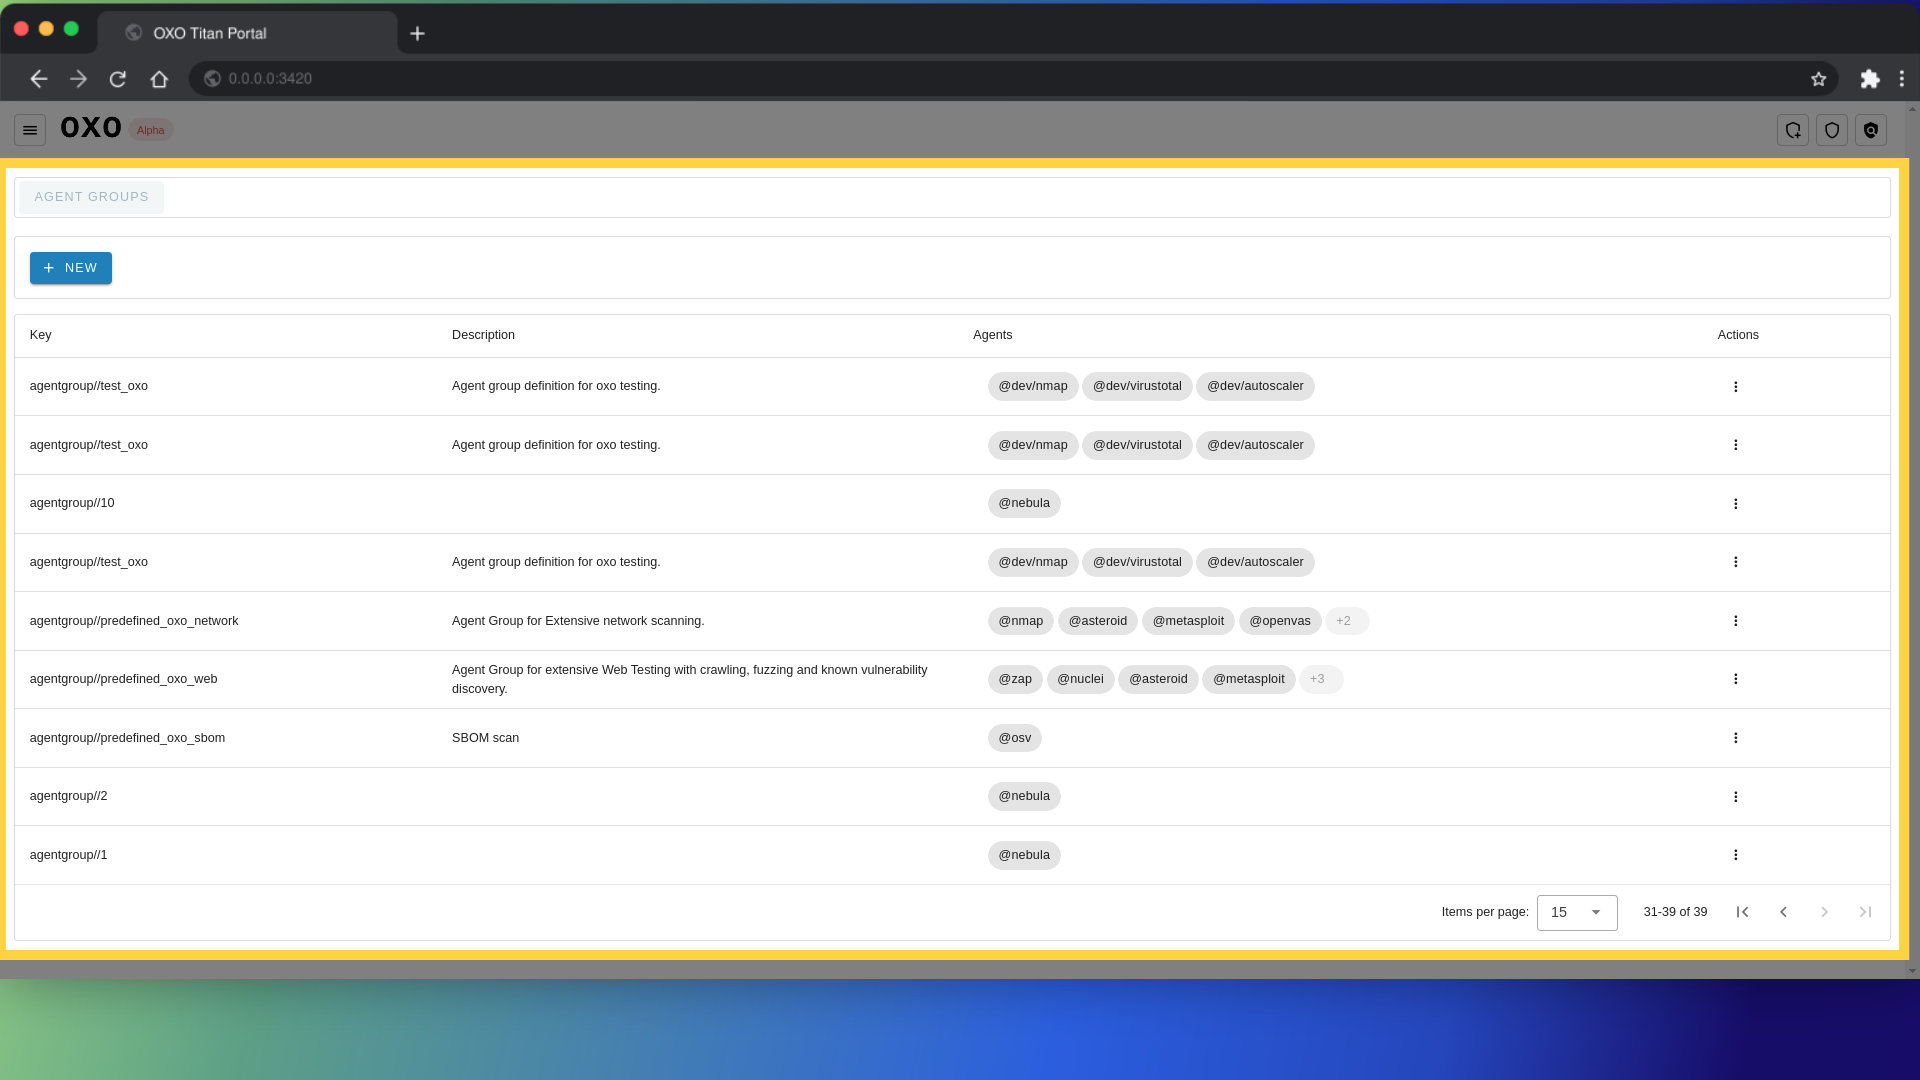
From here you can see the list of agent groups.
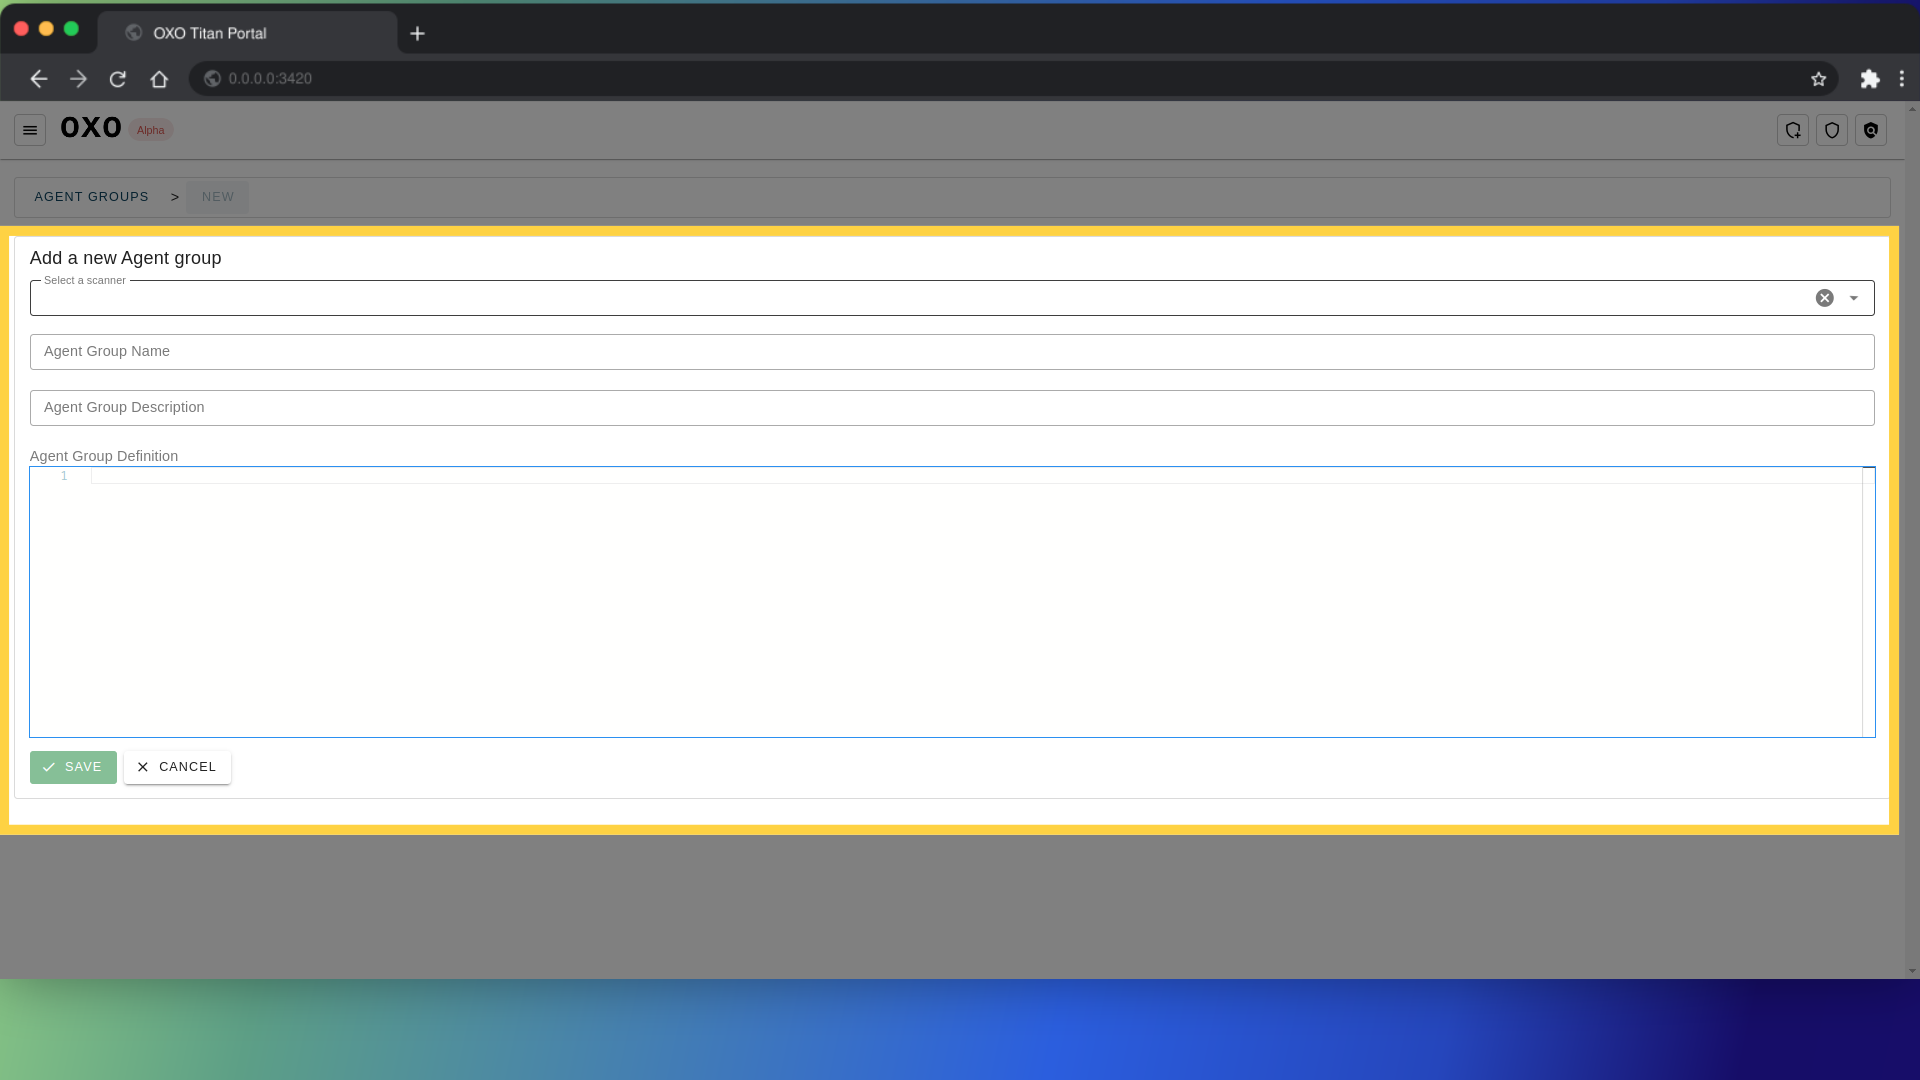
Add new agent group
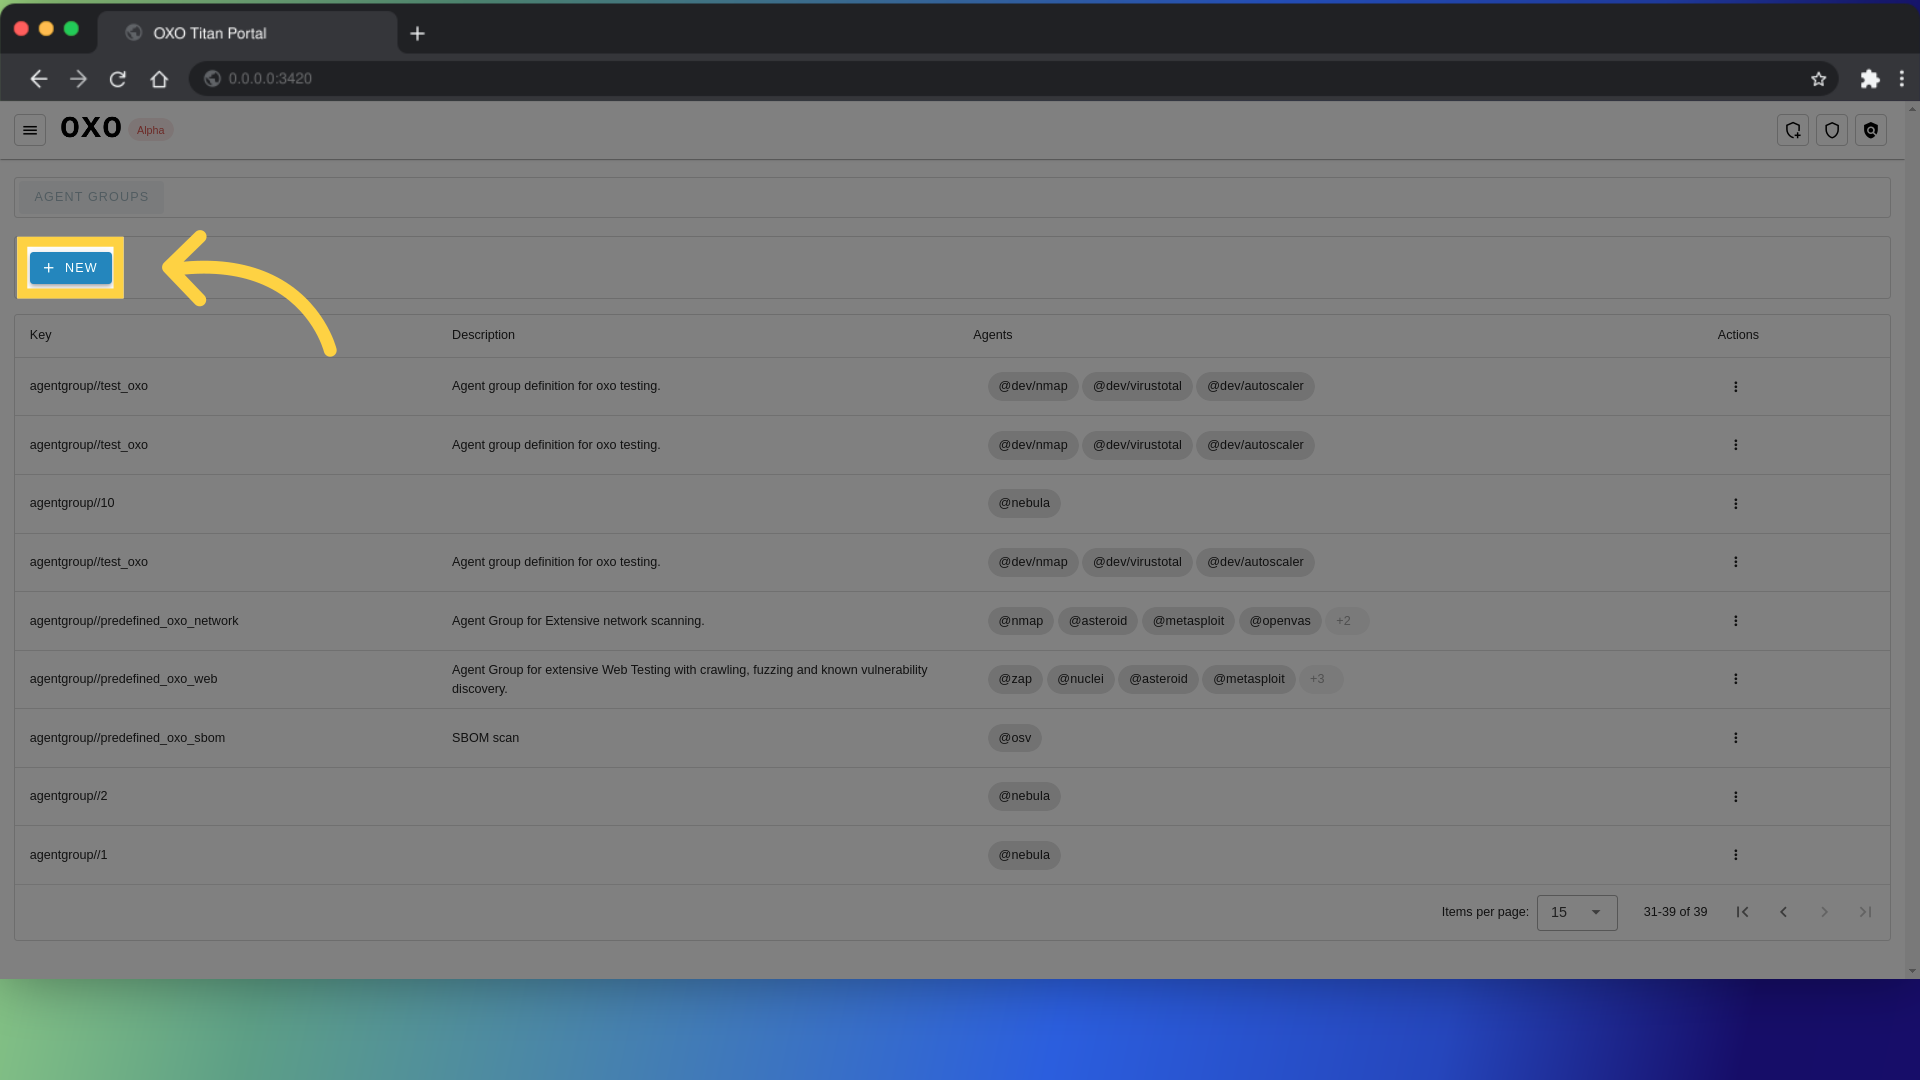
To add an agent group, click on "new"
After that, a form will appear where you can provide the necessary details of the agent group.
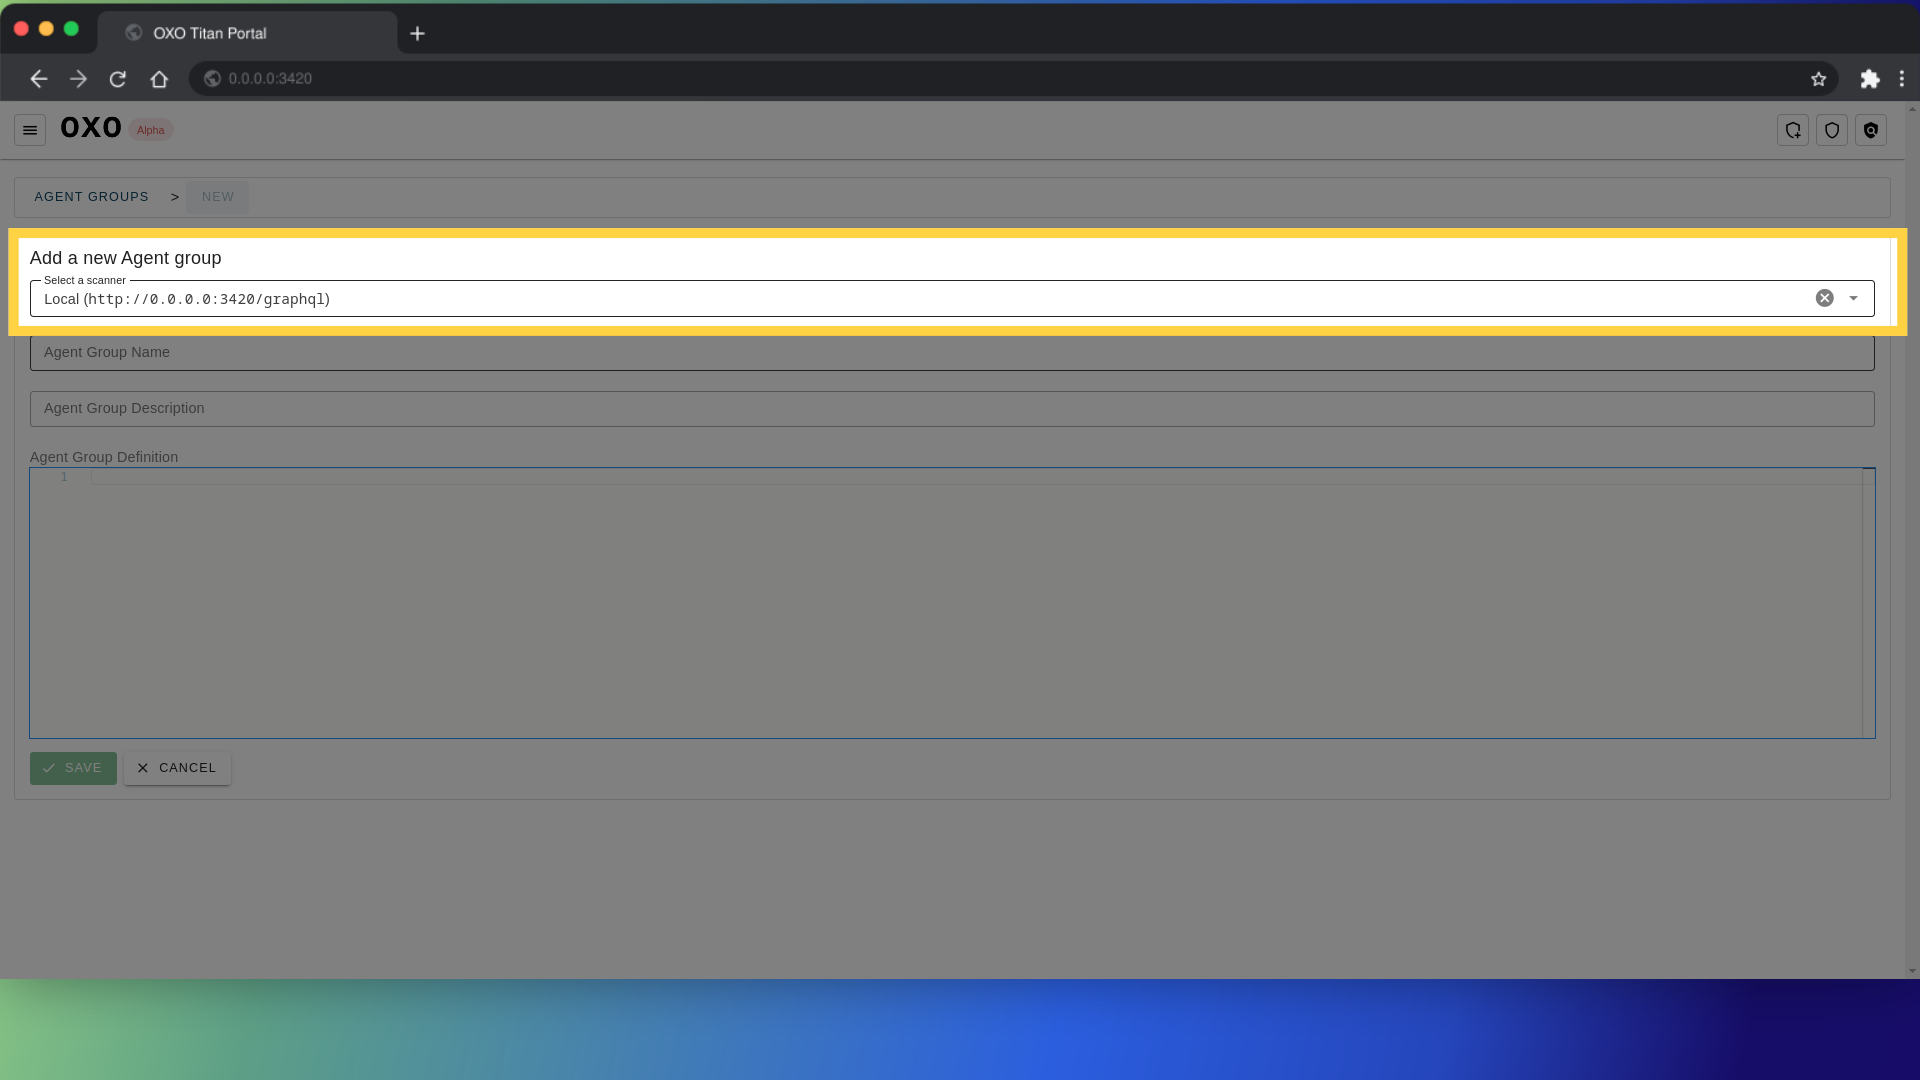
Scanner: Select the scanner where you want to add the agent group definition.
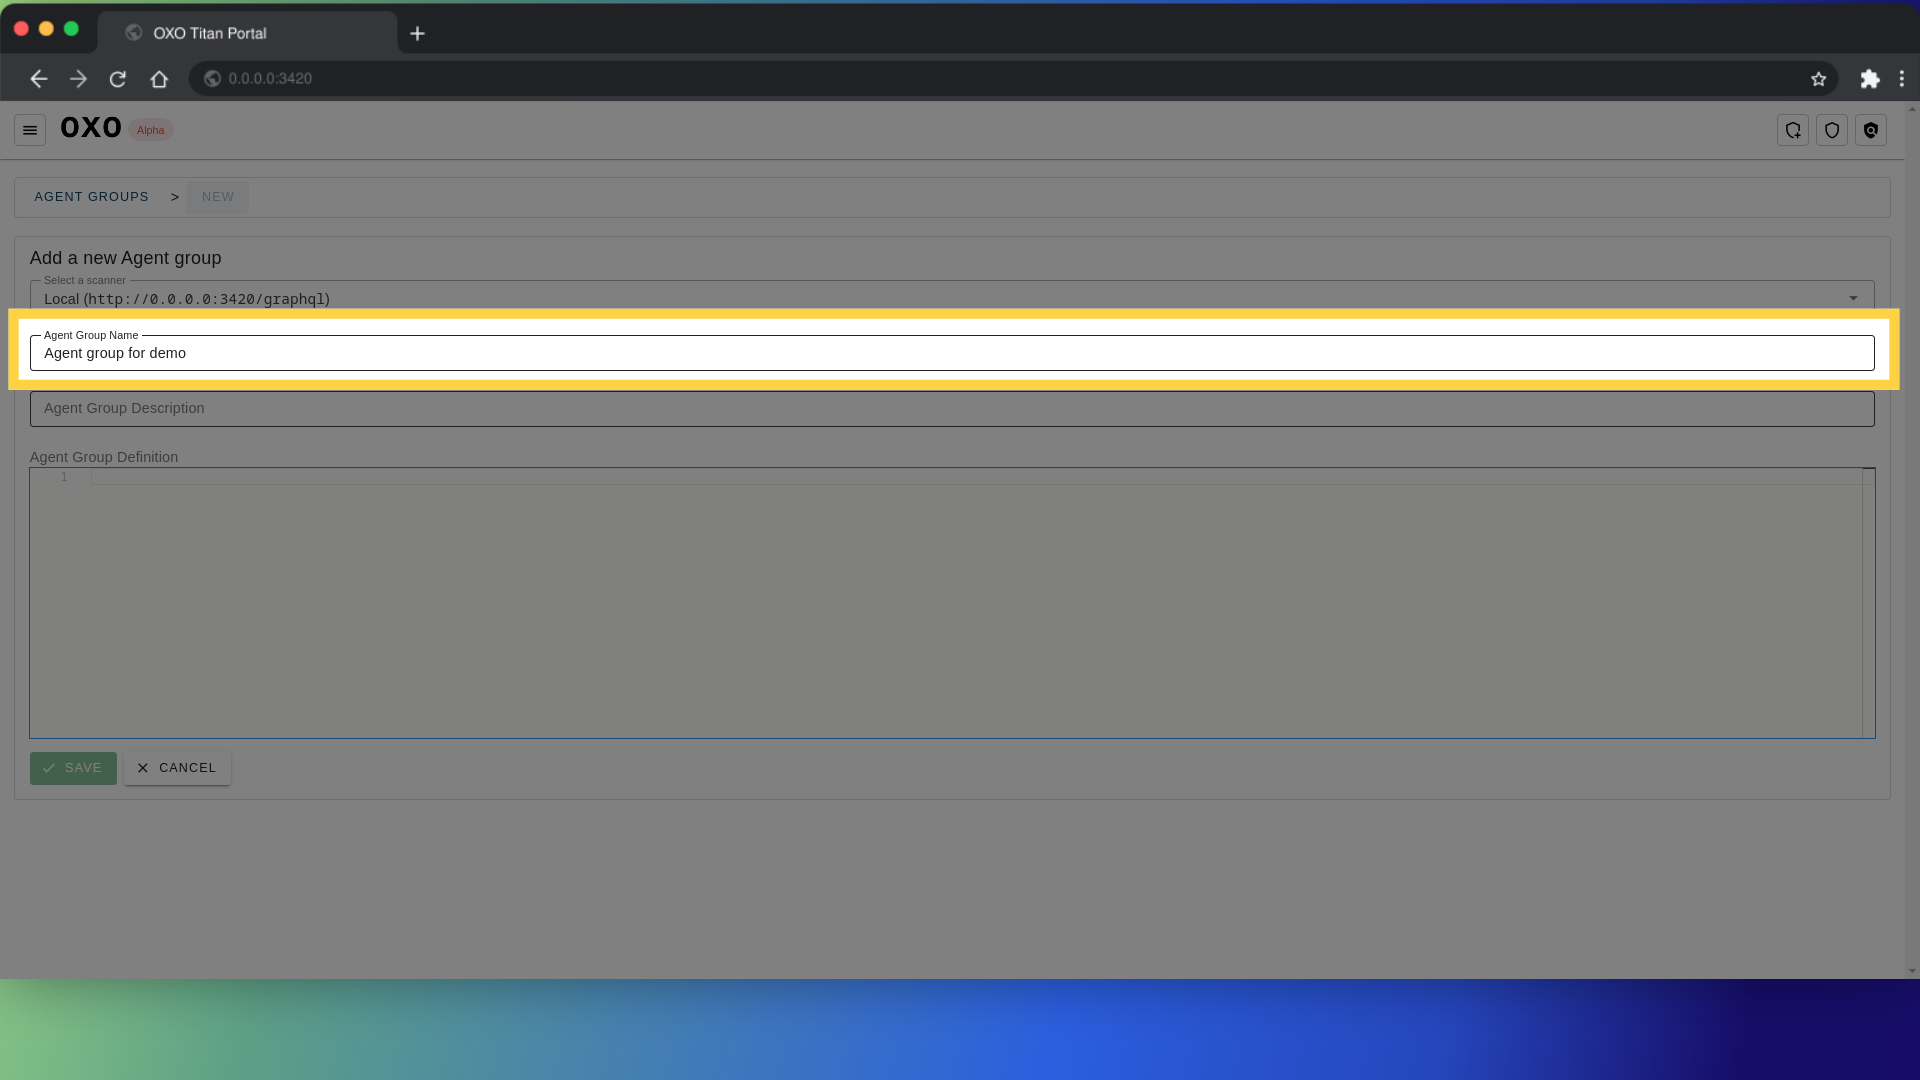
Agent group name: This field is optional and allows you to give a name to the agent group. It helps in identifying it later when you manage multiple ones.
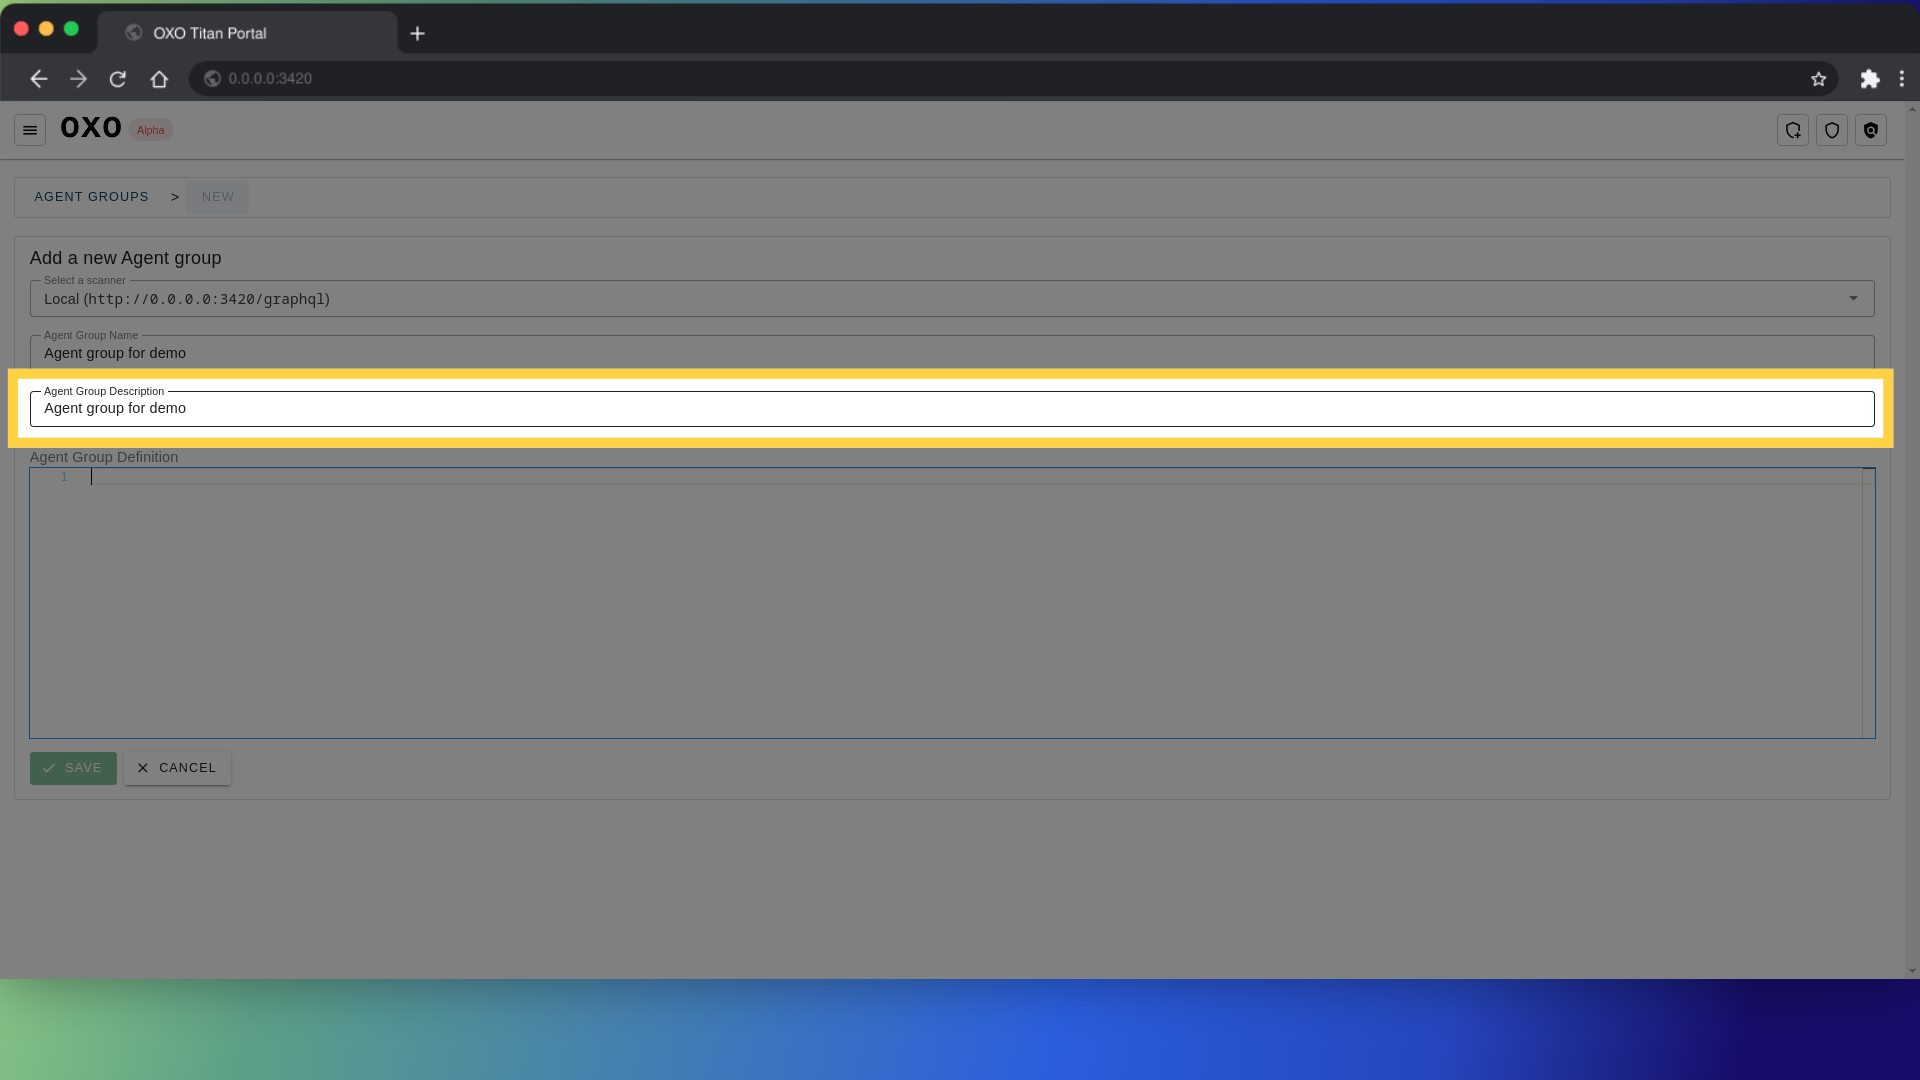
Next provide the description of the agent group.
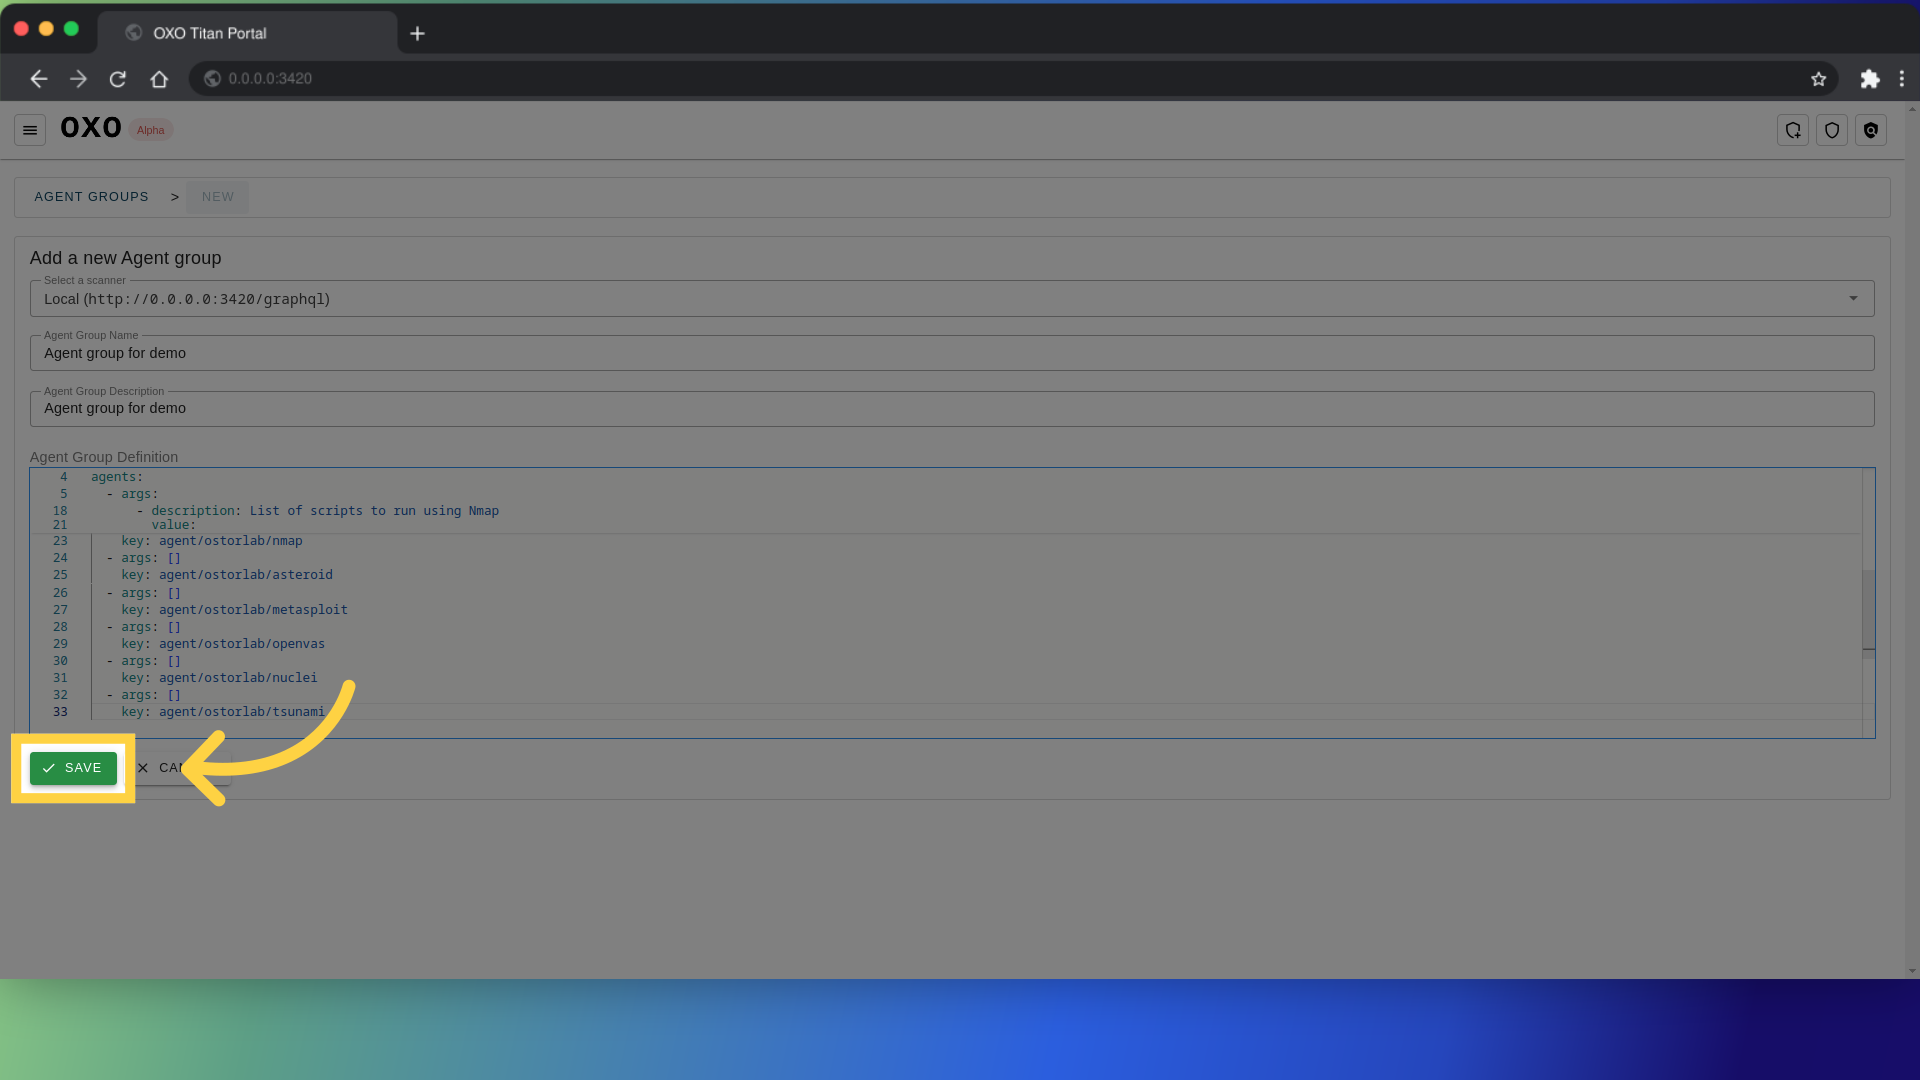
Finally insert the agent group definition.
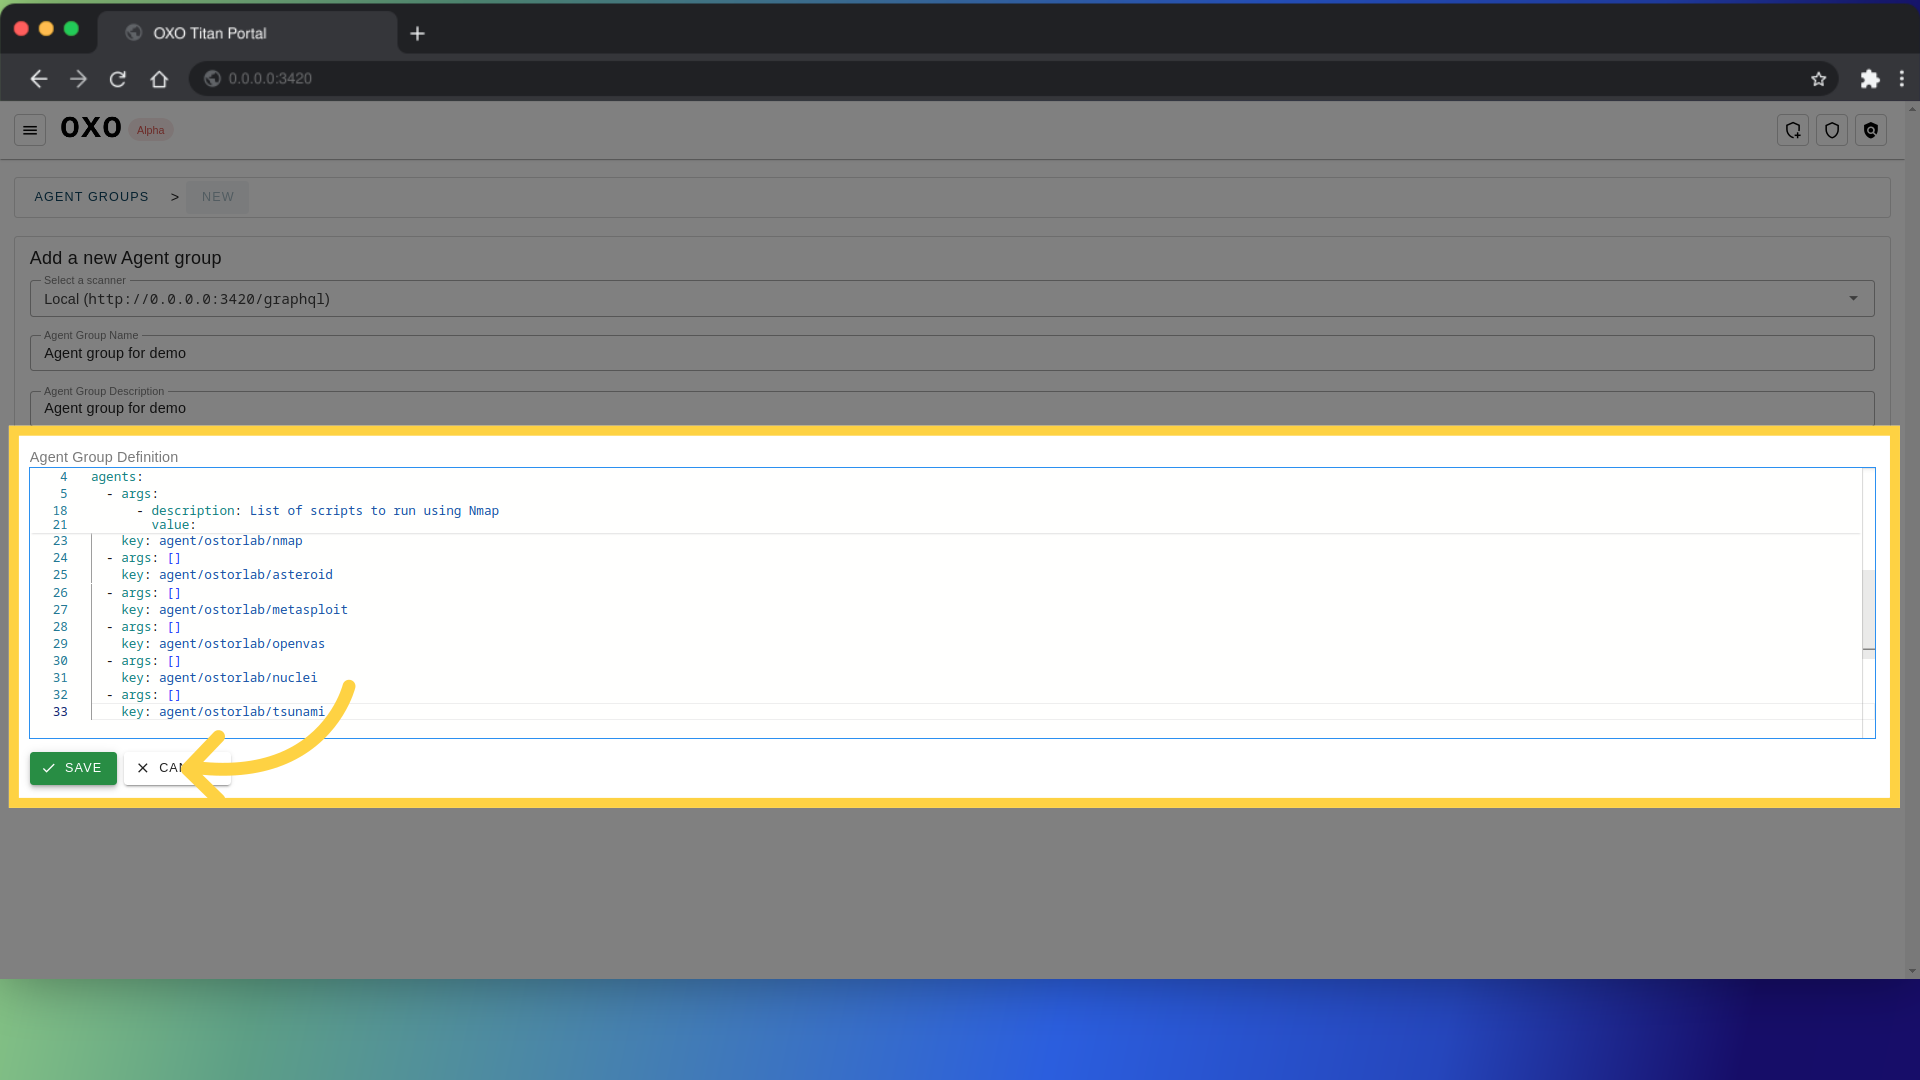
and click Save.
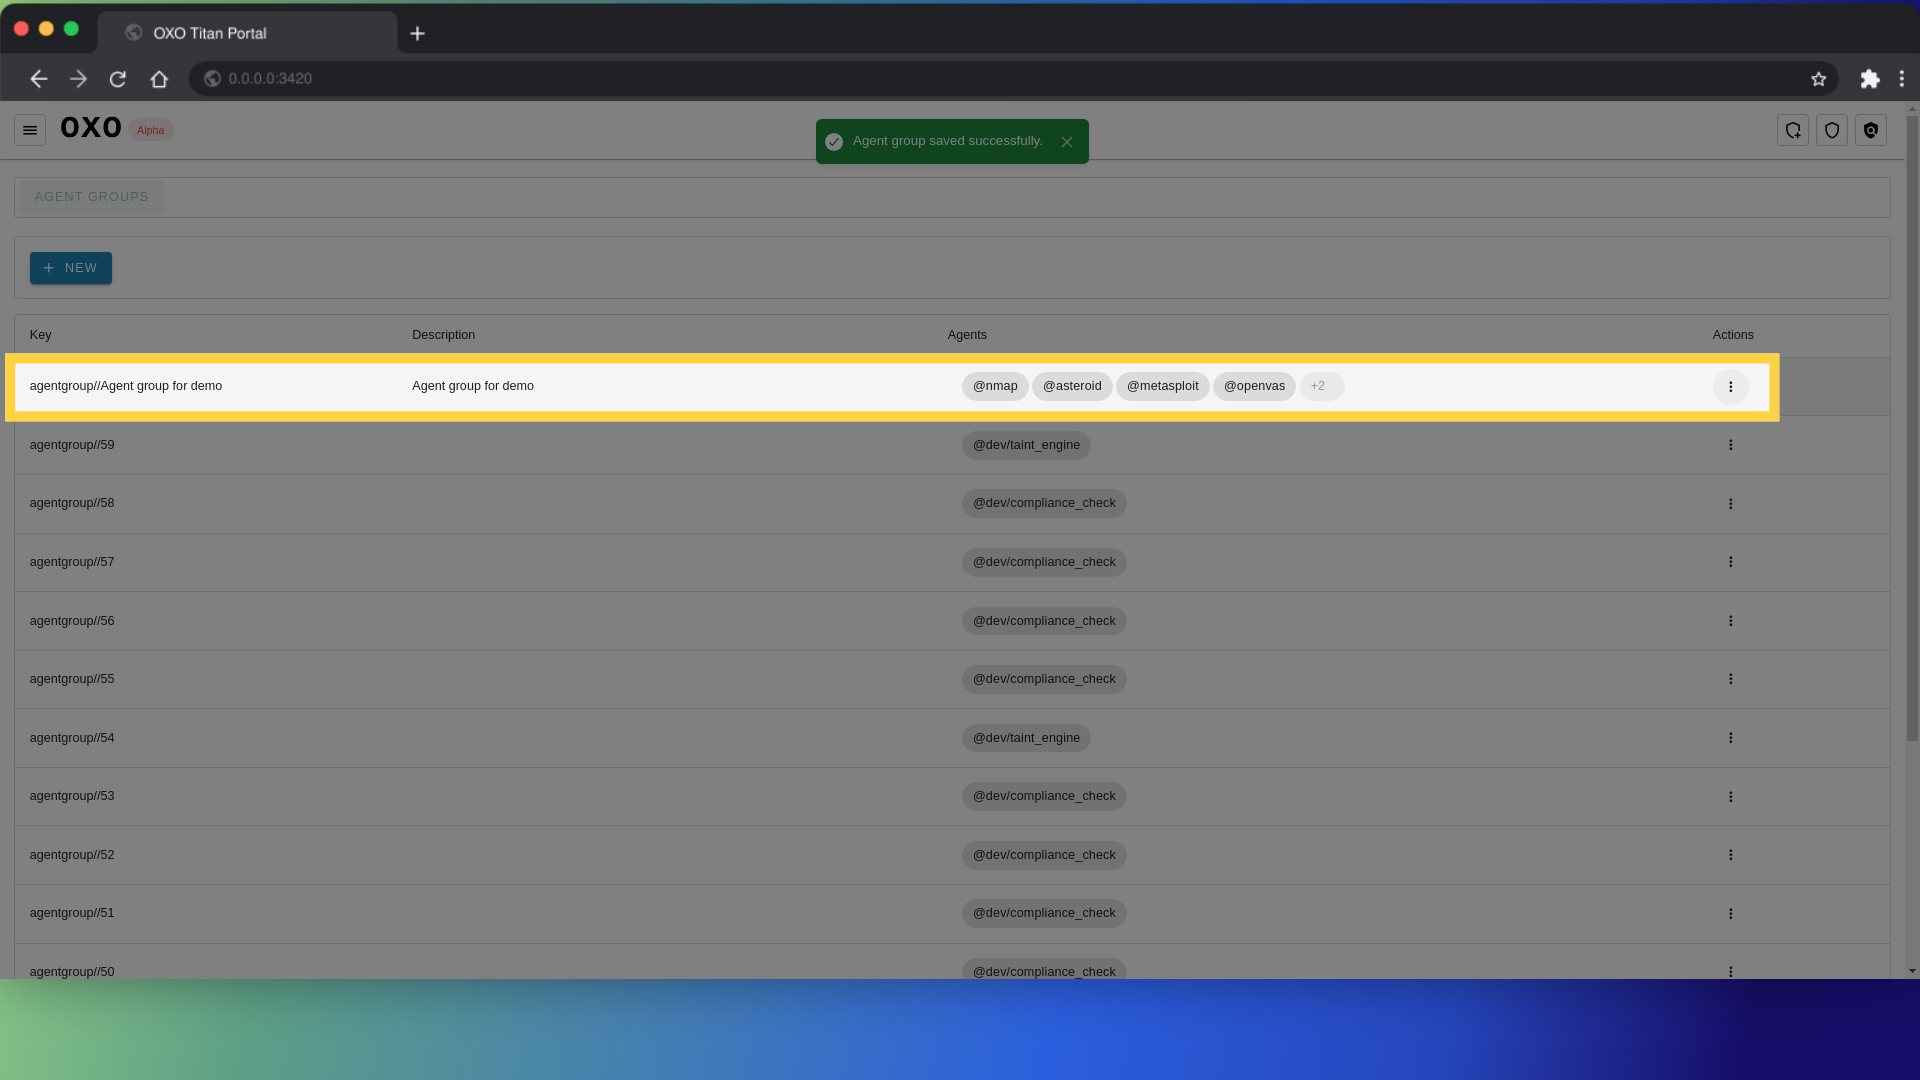
from the agent groups list, you can see that the agent group is added.
Edit agent group
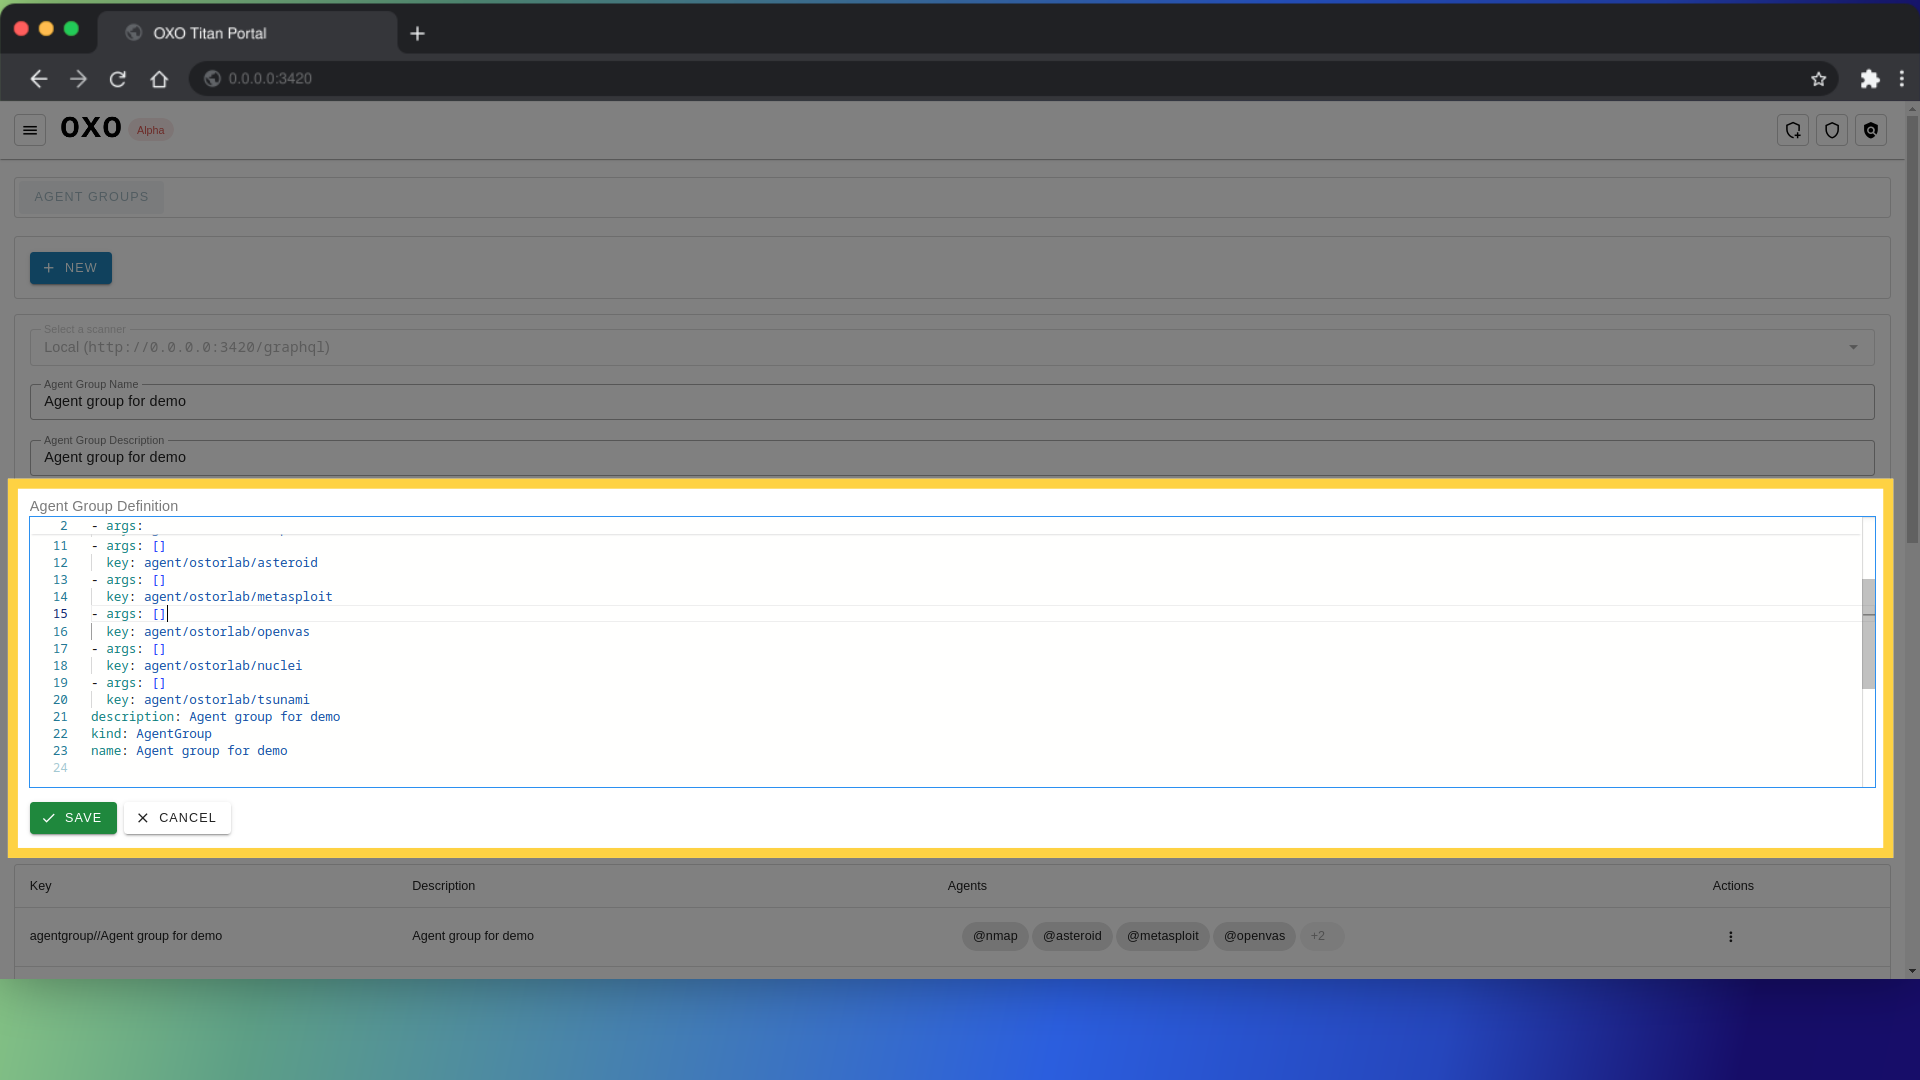
To edit an agent group, click on the three dots to see the list of actions, and choose edit.

An editor will show where you can adjust and modify the agent group, when you are done editing click Save to persist the changes.
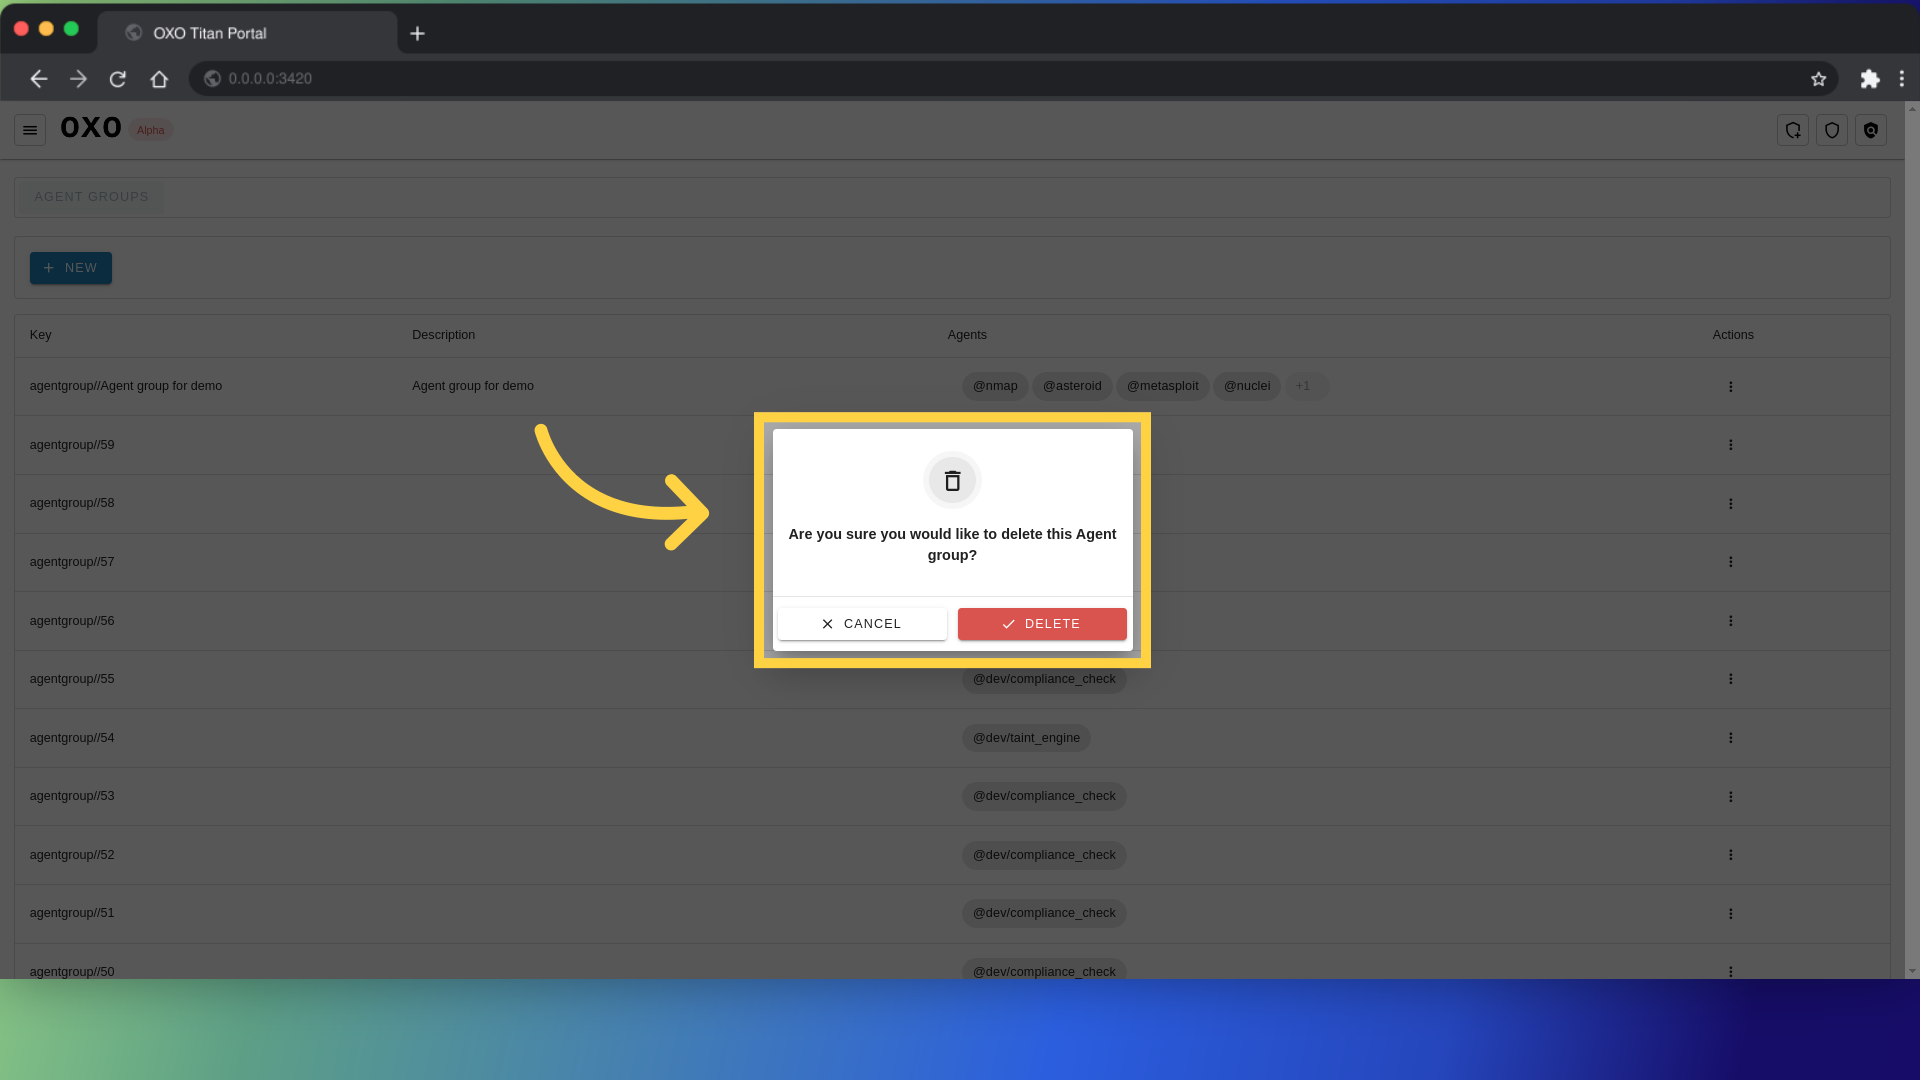
Additionally, to delete an agent group, click on the three dots, and choose delete
A pop-up will show, so you can confirm the deletion. Click delete again to proceed.
This guide covered the steps to How to manage agent groups. By following the provided instructions, you now have the knowledge to add, edit, and delete agent groups as needed.