OXO UI
OXO UI documentation.
How to access OXO Titan UI
This guide will walk you through the steps to access the OXO Titan UI.
Install serve requirements
To access the OXO Titan UI, you need to install the oxo serve requirements. Open your terminal and run the following command:
pip install ostorlab"[serve]"
Explore command options
To explore additional options available with oxo serve, you can type the following command:
oxo serve --help
The available options are:
| Option | Description |
|---|---|
| --host | The host to run the Flask app on. |
| --port | The port to run the Flask app on. |
| --refresh-api-key | Generate a new API key. |
| --help | Show this message and exit. |
Run the OXO server
Once the necessary dependencies are installed, you can run the server with the default settings by typing oxo serve command.
oxo serve
This command will provide some details about the server, including:
API Key: This key is essential for accessing the API securely.
OXO API Endpoint: This endpoint is used for interacting with the OXO API.
OXO Titan UI Endpoint: This is the endpoint you will use to access the OXO Titan UI.

Access the OXO Titan UI
To access the OXO Titan UI, open your browser and navigate to the OXO Titan UI endpoint provided by the server.
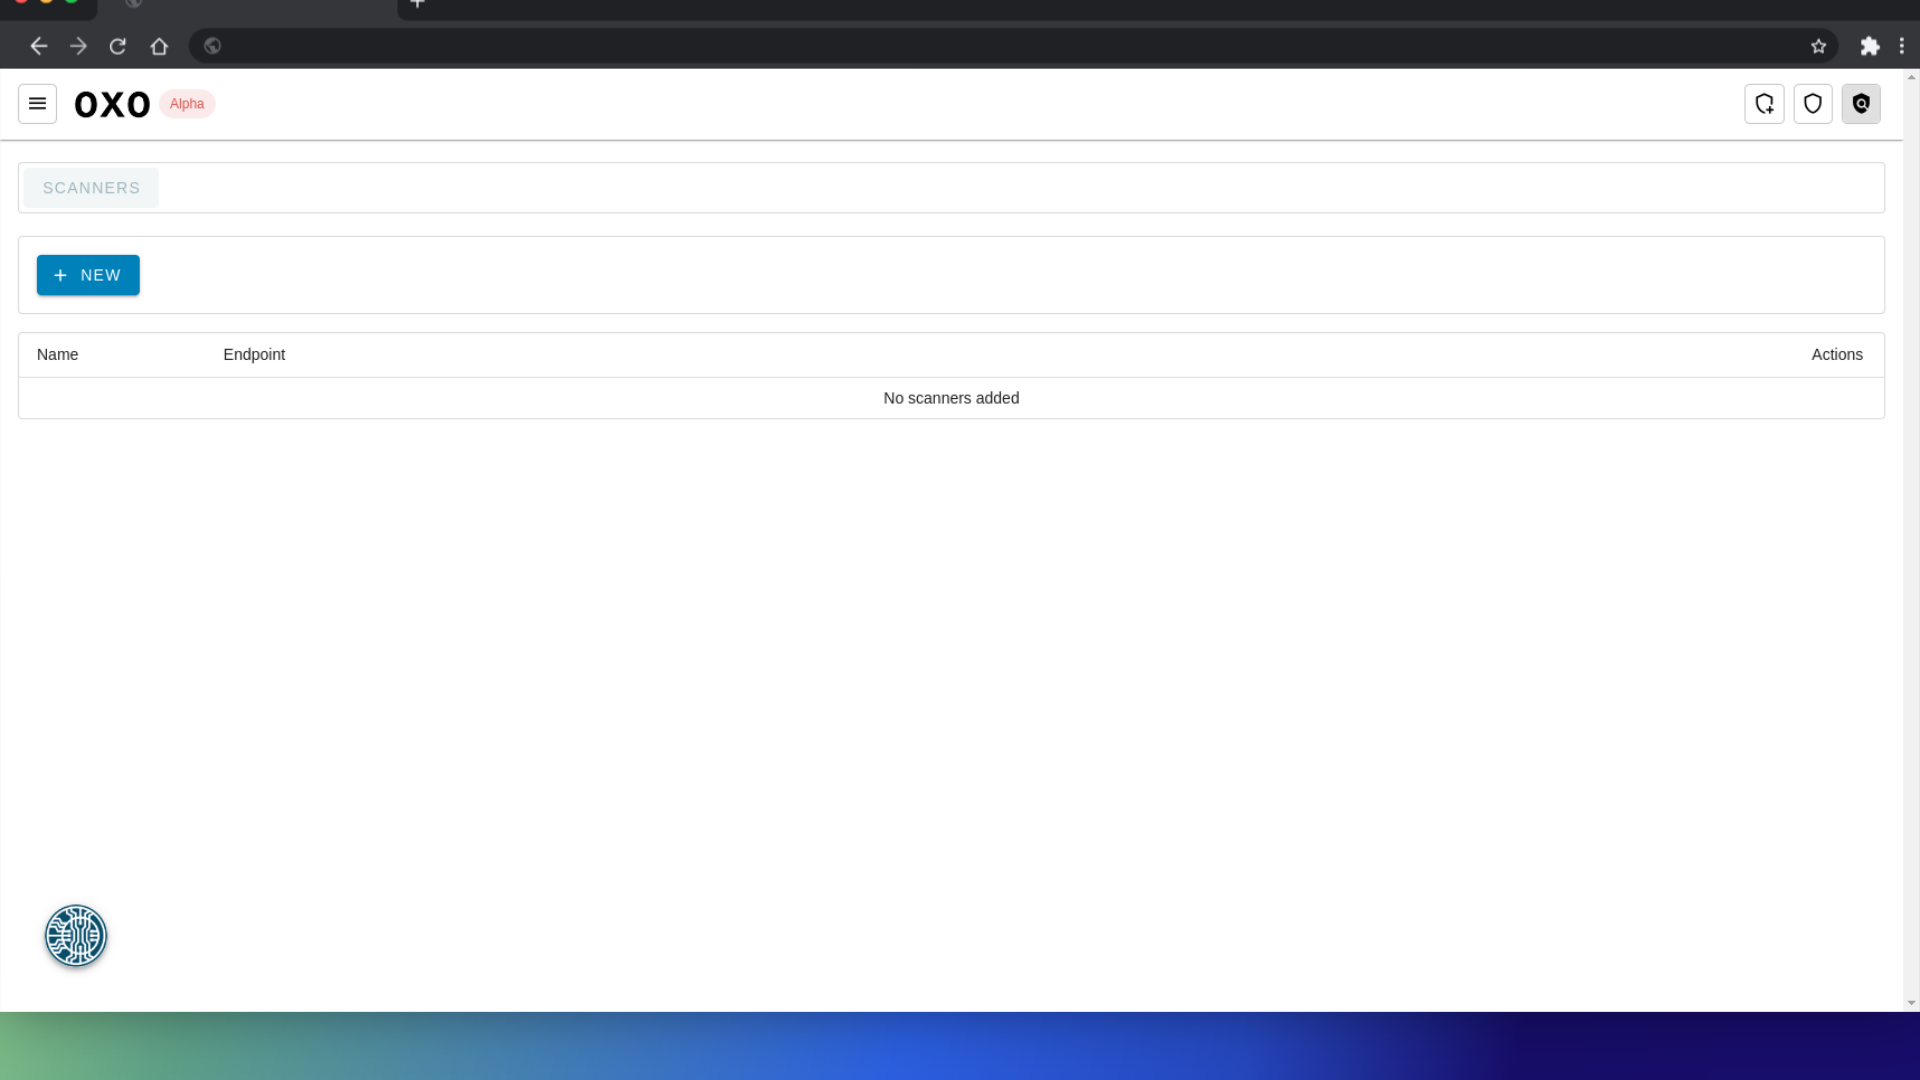
After you have successfully accessed the OXO Titan UI, your next step is to configure your scanner. Please refer to the scanner configuration documentation for more information.