web
How to run a new web scan
This guide provides clear instructions on how to run a new web scan using the OXO UI platform. From initiating a new scan to submitting the finalized process, follow these precise steps to effortlessly navigate through the scan setup process.
New scan page
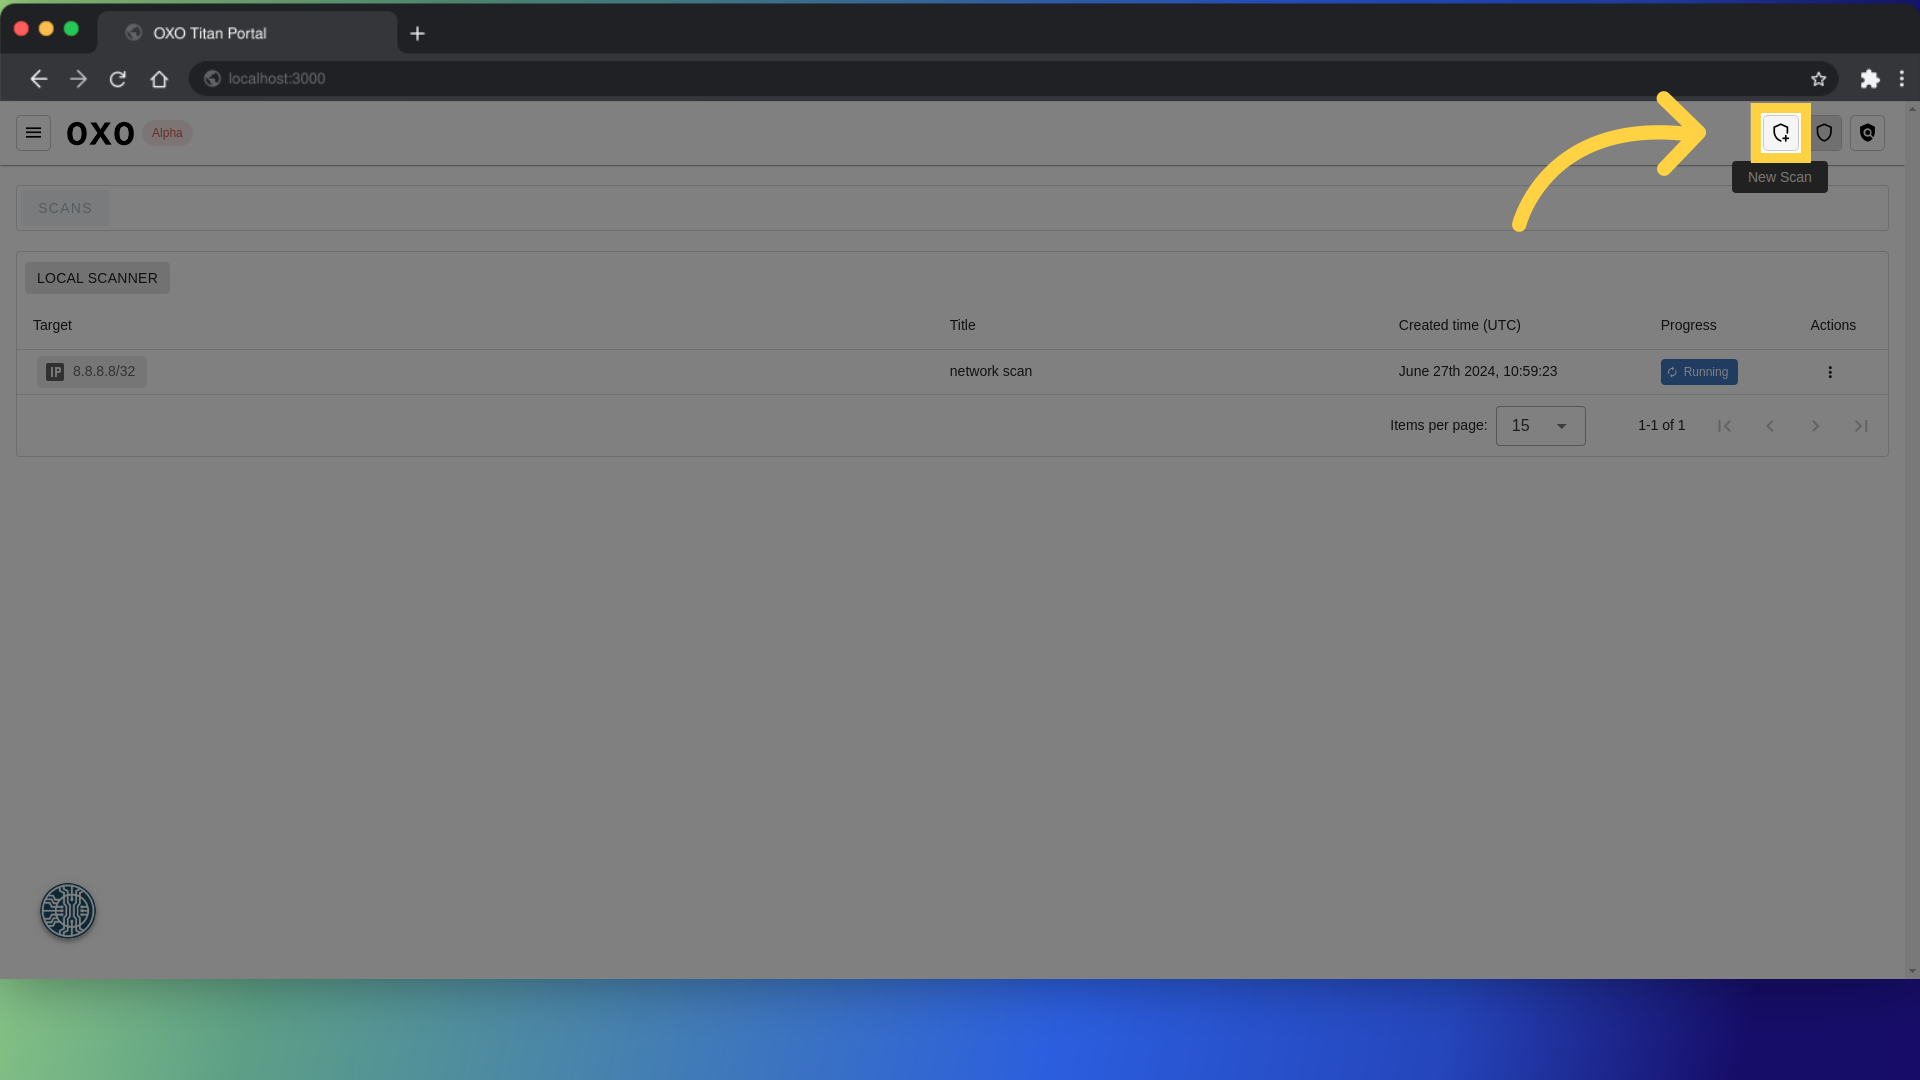
To access the new scan page, you can click on the "New Scan" button located at the top right of the navbar.
Fill in the scan details
After that, a form will appear where you can provide the necessary details of the scan.
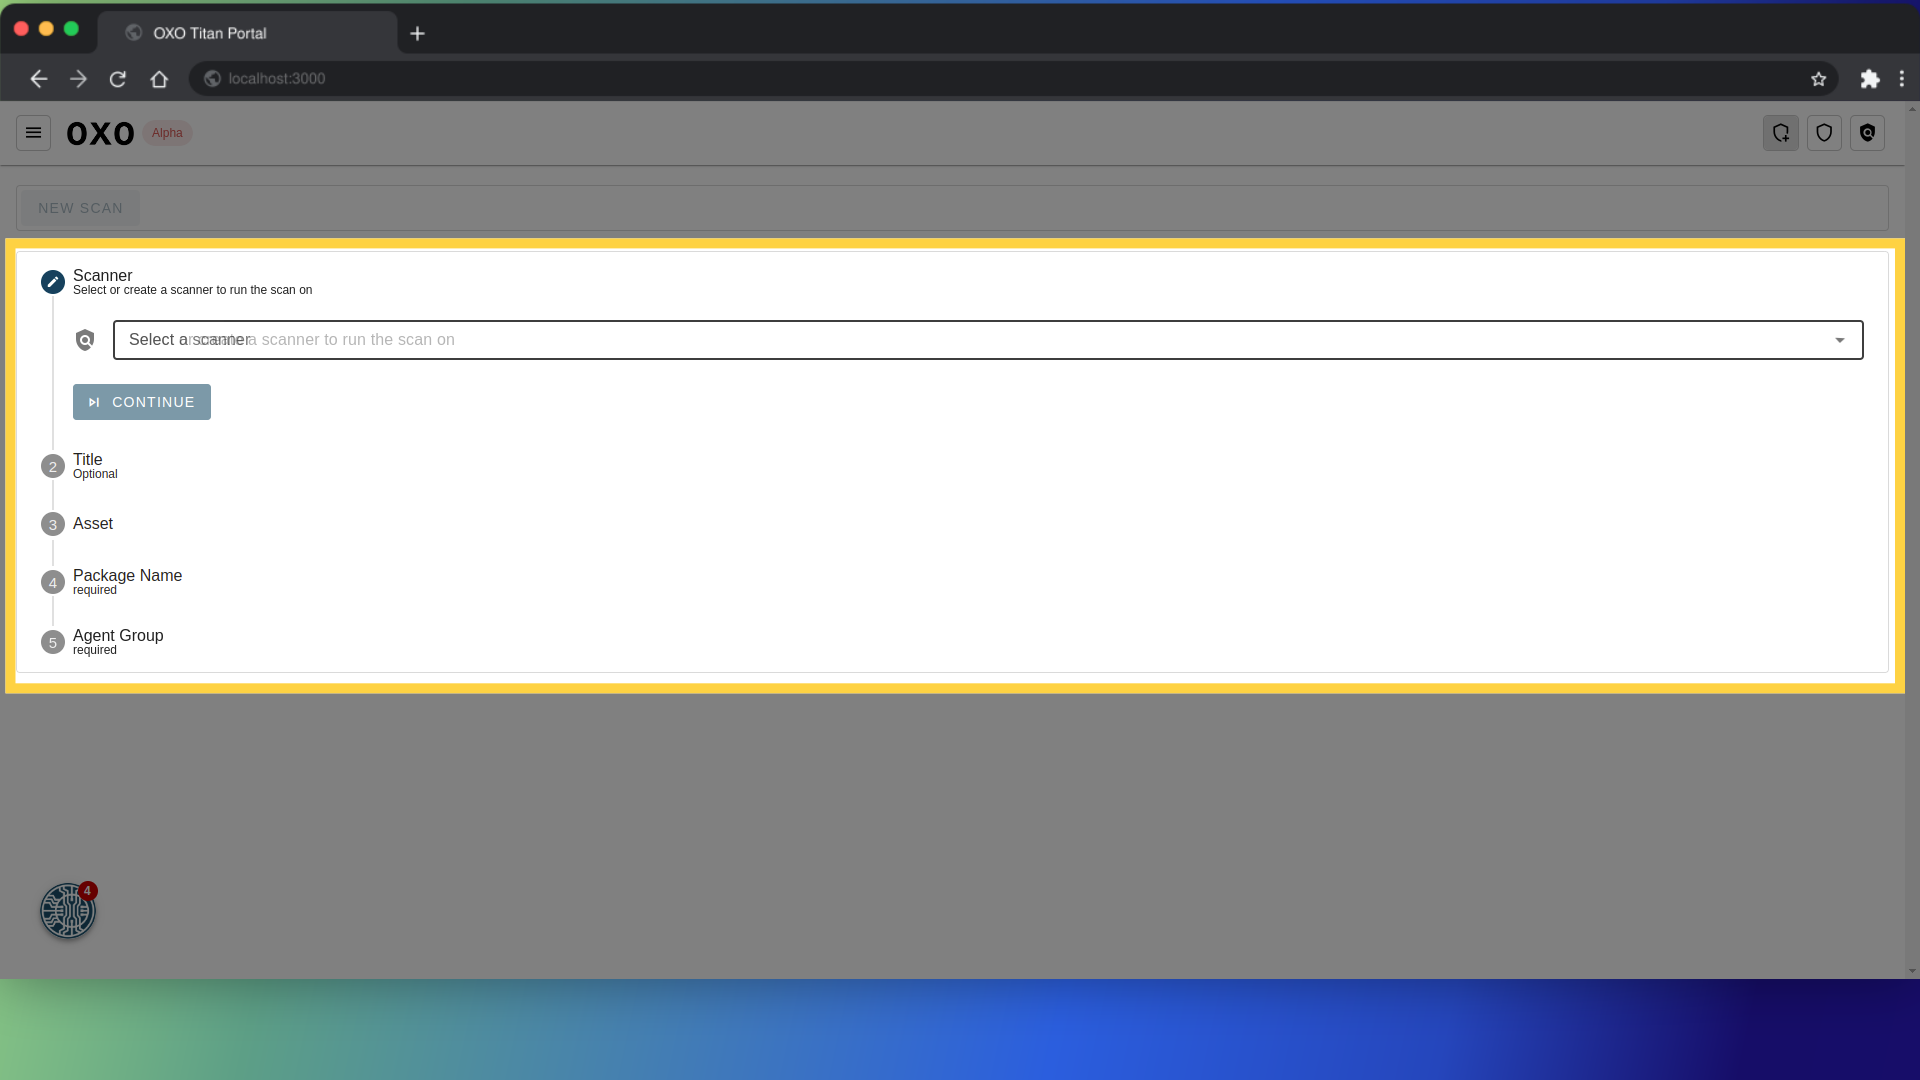
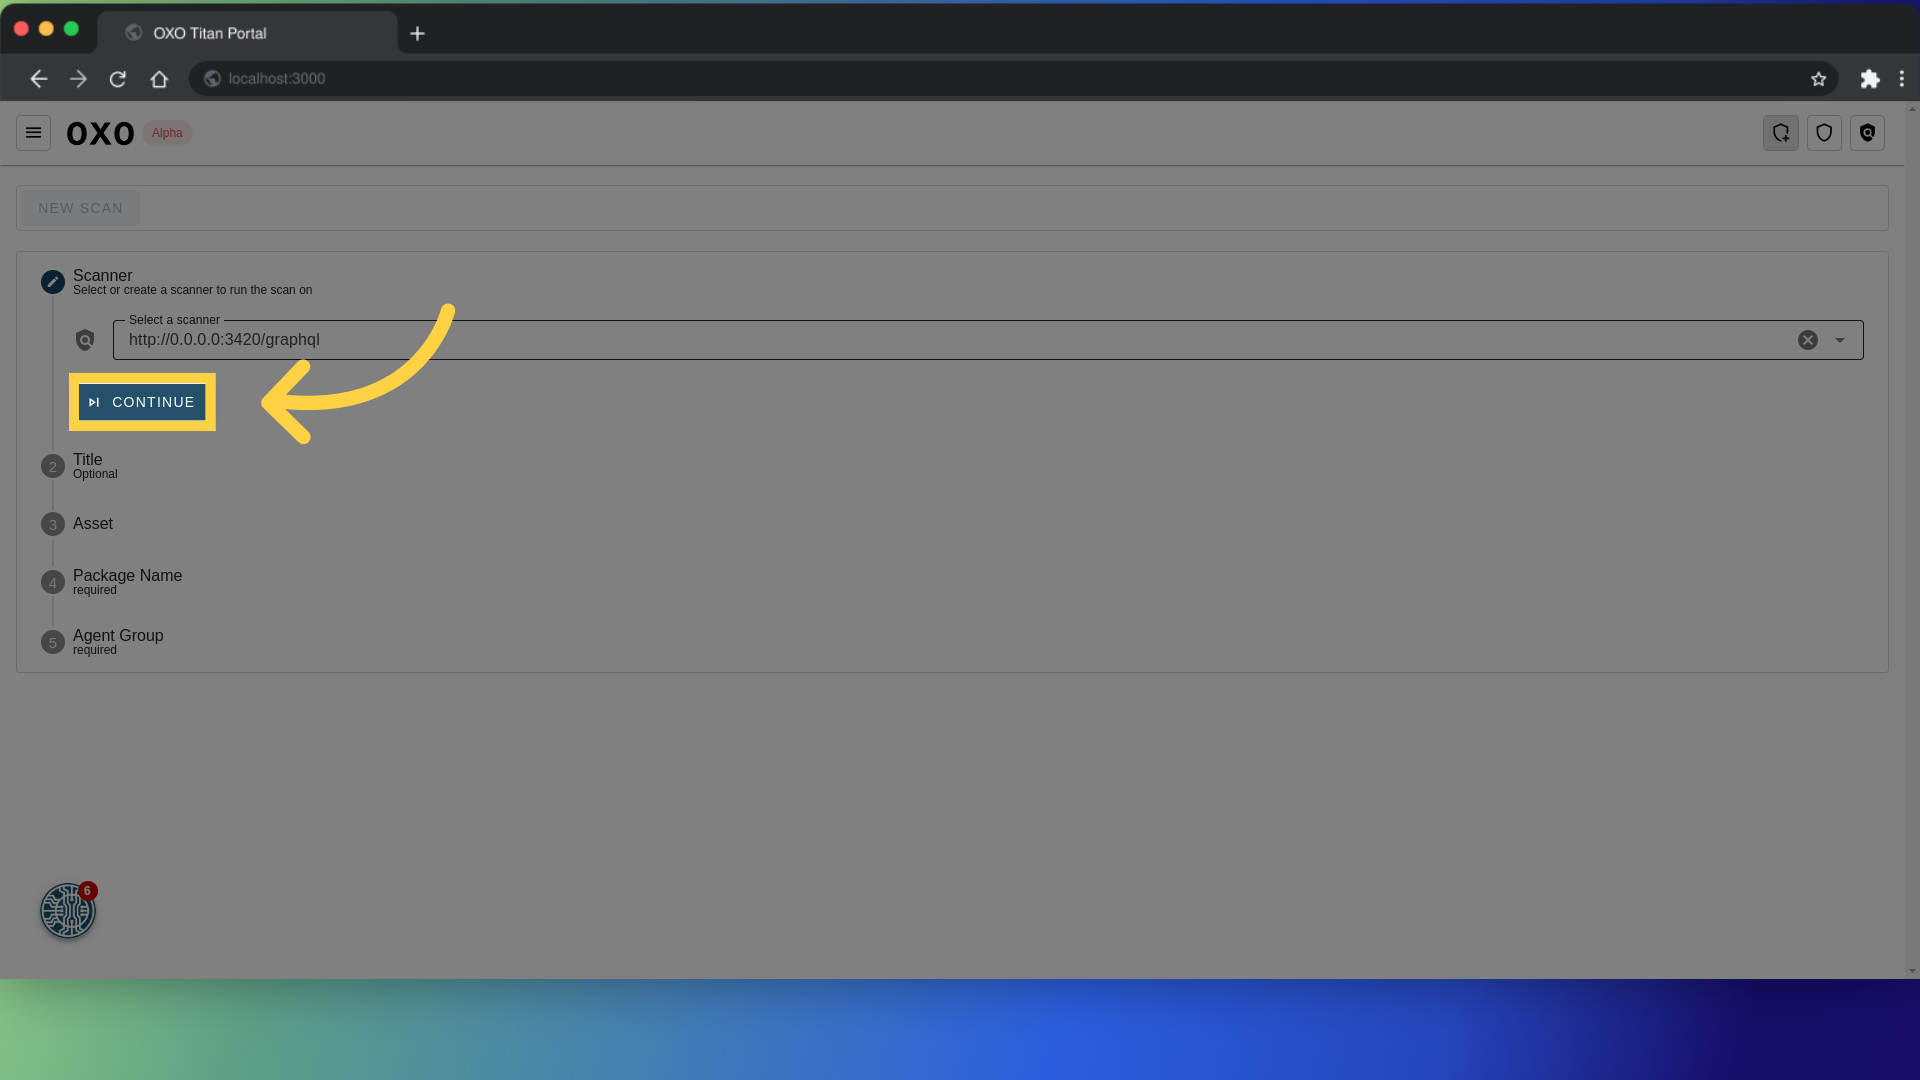
Scanner: Select the scanner to run the scan on.

click "Continue" to proceed to the next step.
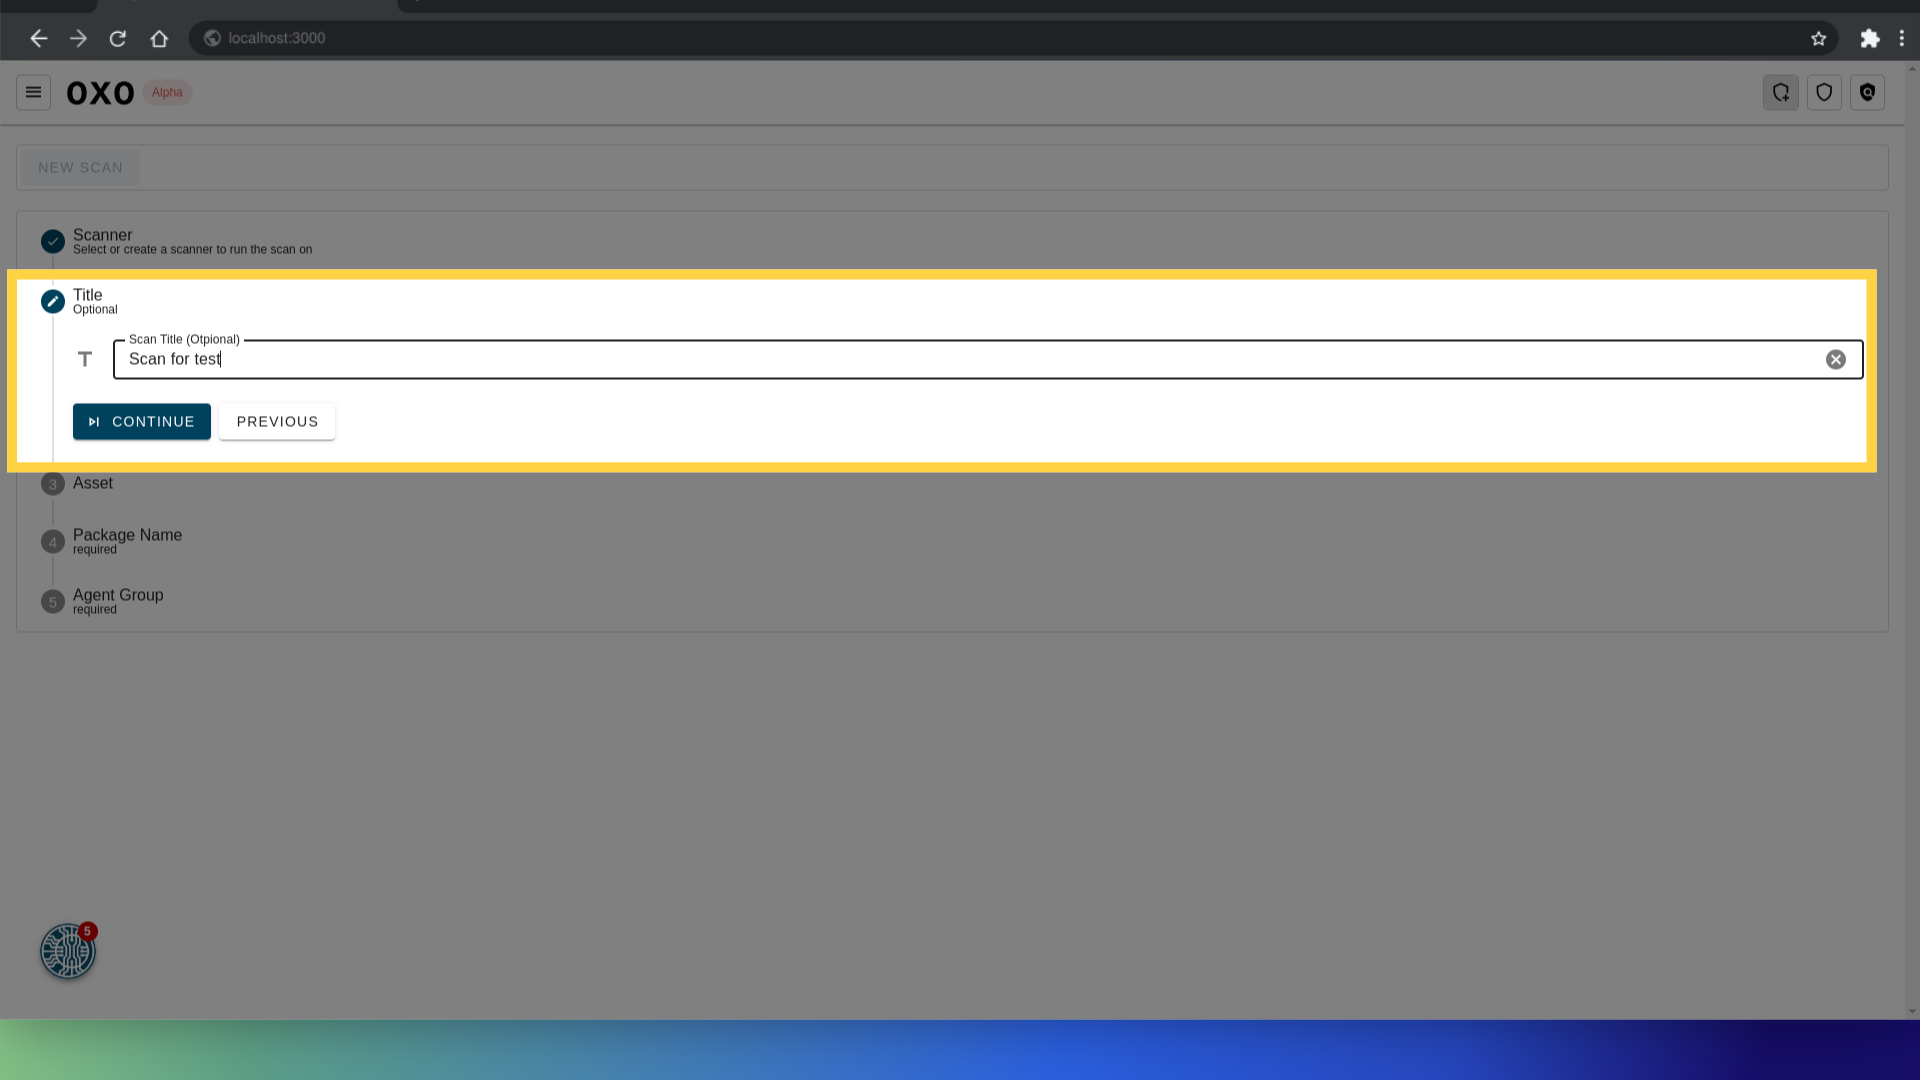
Title: This field is optional and allows you to give a title or name to the scan. It helps in identifying the scan later when reviewing results or managing multiple scans.
Asset: This is a required field where you specify the asset that will undergo the scan. It could be an Android or iOS application, a web application, an API, or a network. In our case we will choose "Web App".
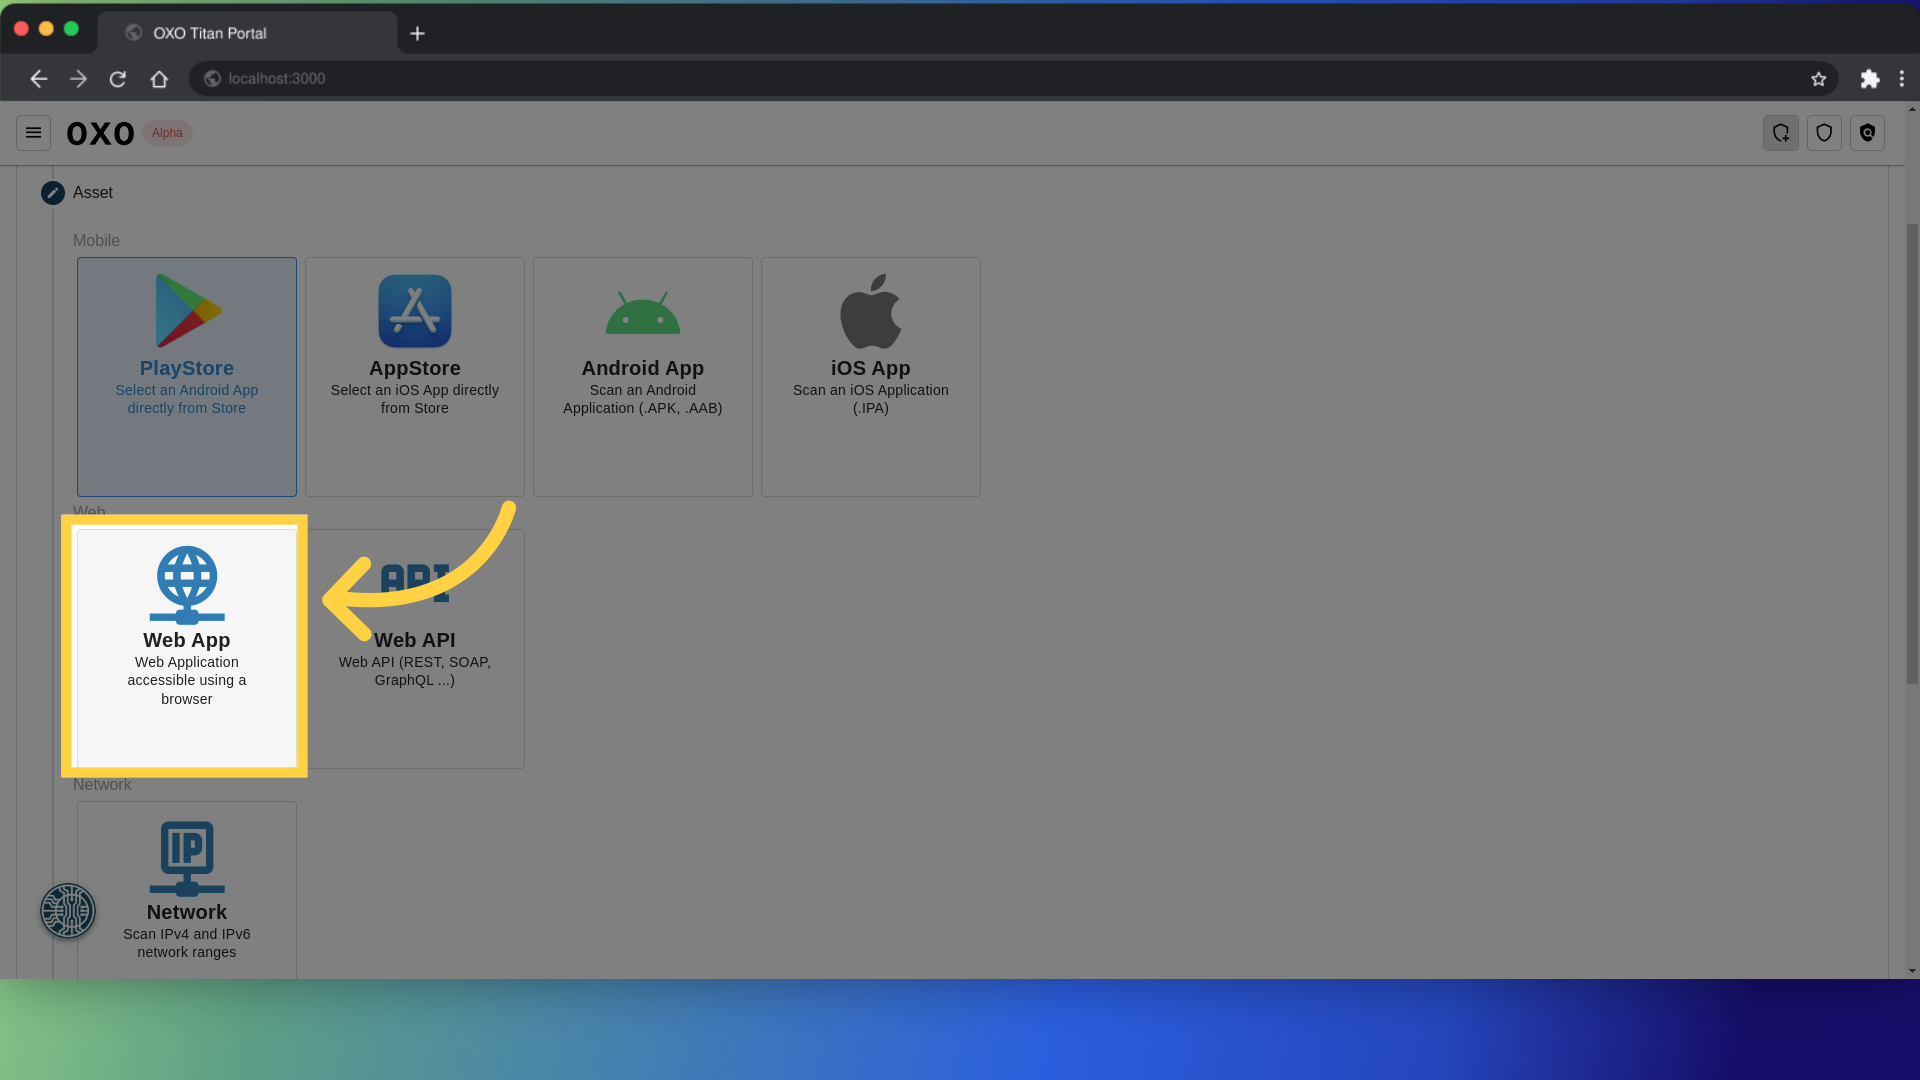
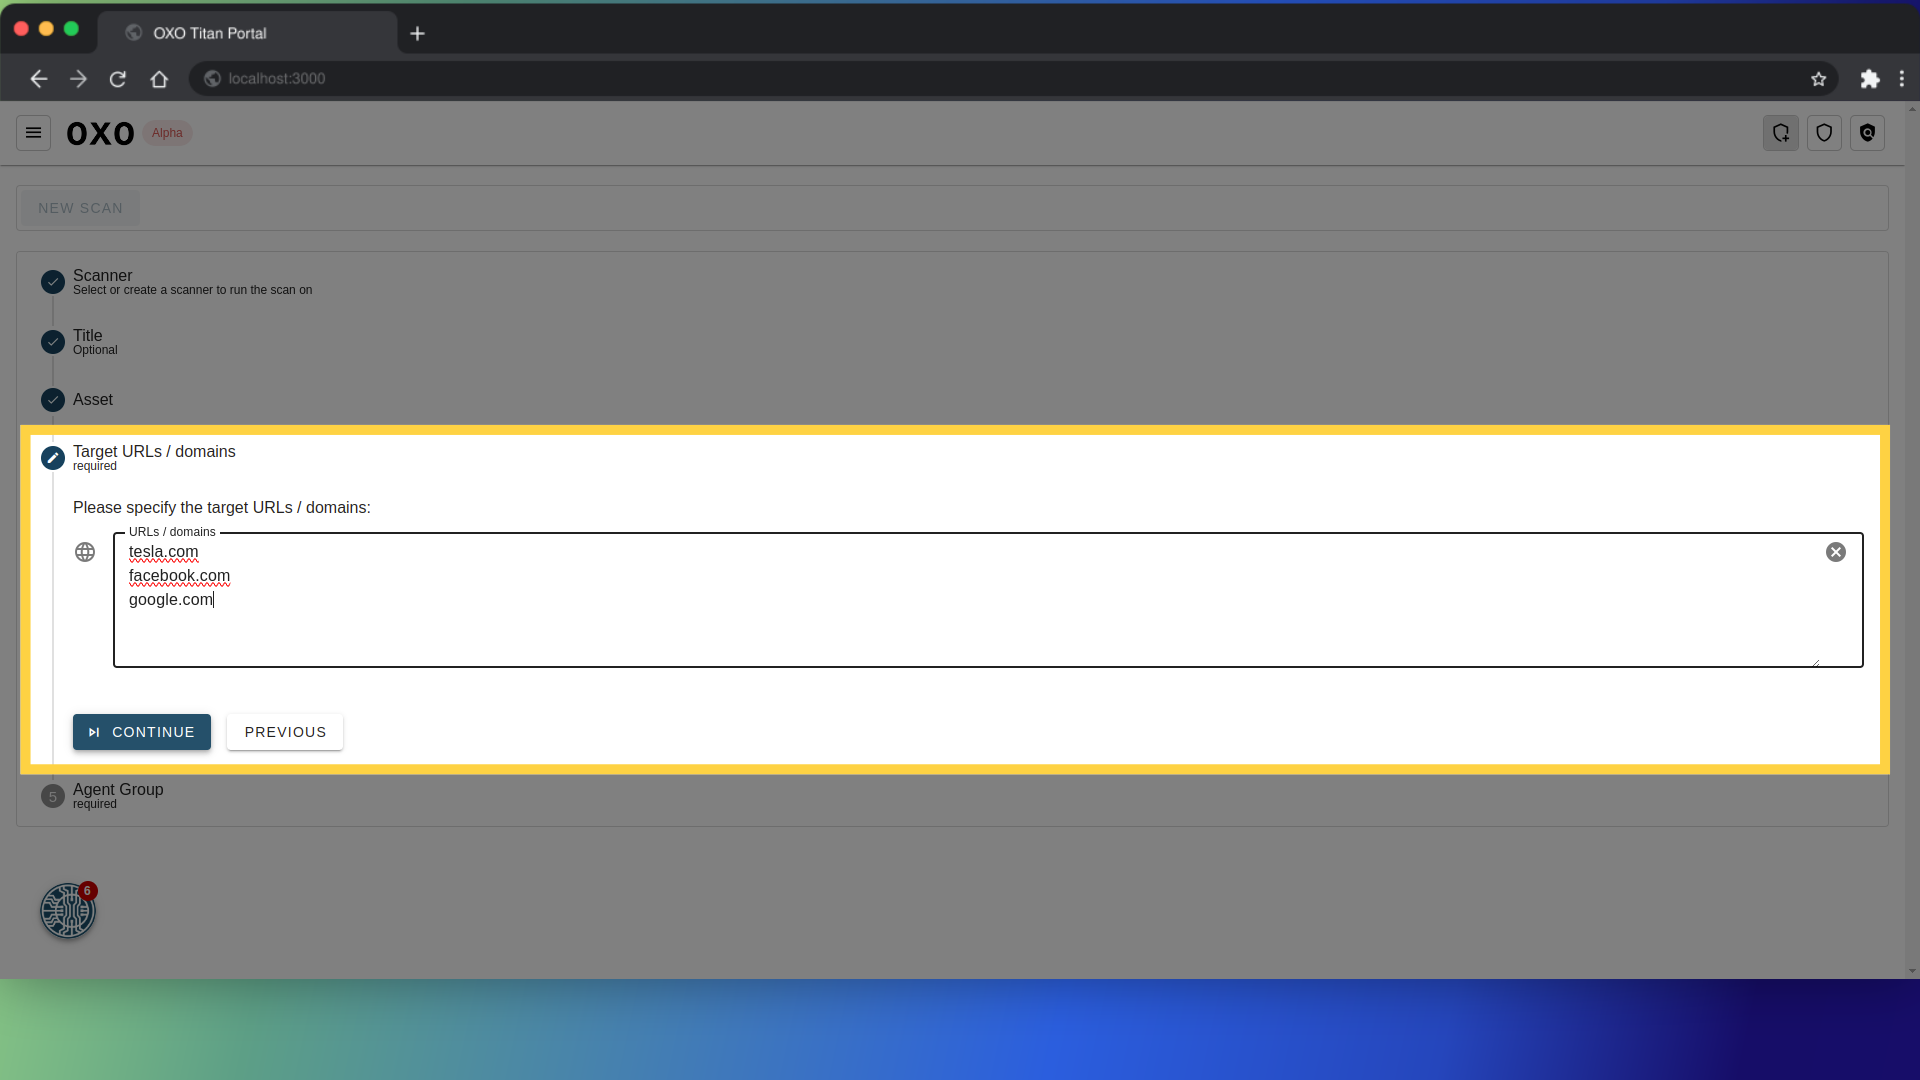
After selecting the "Web App" asset type, you can provide URLs and domain names that the scanner will target during the scan process.
Agent Group: This is another required field. The dropdown lets you select the agent group that the scan will run on.
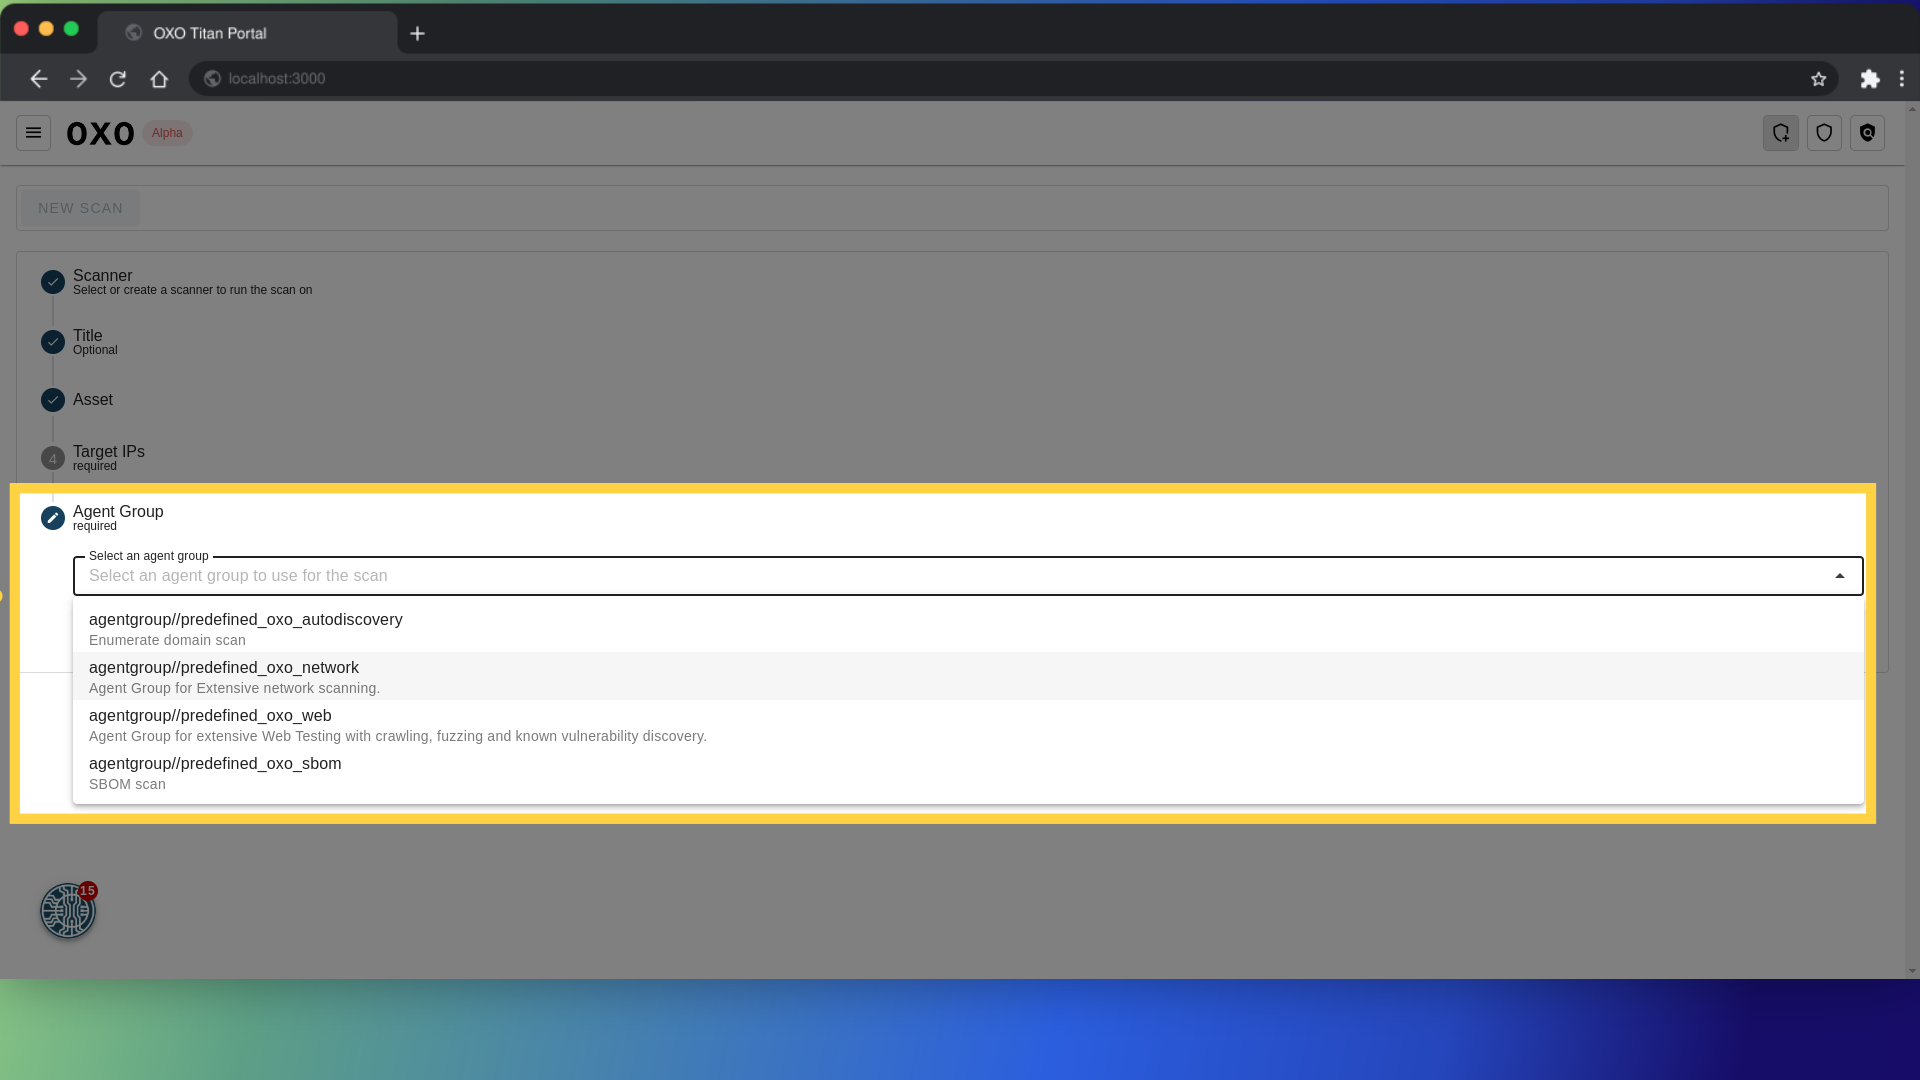
For more information on what is an agent group and how to create one, please refer to the agent group documentation.
Finally, to run the scan click on "Submit".

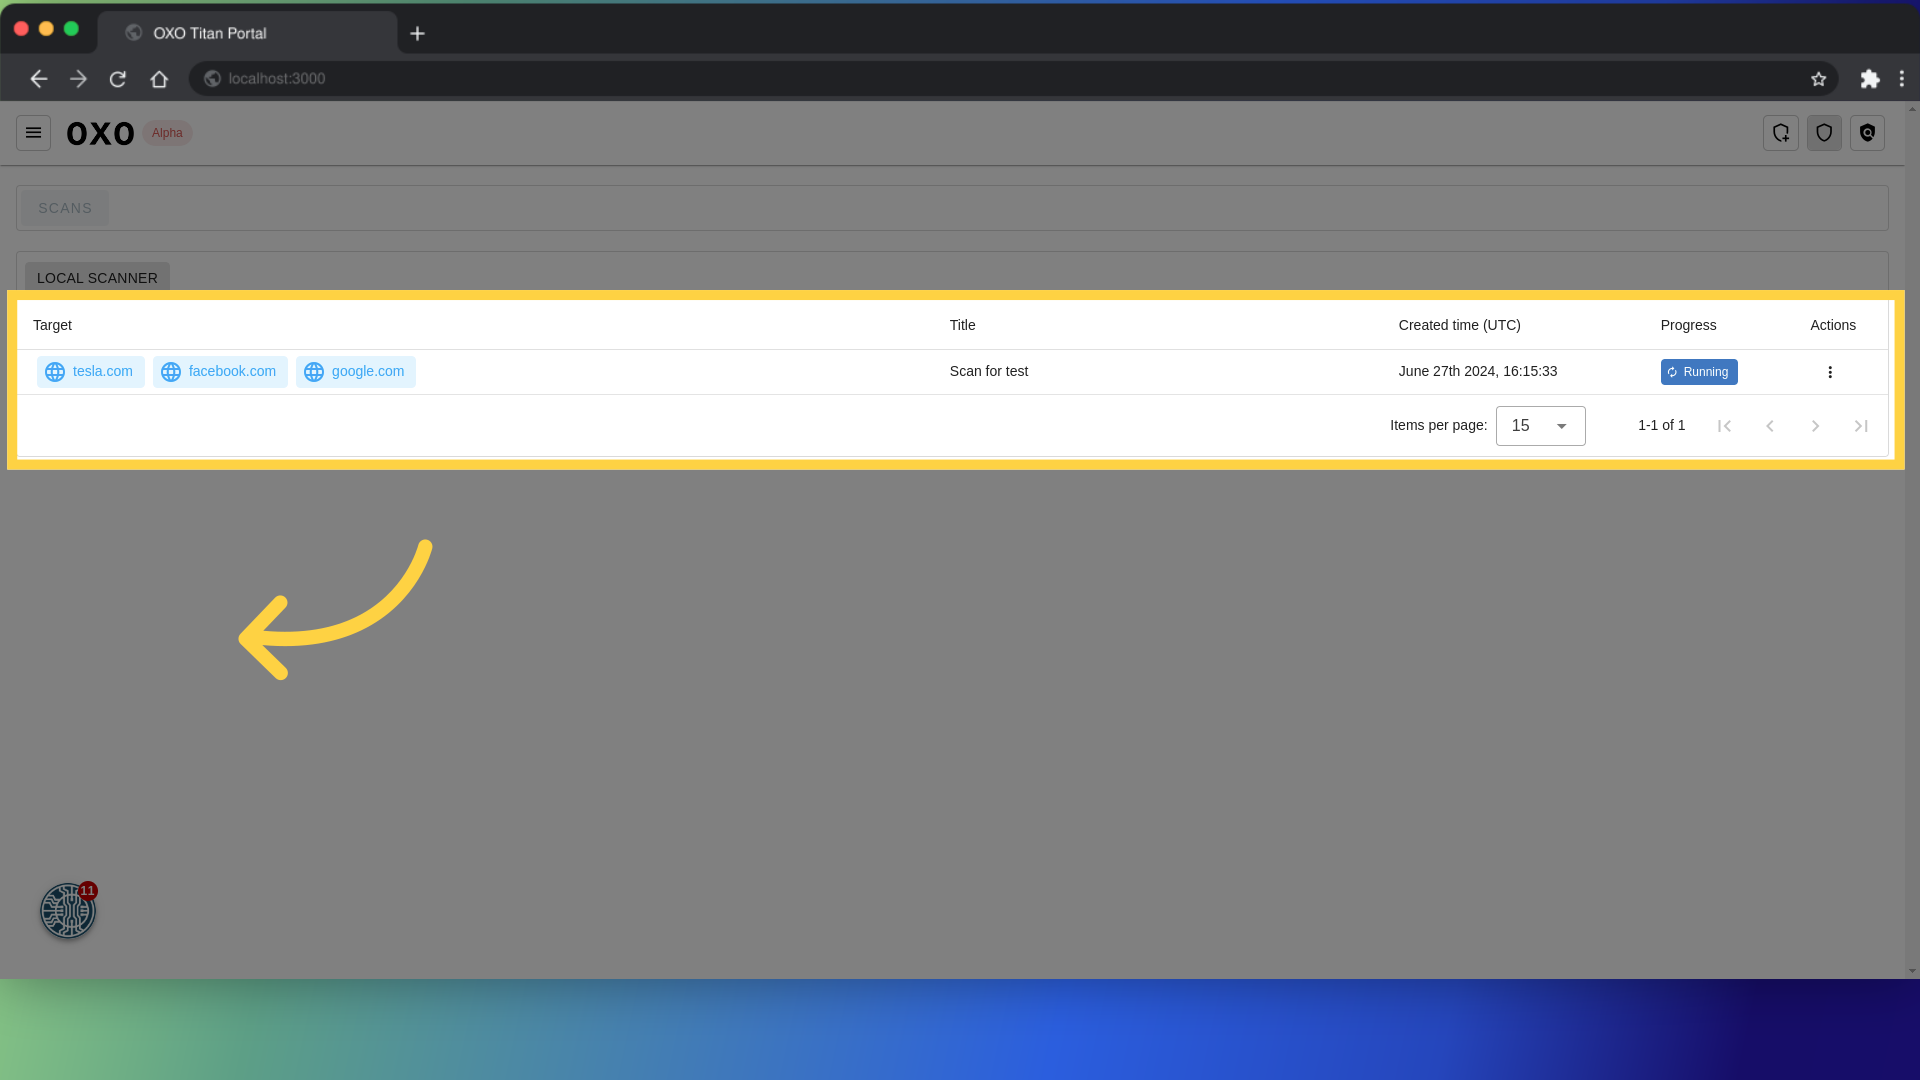
In the scan list page you can see that the scan is running.
This guide covered the process of running a new web scan, including selecting a scanner, specifying scan details such as title, asset and agent group.