scanner
This section will guide you on how to add, modify, and delete a scanner.
How to manage your scanners
This guide will walk you through the process of adding a scanner in the application. You'll learn how to setup a new scanner, configure its details, and modify or delete it.
What is a scanner?
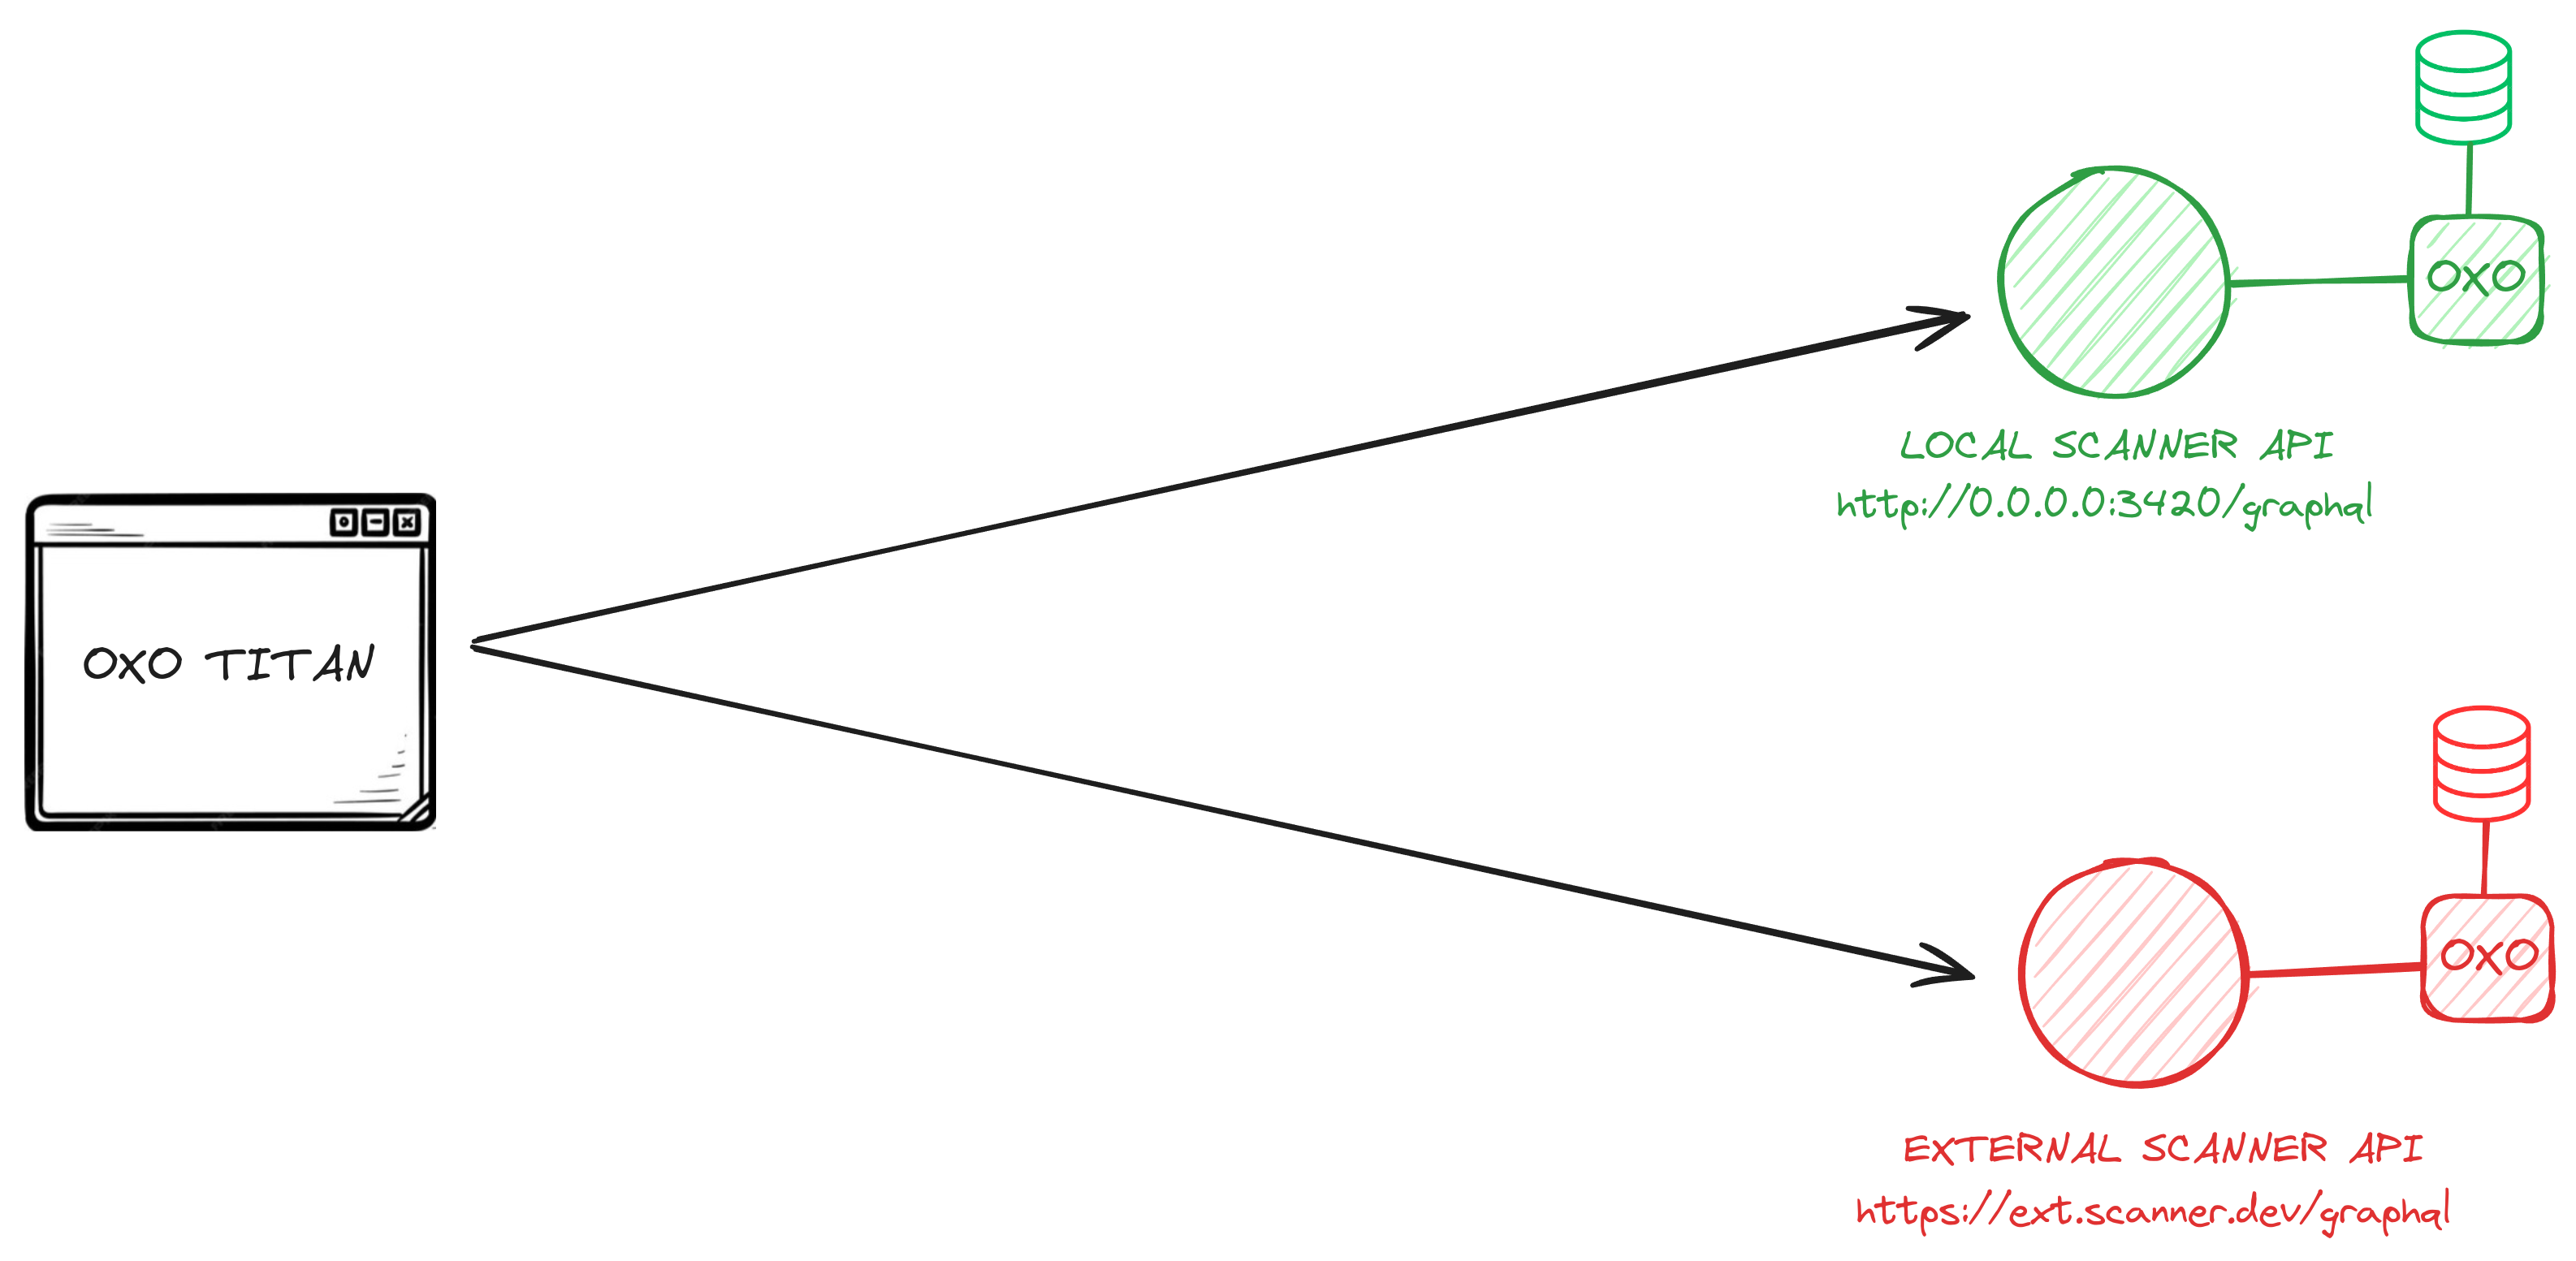
In OXO Titan, a scanner is a pivotal component where scans are conducted. It can be a local or external machine running the OXO server, operating independently.
Every task you can do on the OXO Titan UI, such as running or importing a scan, is executed on a specific scanner. Thus, scanners form the backbone of the system, playing a vital role in the overall scanning process.
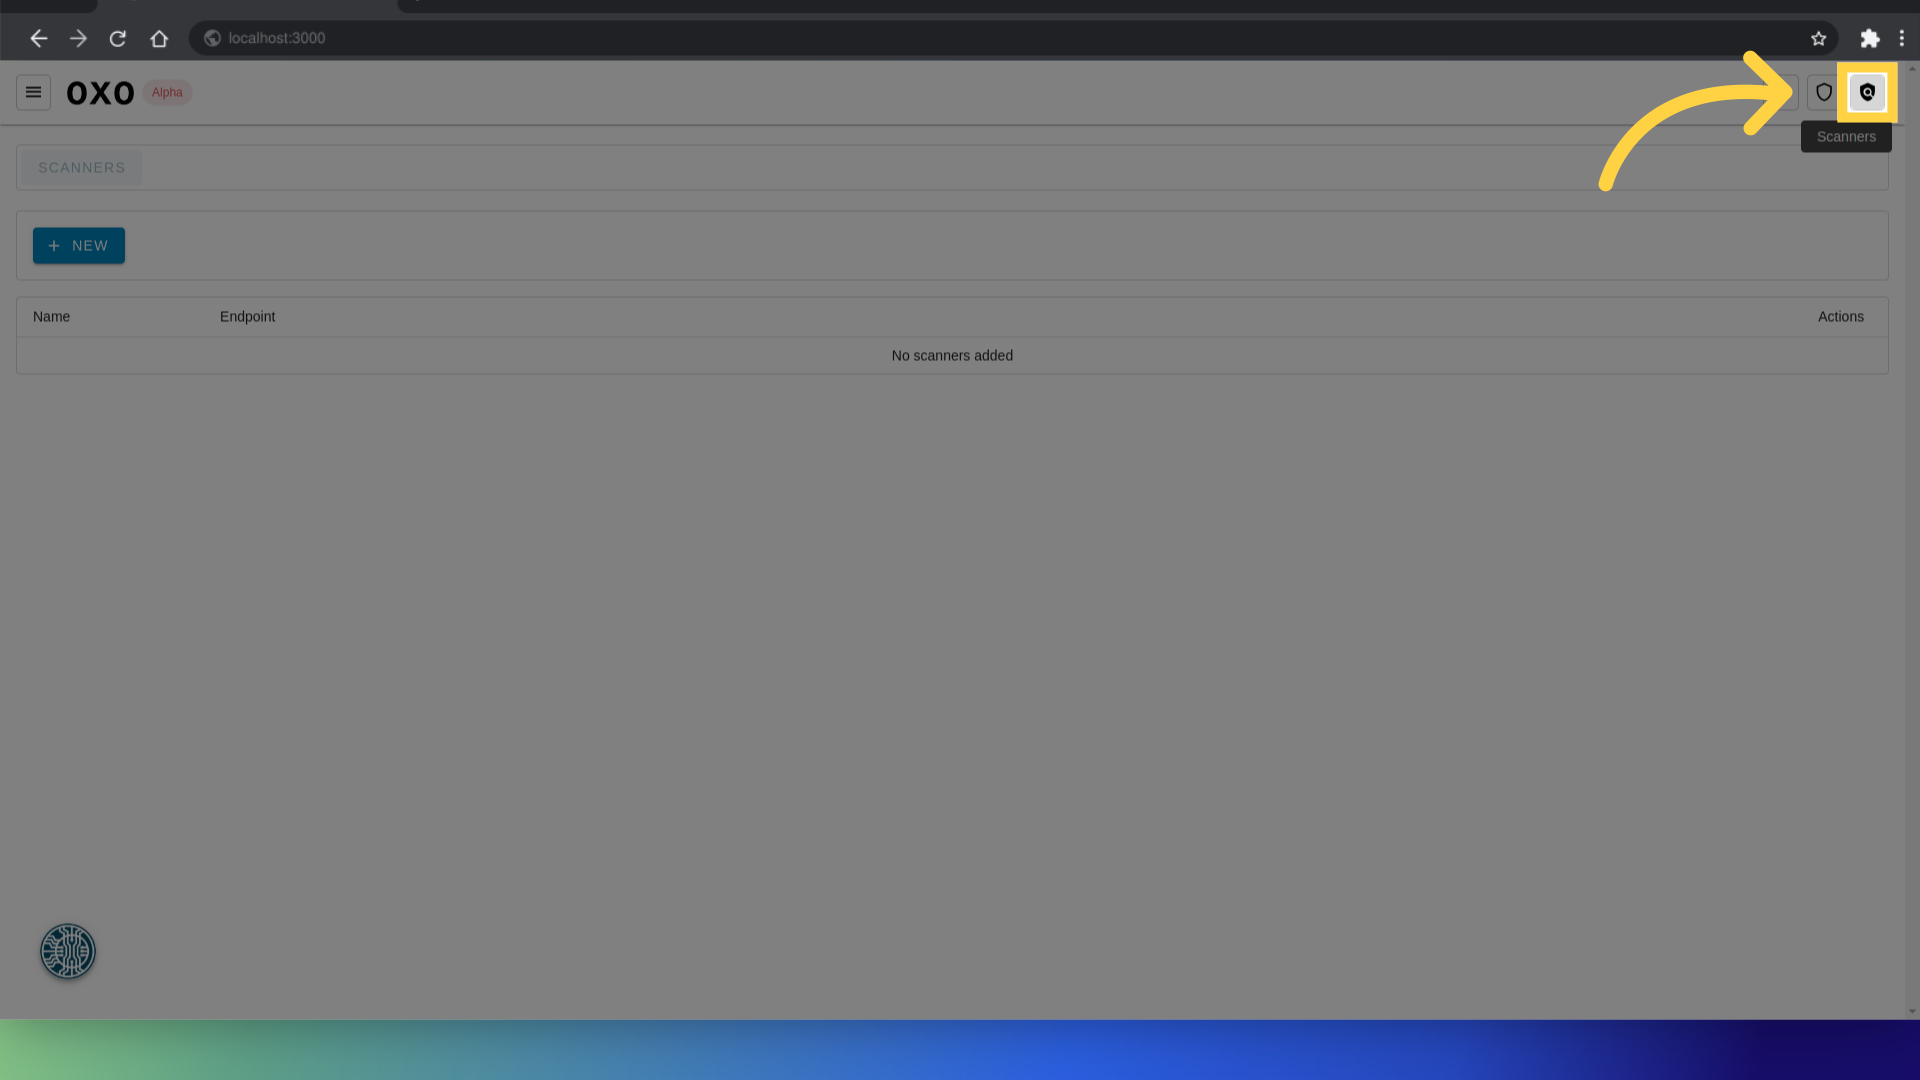
Scanners list page
The scanners list page displays all the scanners that have been added to the application. To access this page, click on the scanners icon in the top right of the navbar.
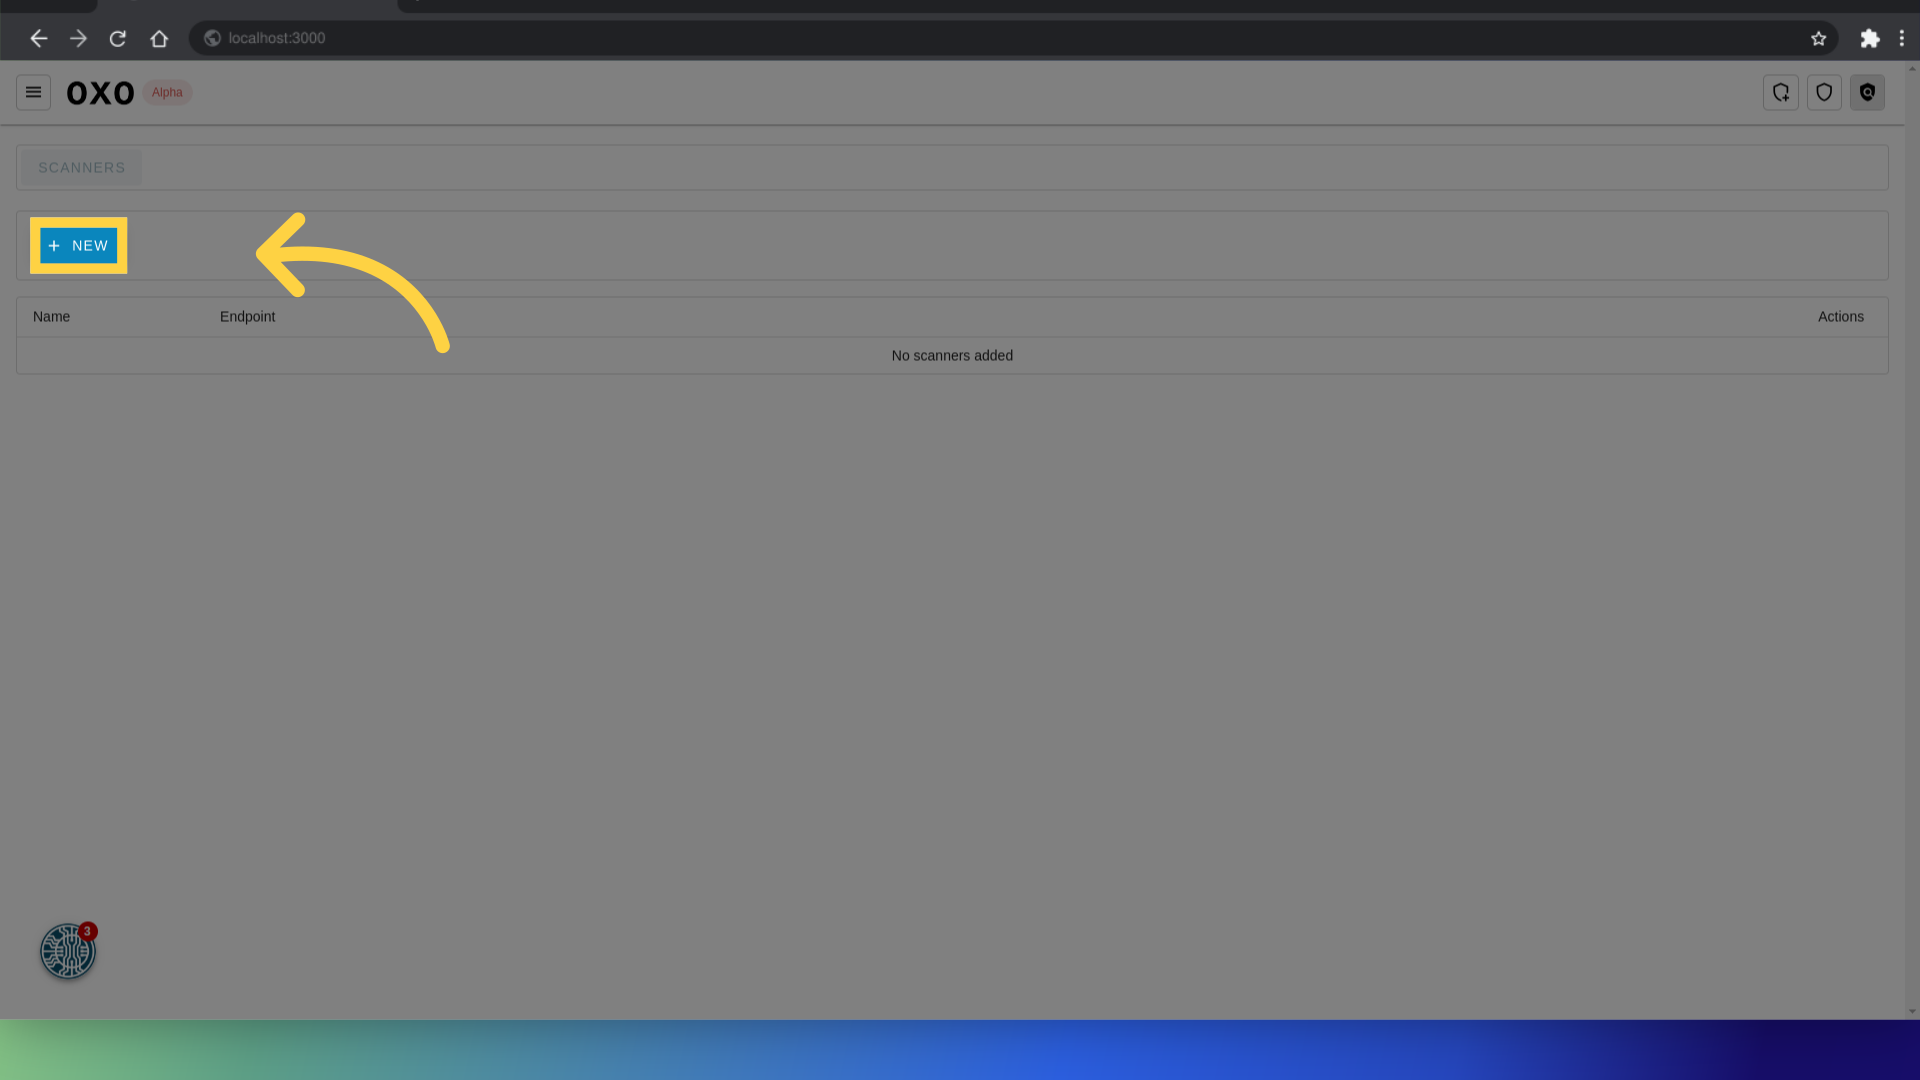
Add a new scanner
To add a new scanner, click on "New"
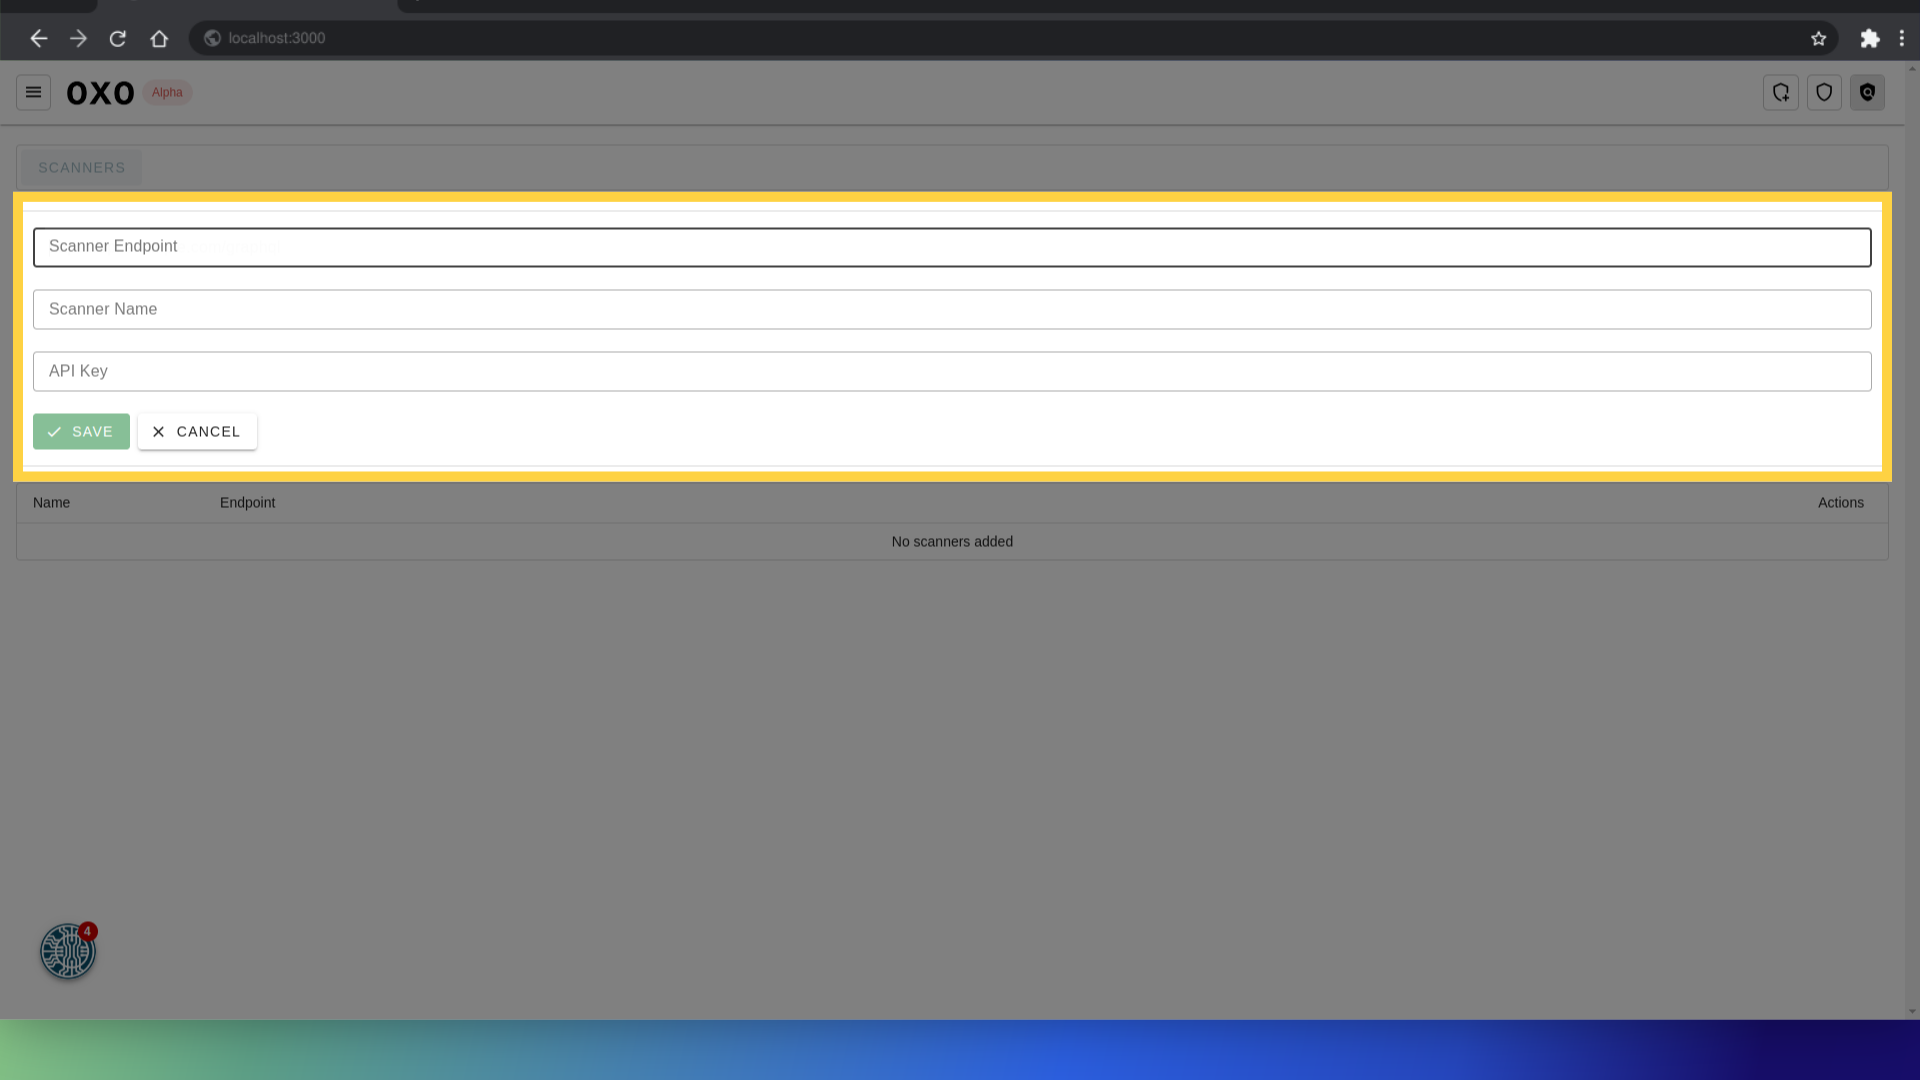
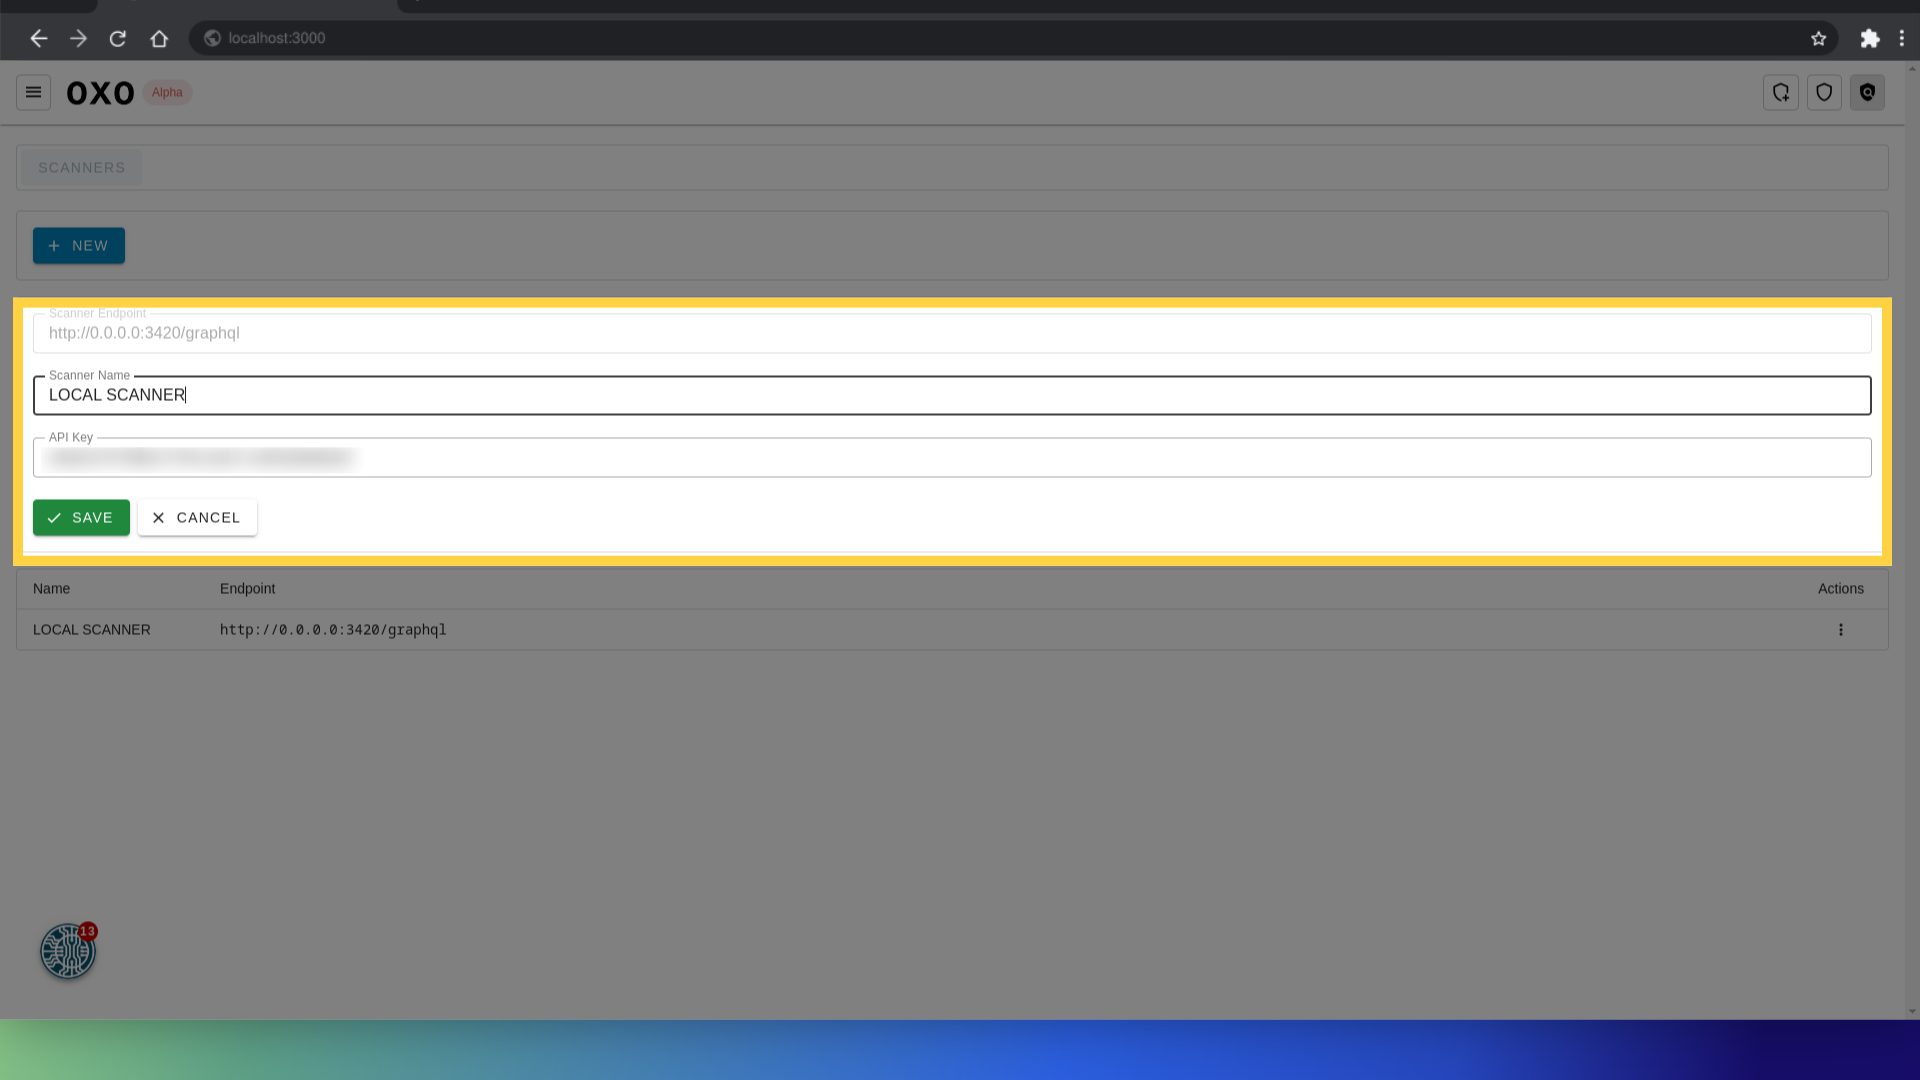
Fill in the scanner details
The new scanner form will appear where you can provide the necessary details.
To obtain these details, start by installing the OXO serve dependencies if you haven't already. You can do this by running the following command:
pip install ostorlab"[serve]"
Next, run the OXO serve command to start the server. The console will display information about the scanner.
oxo serve

You can either fill in the scanner details manually or directly add the scanner by clicking on the "Quick start" link as shown above.
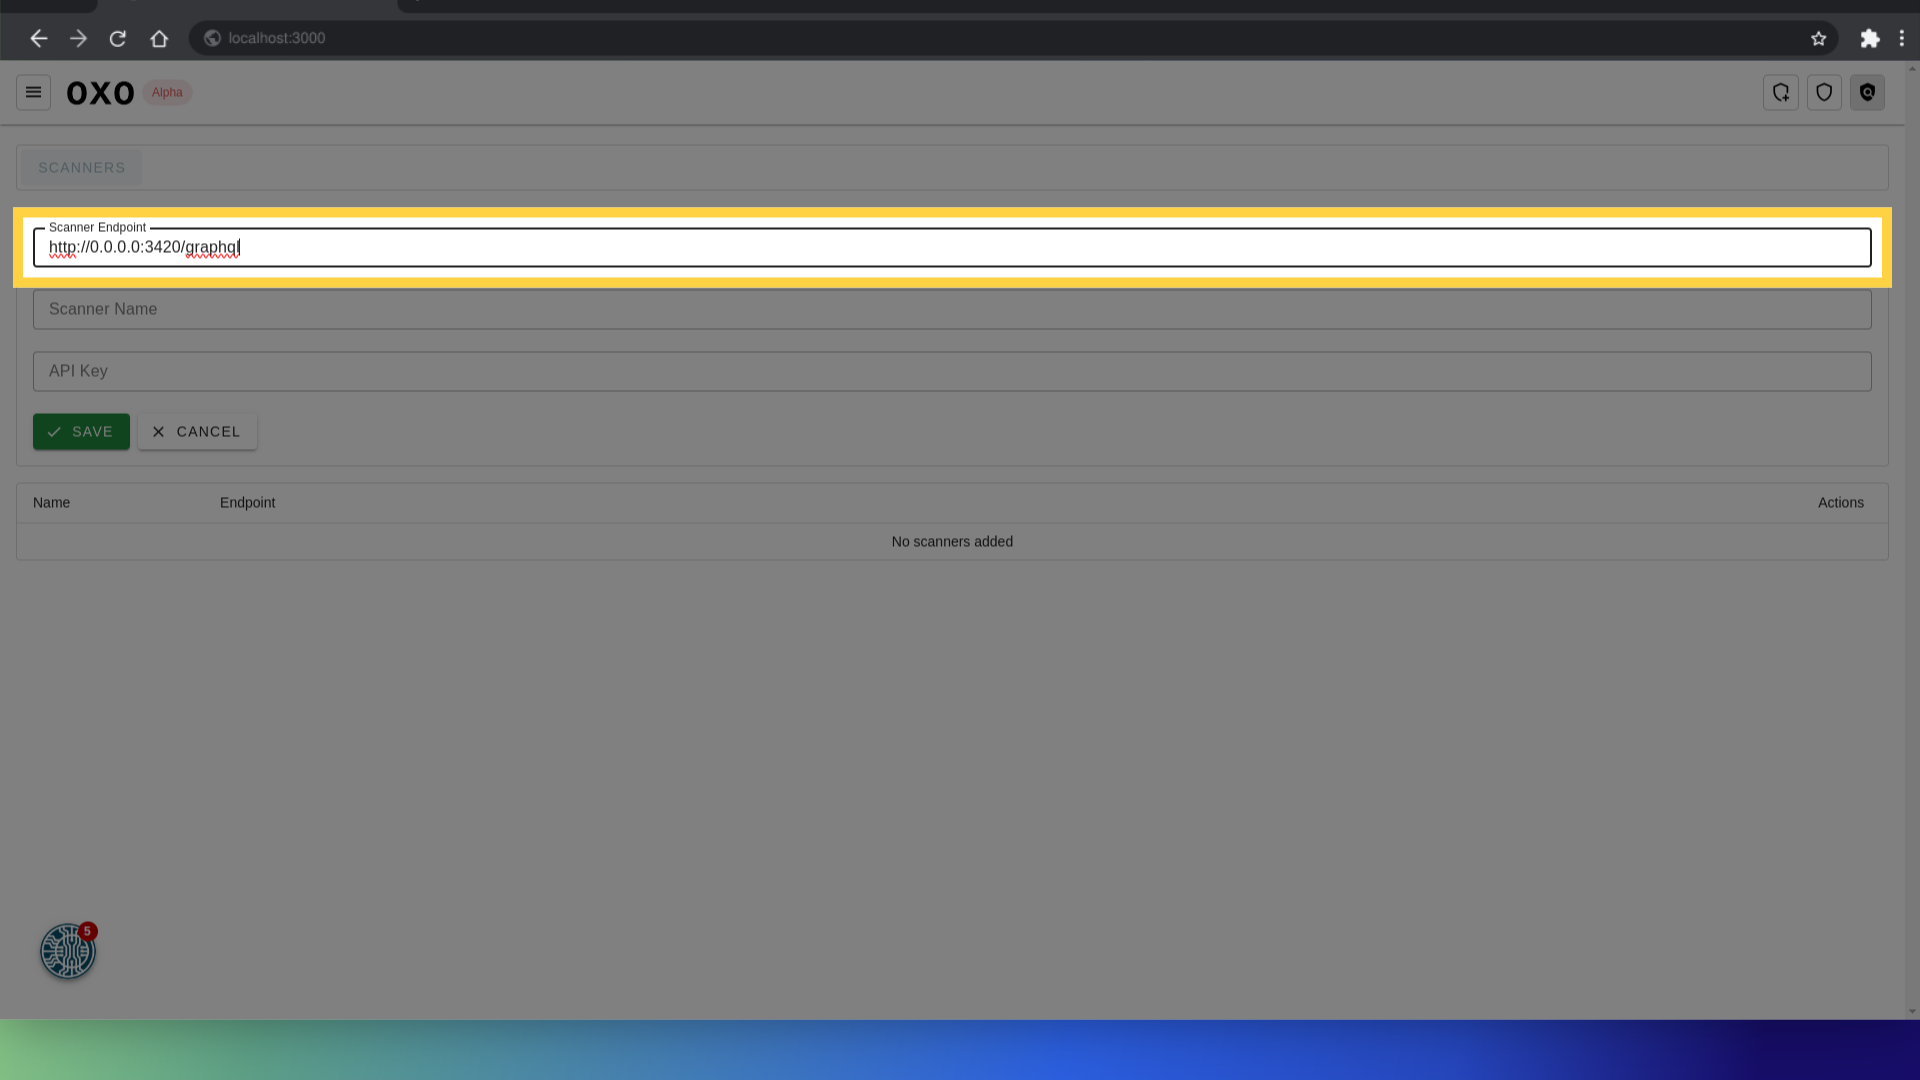
To manually fill in the scanner details, provide the following information:
Scanner Endpoint: Enter the URL of the scanner endpoint.
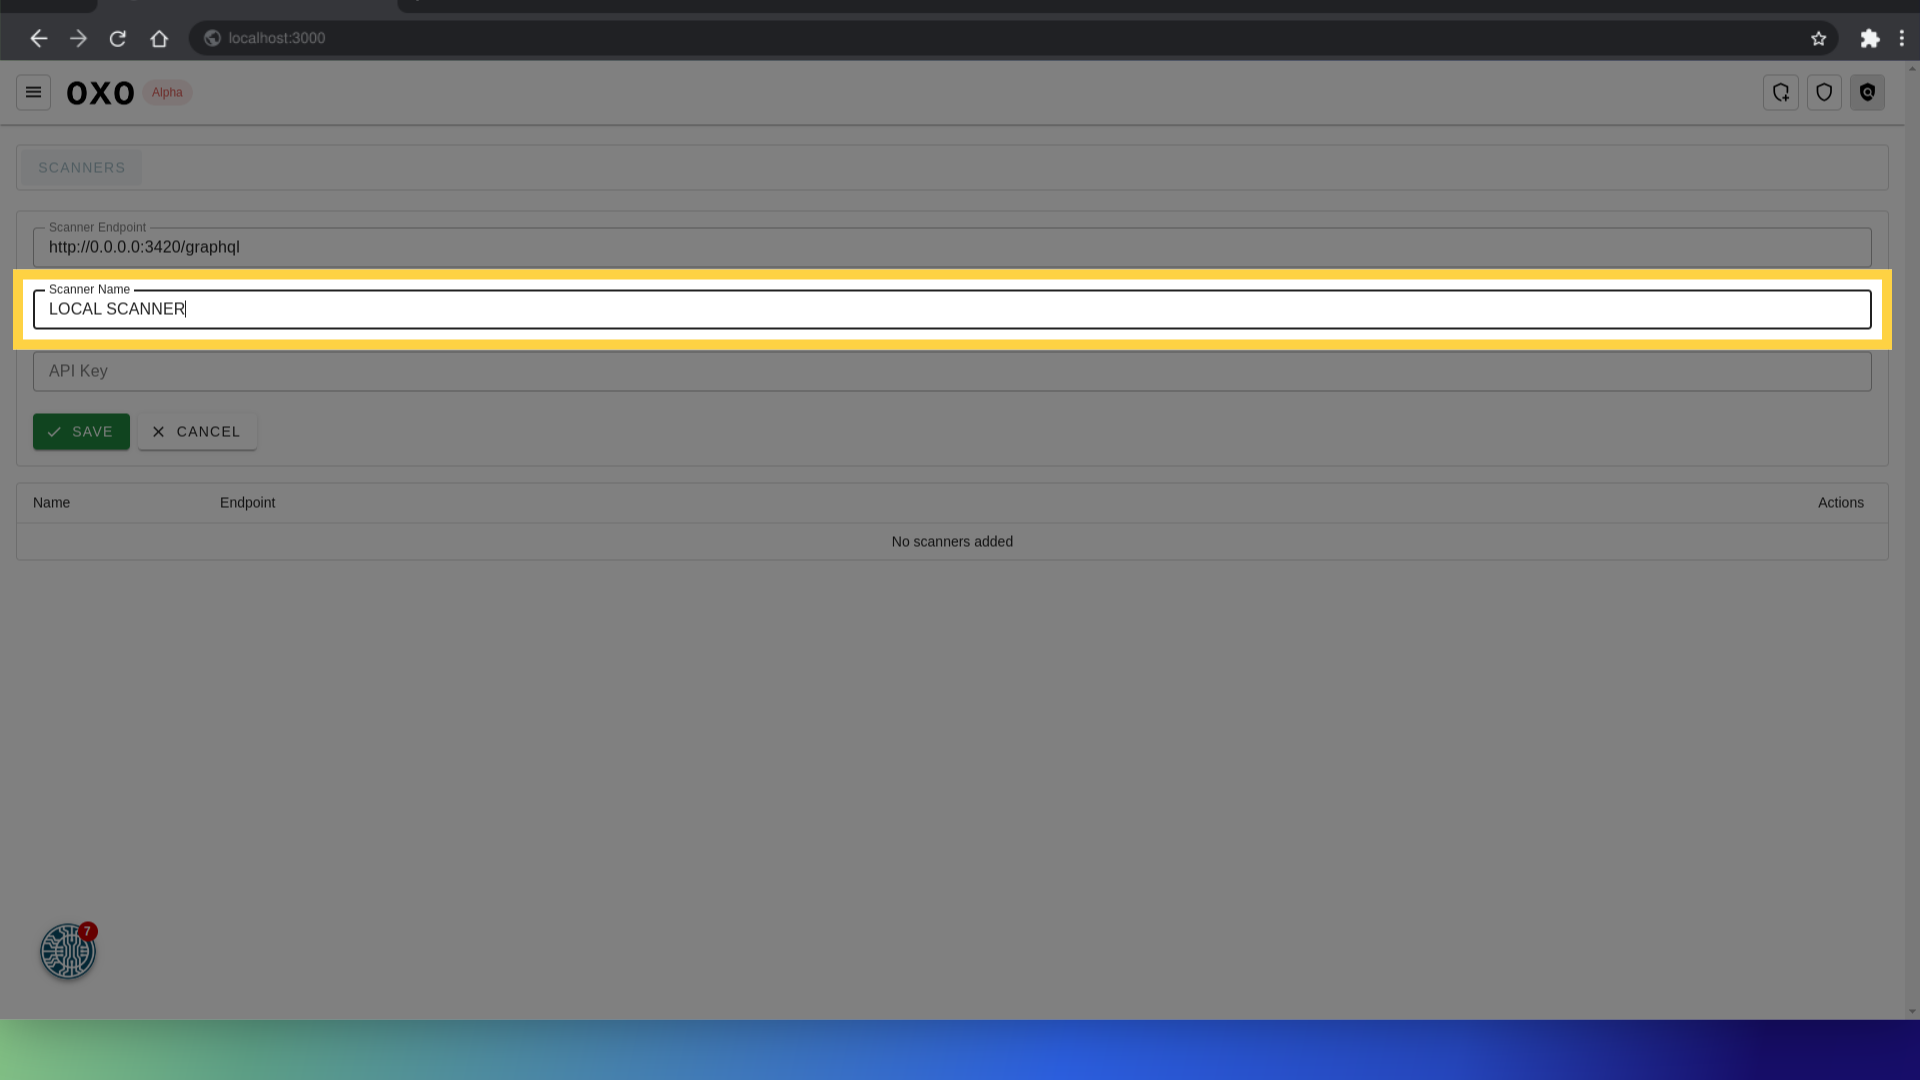
Scanner Name: Assign a name to the scanner for easy identification.
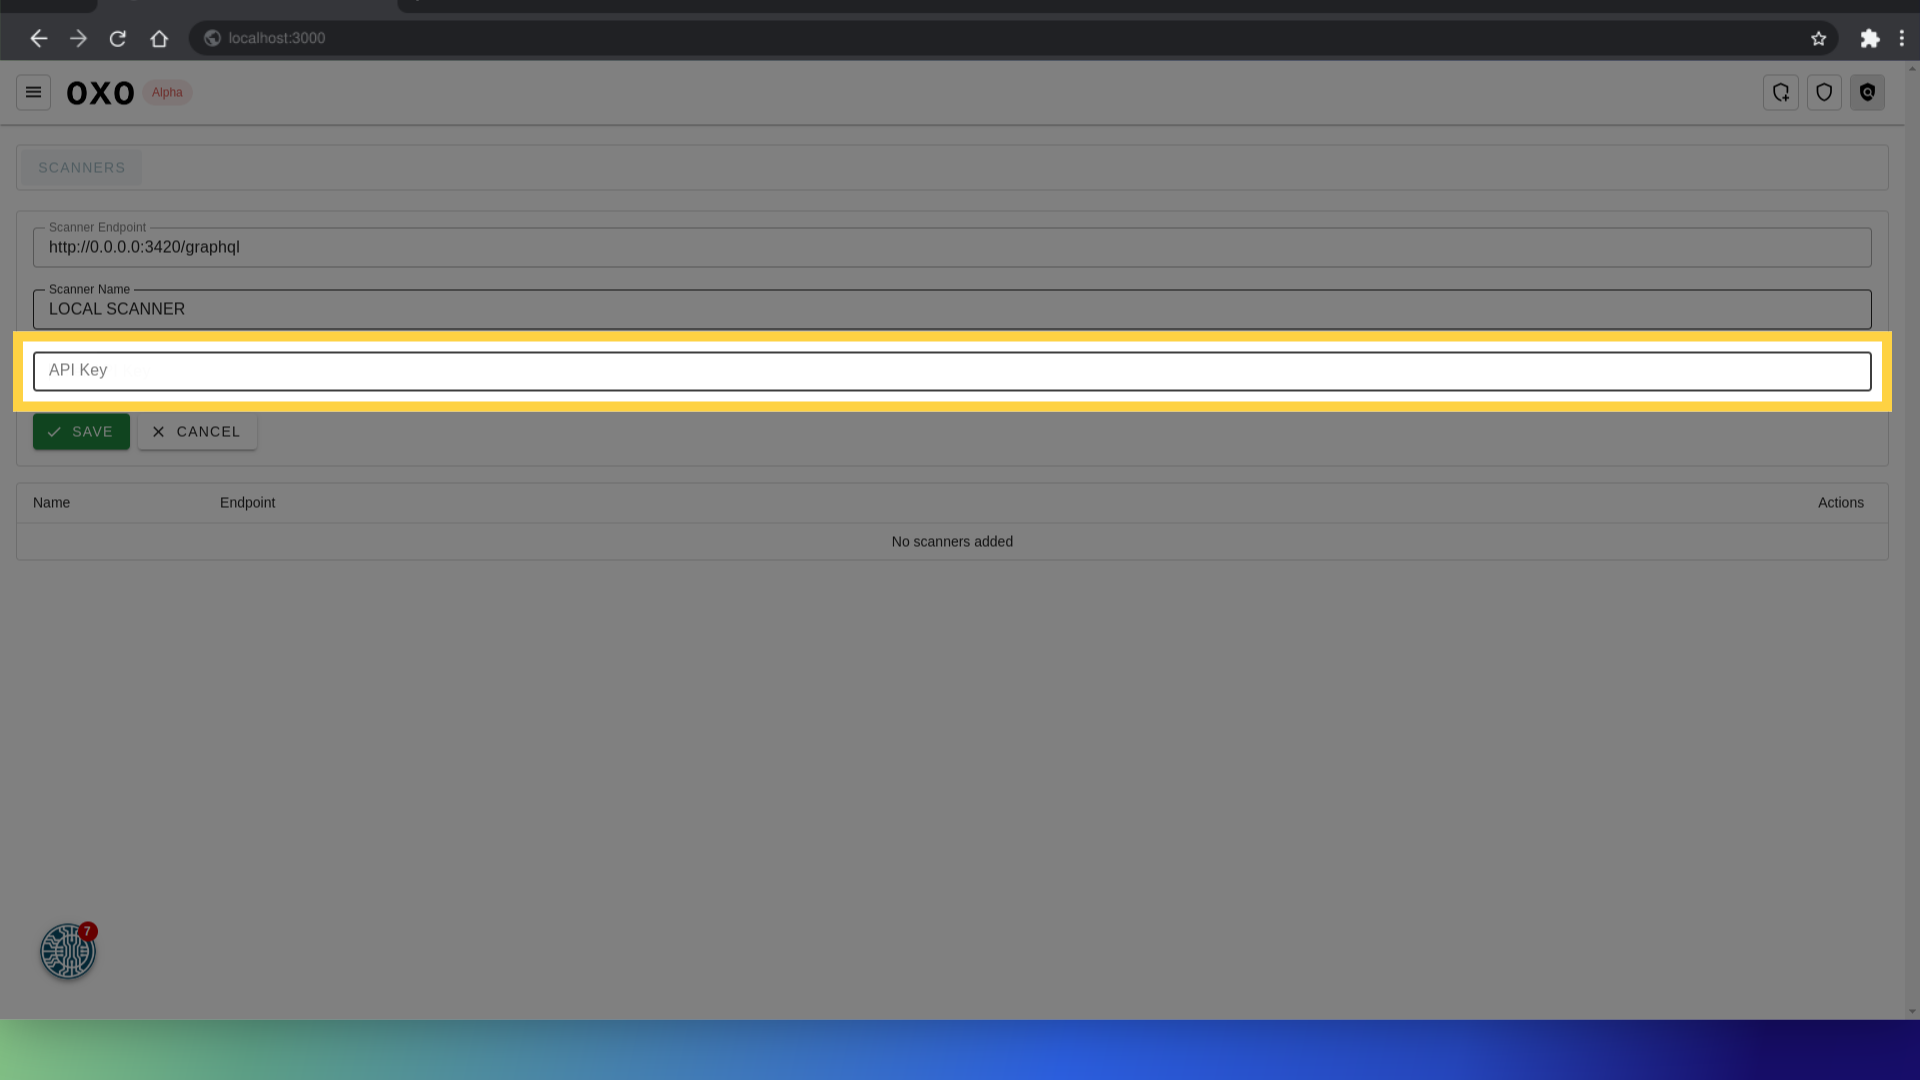
API Key: Input the API key associated with the scanner to enable authentication and access.
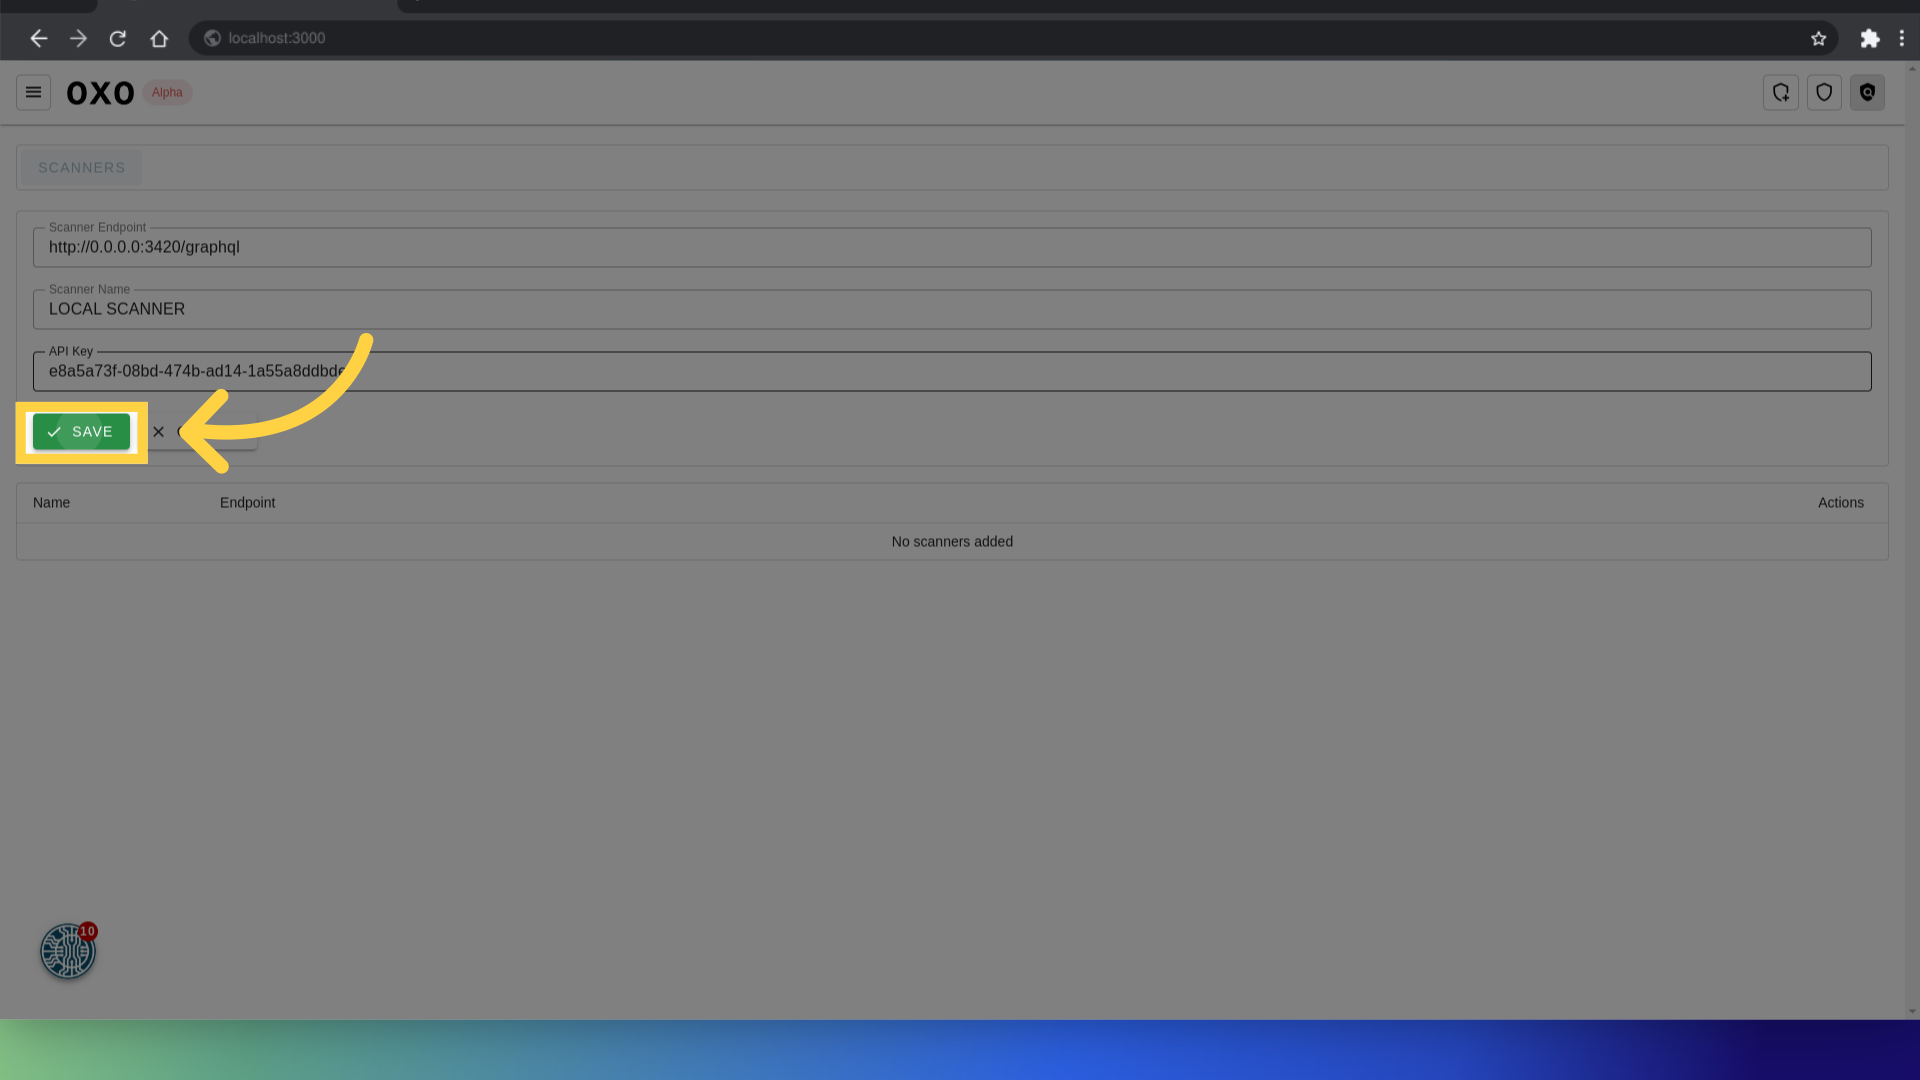
Once you have filled in all the details, click Save to add the new scanner to the application.
Scanner actions
To see the actions for the scanner, click on the three dots next to it.
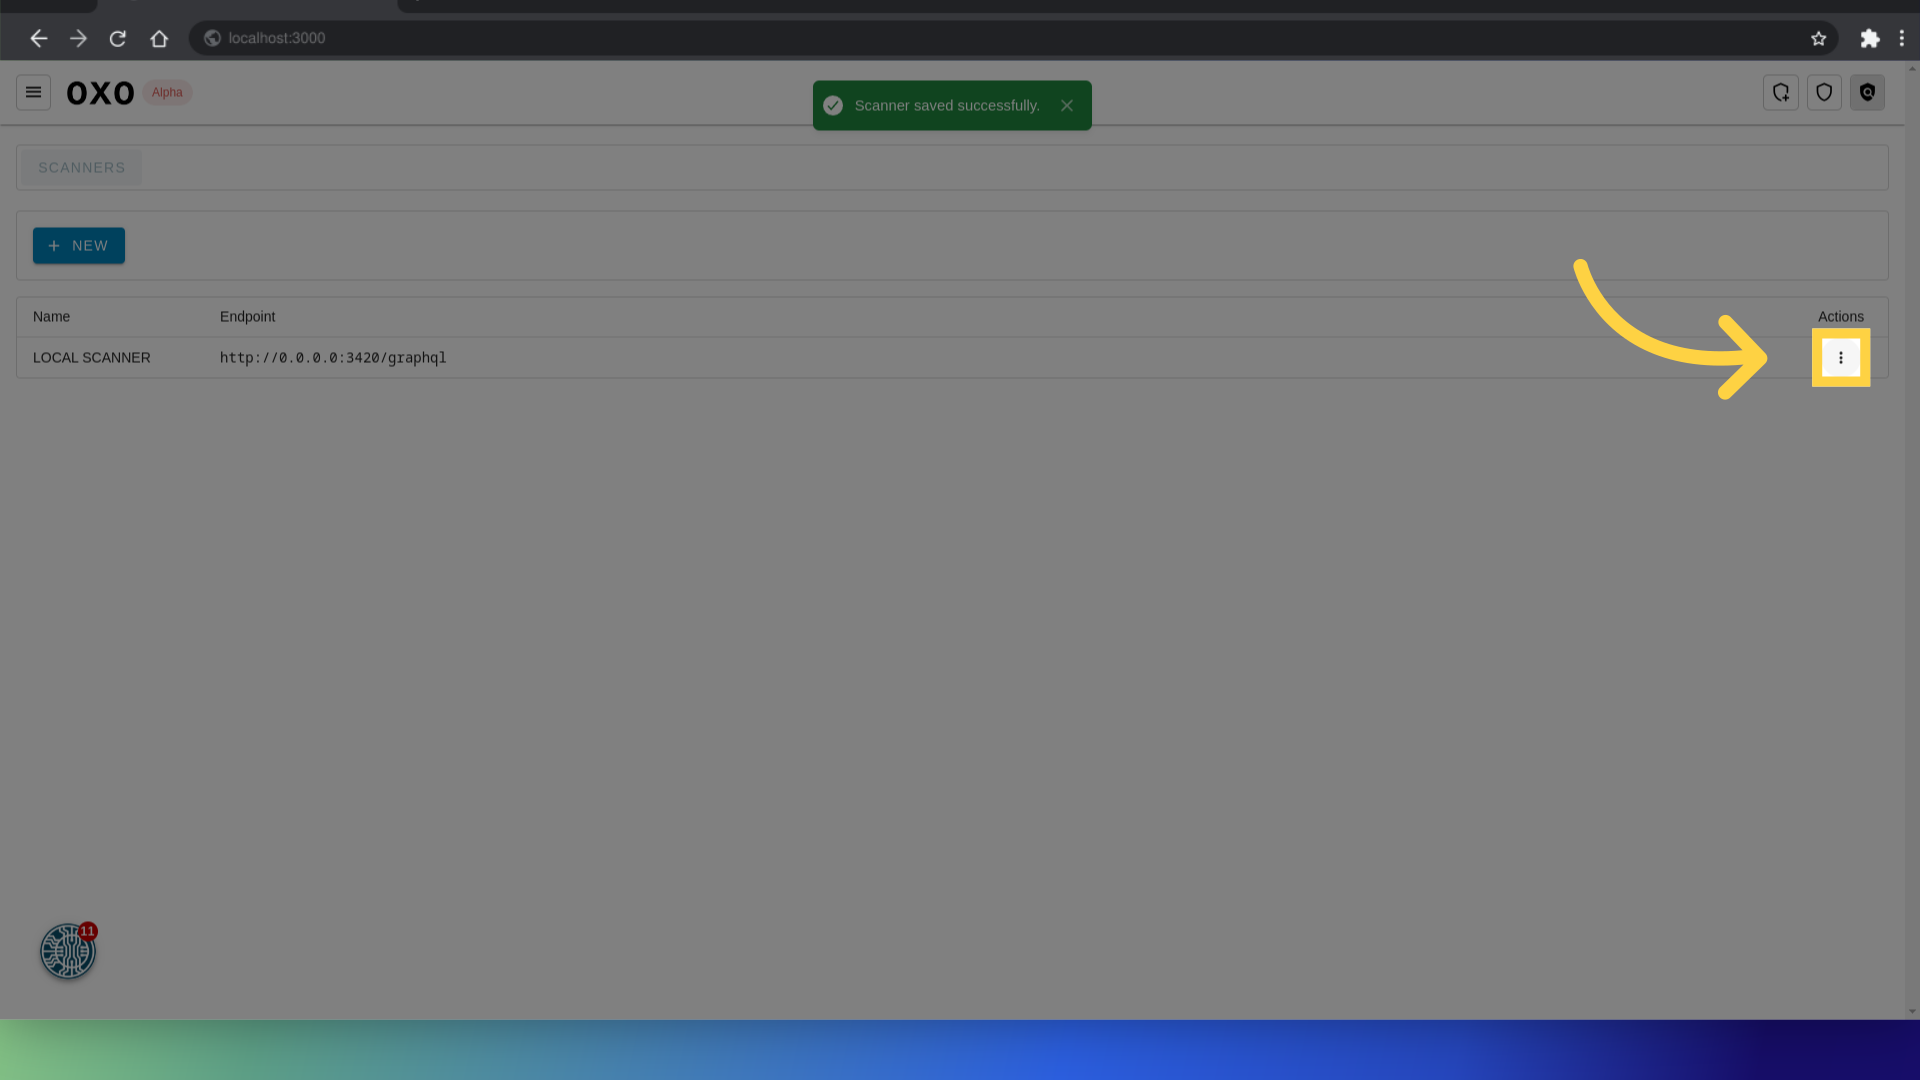
This will open a dropdown menu with two options: Edit and delete.
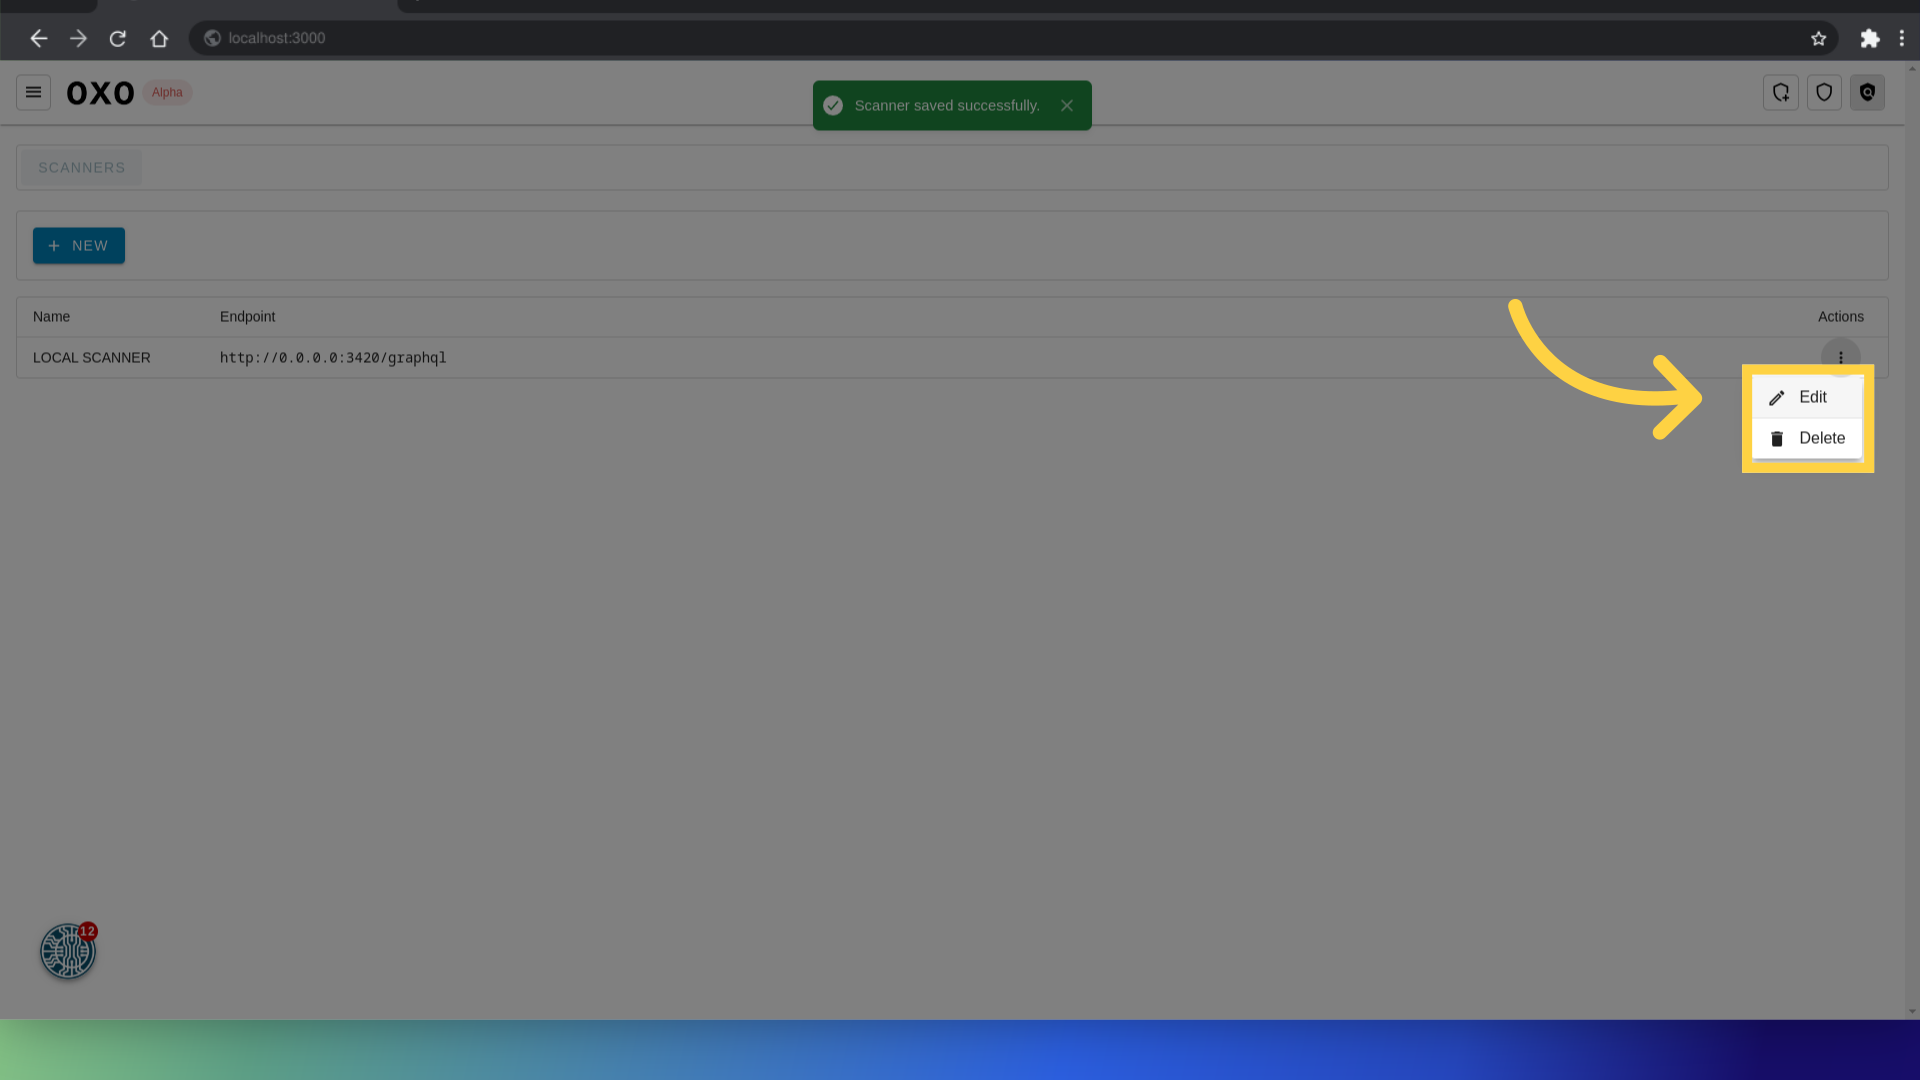
Edit scanner details
Select the edit option to update the scanner's details, such as changing the name or API key. After making your changes, click Save to apply the updates.
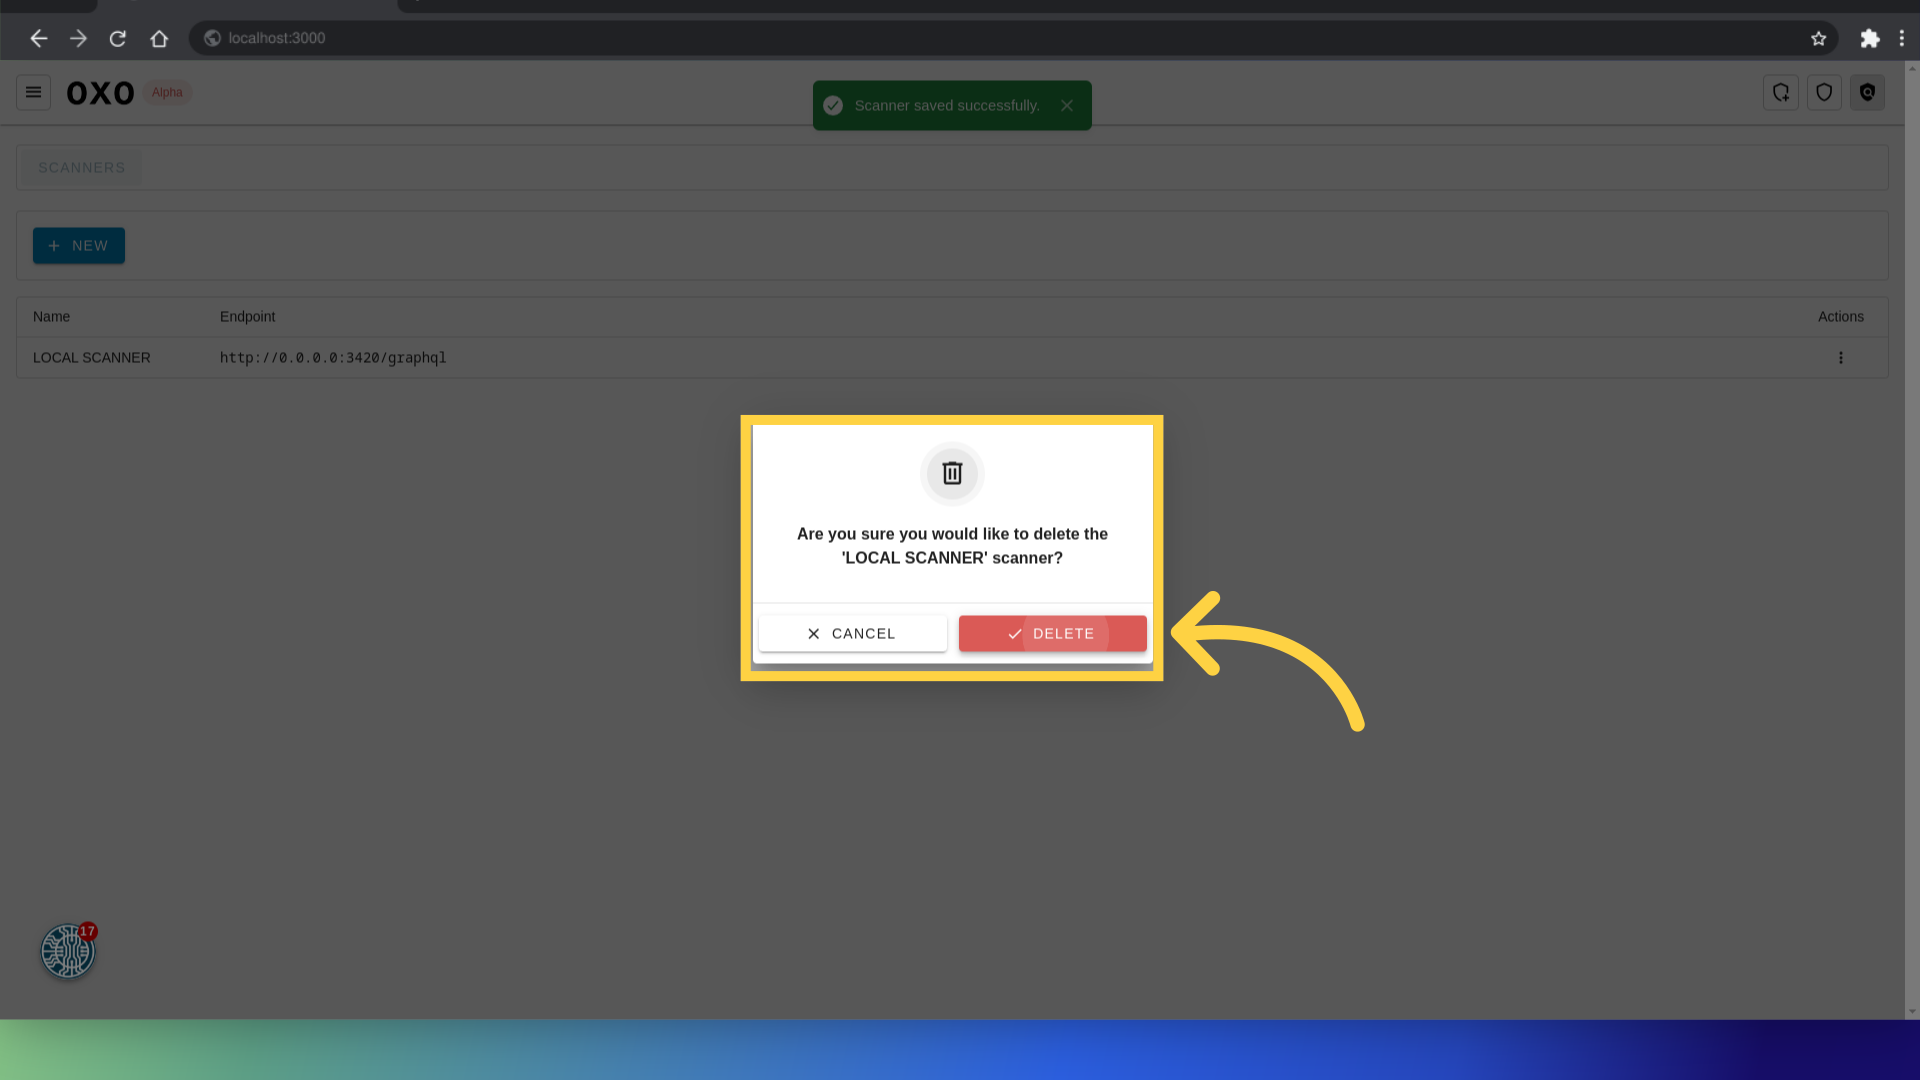
Delete a scanner
to remove the scanner from the application entirely. click on delete.
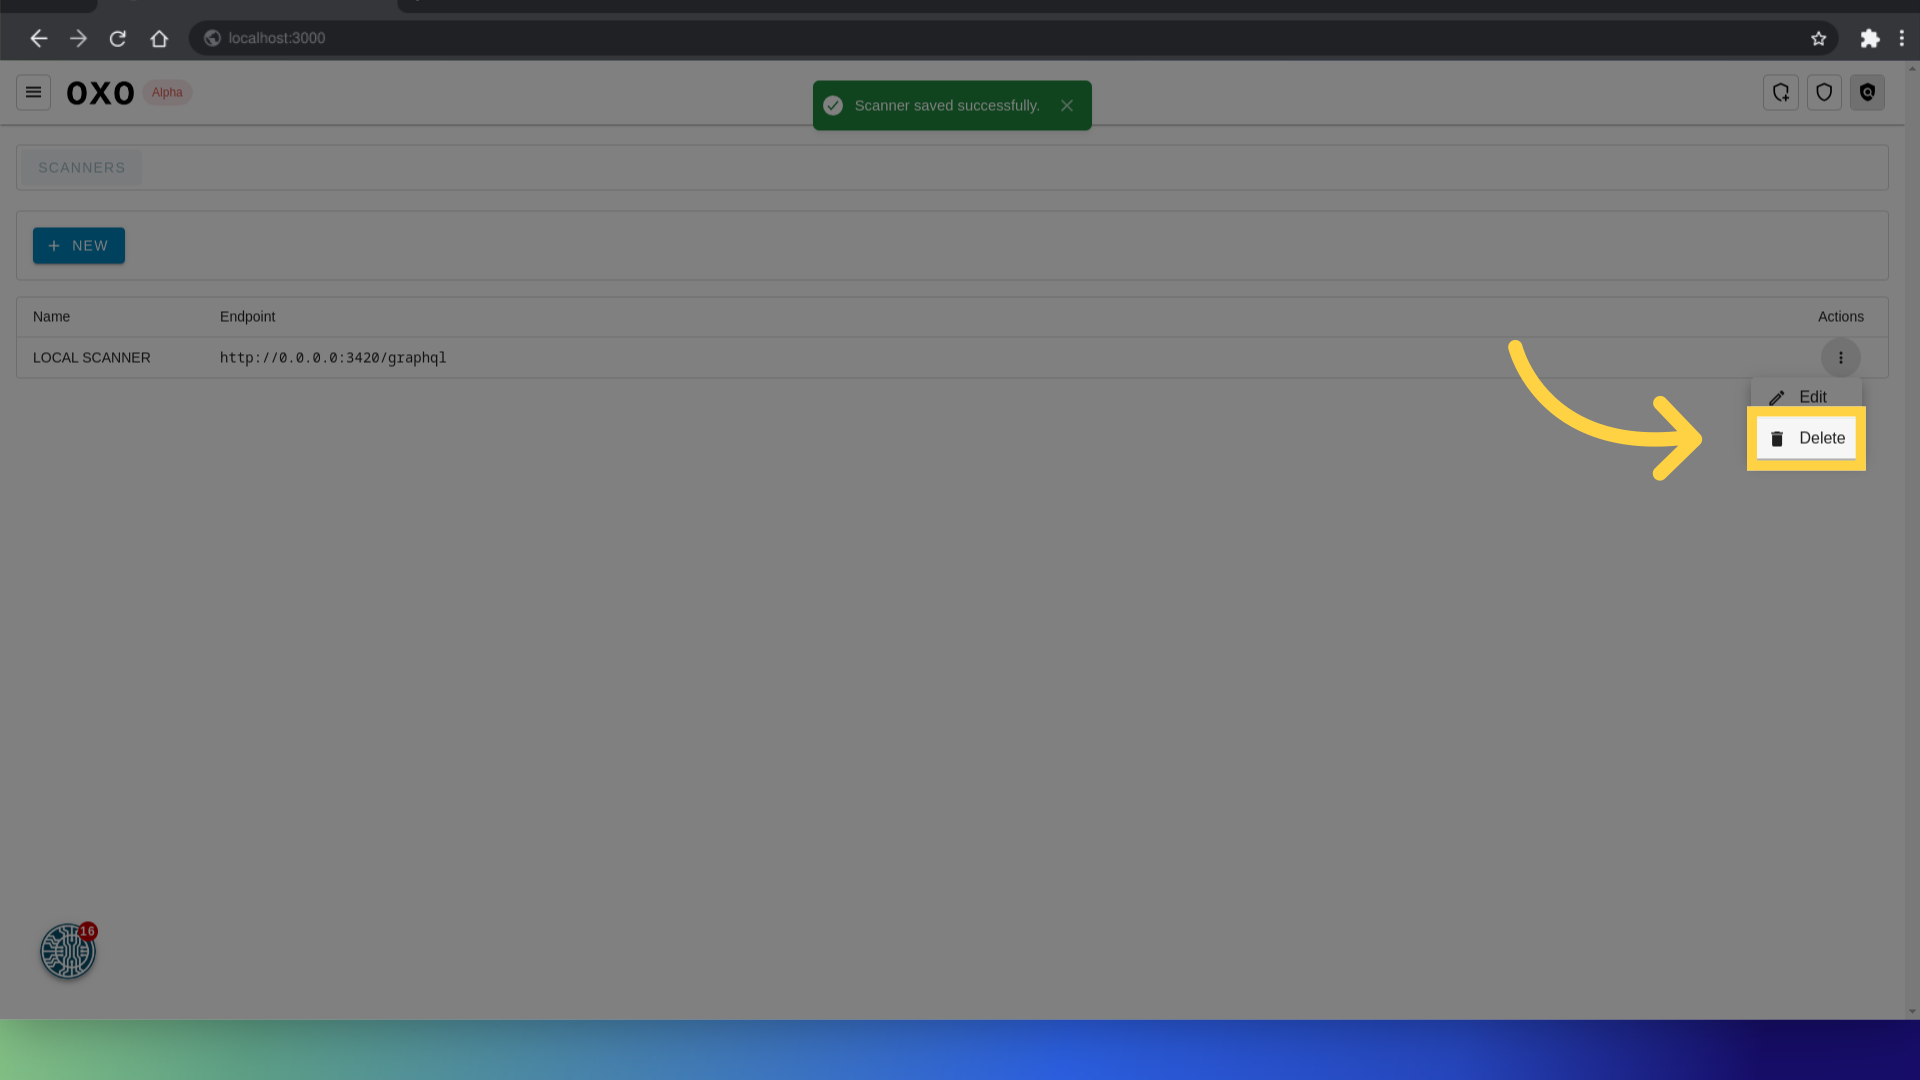
And confirm.
This guide covered the comprehensive process of adding a scanner in the application, including creating a new scanner, configuring its settings, and managing its details. By following the precise instructions provided, you can efficiently setup scanners, ensure they are properly configured to meet your security needs, and manage actions such as editing or deleting scanners.