import scan
How to import the scan results from a zip file.
In this guide, you will learn how to import scan results into the OXO UI platform. Importing scans allows you to bring in scan data from previous scans or scans of other scanners for further analysis and reporting. Follow these steps to seamlessly import your scan results.
Navigate import scan page
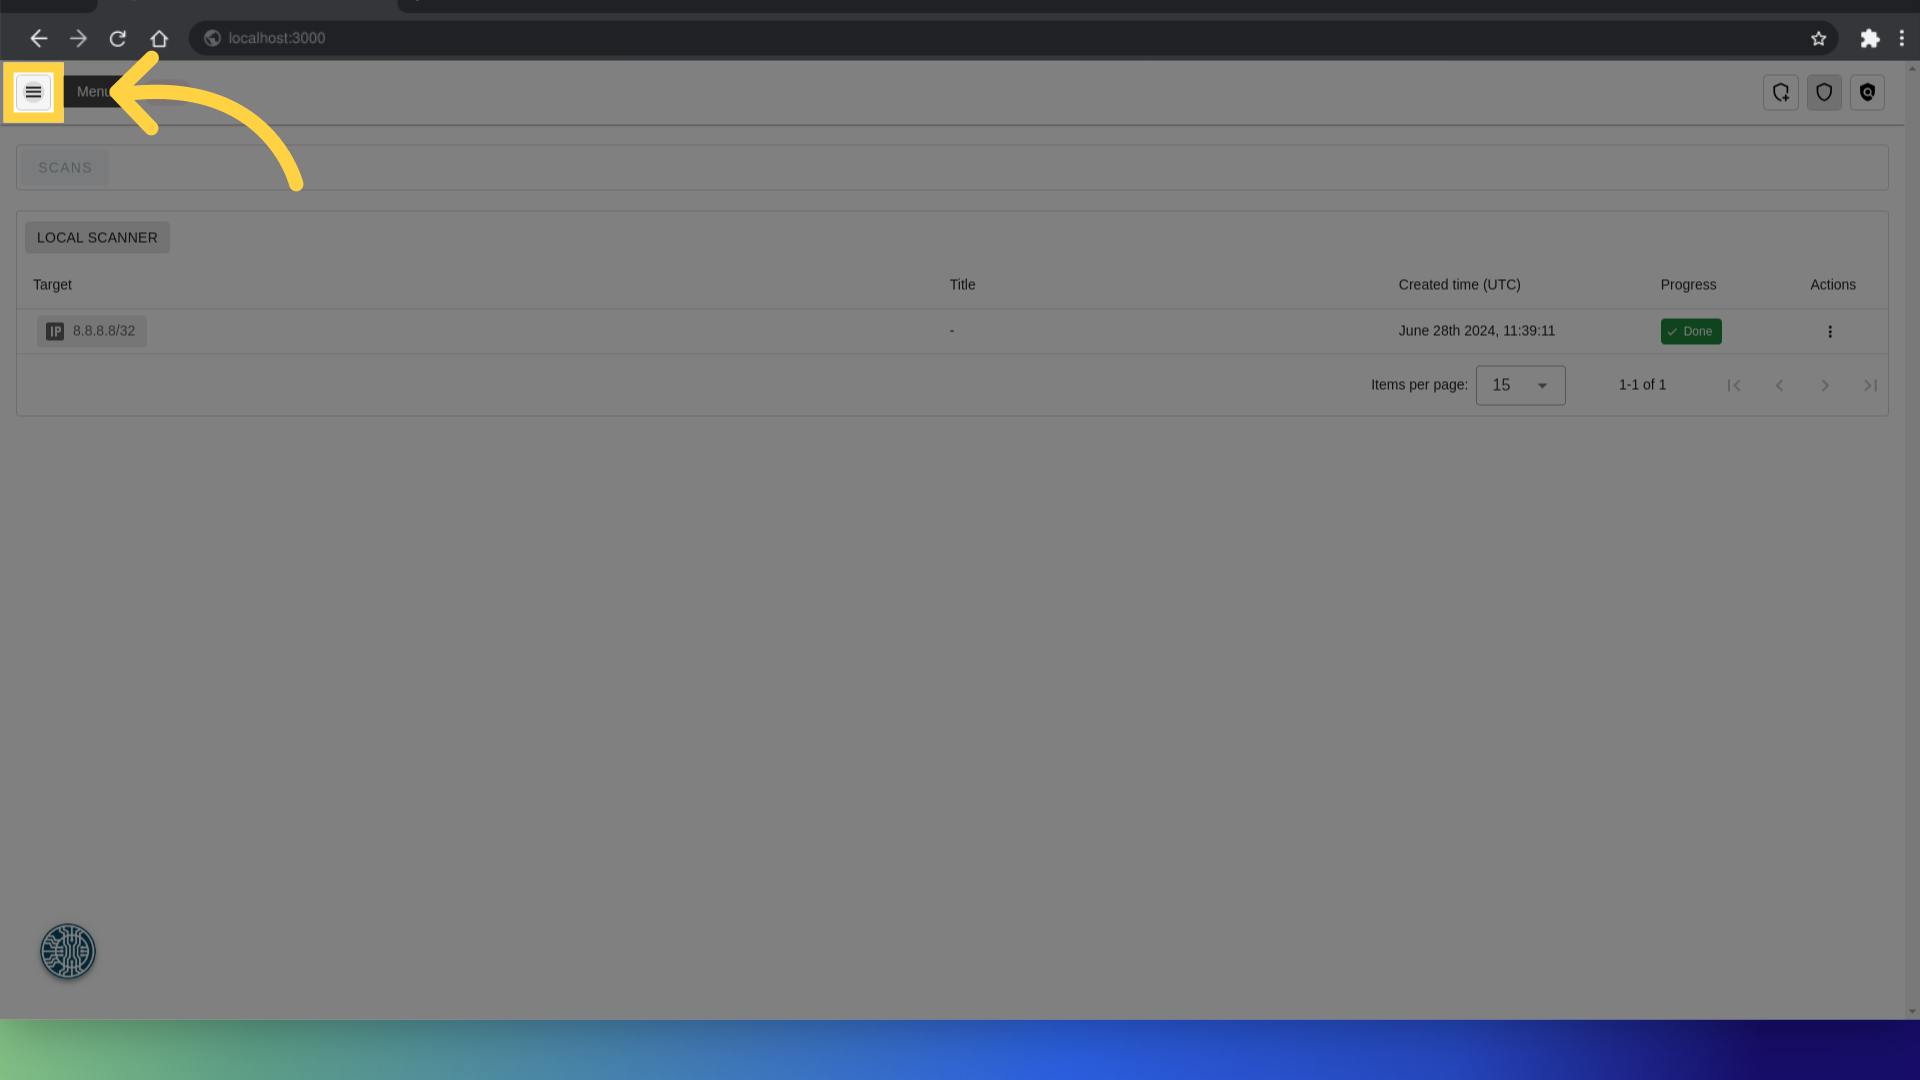
First Navigate to the Import Scan Page. You can do that by clicking the menu button.
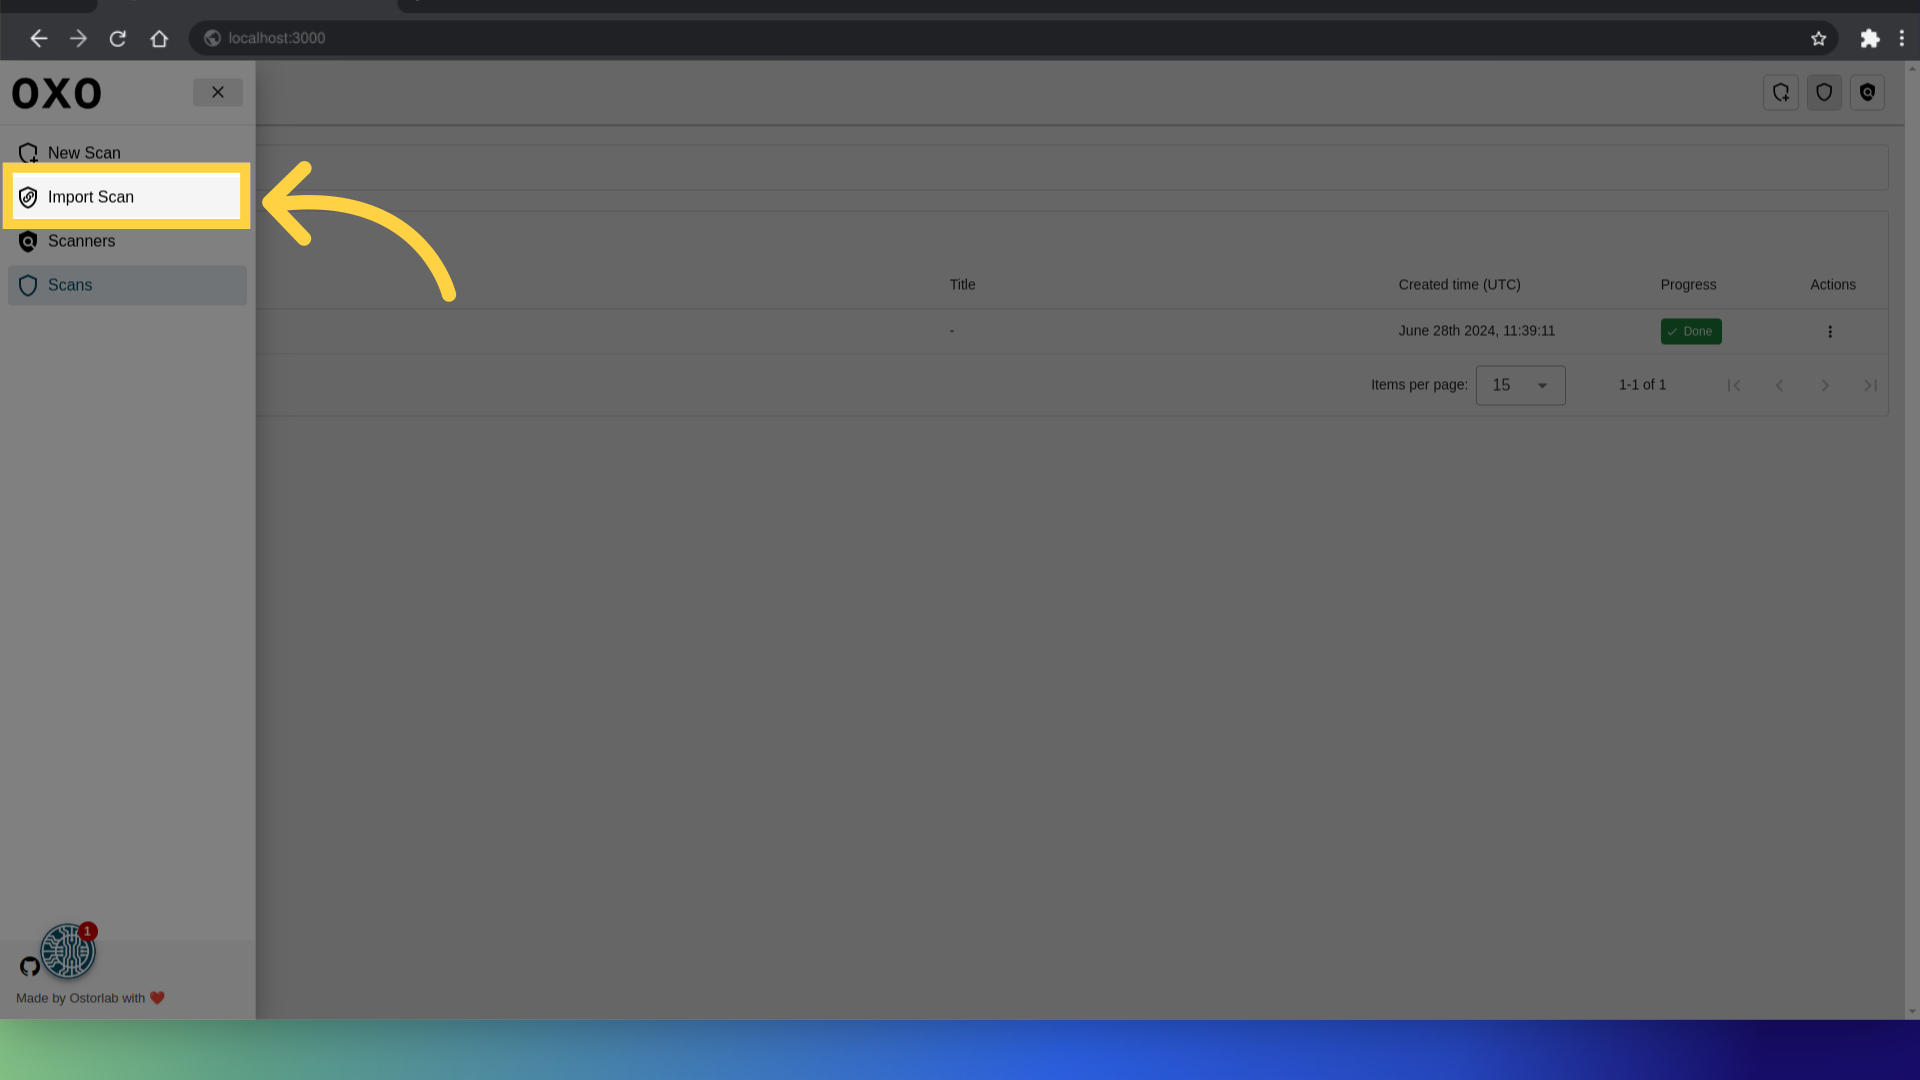
Then select "Import Scan."
Import the scan
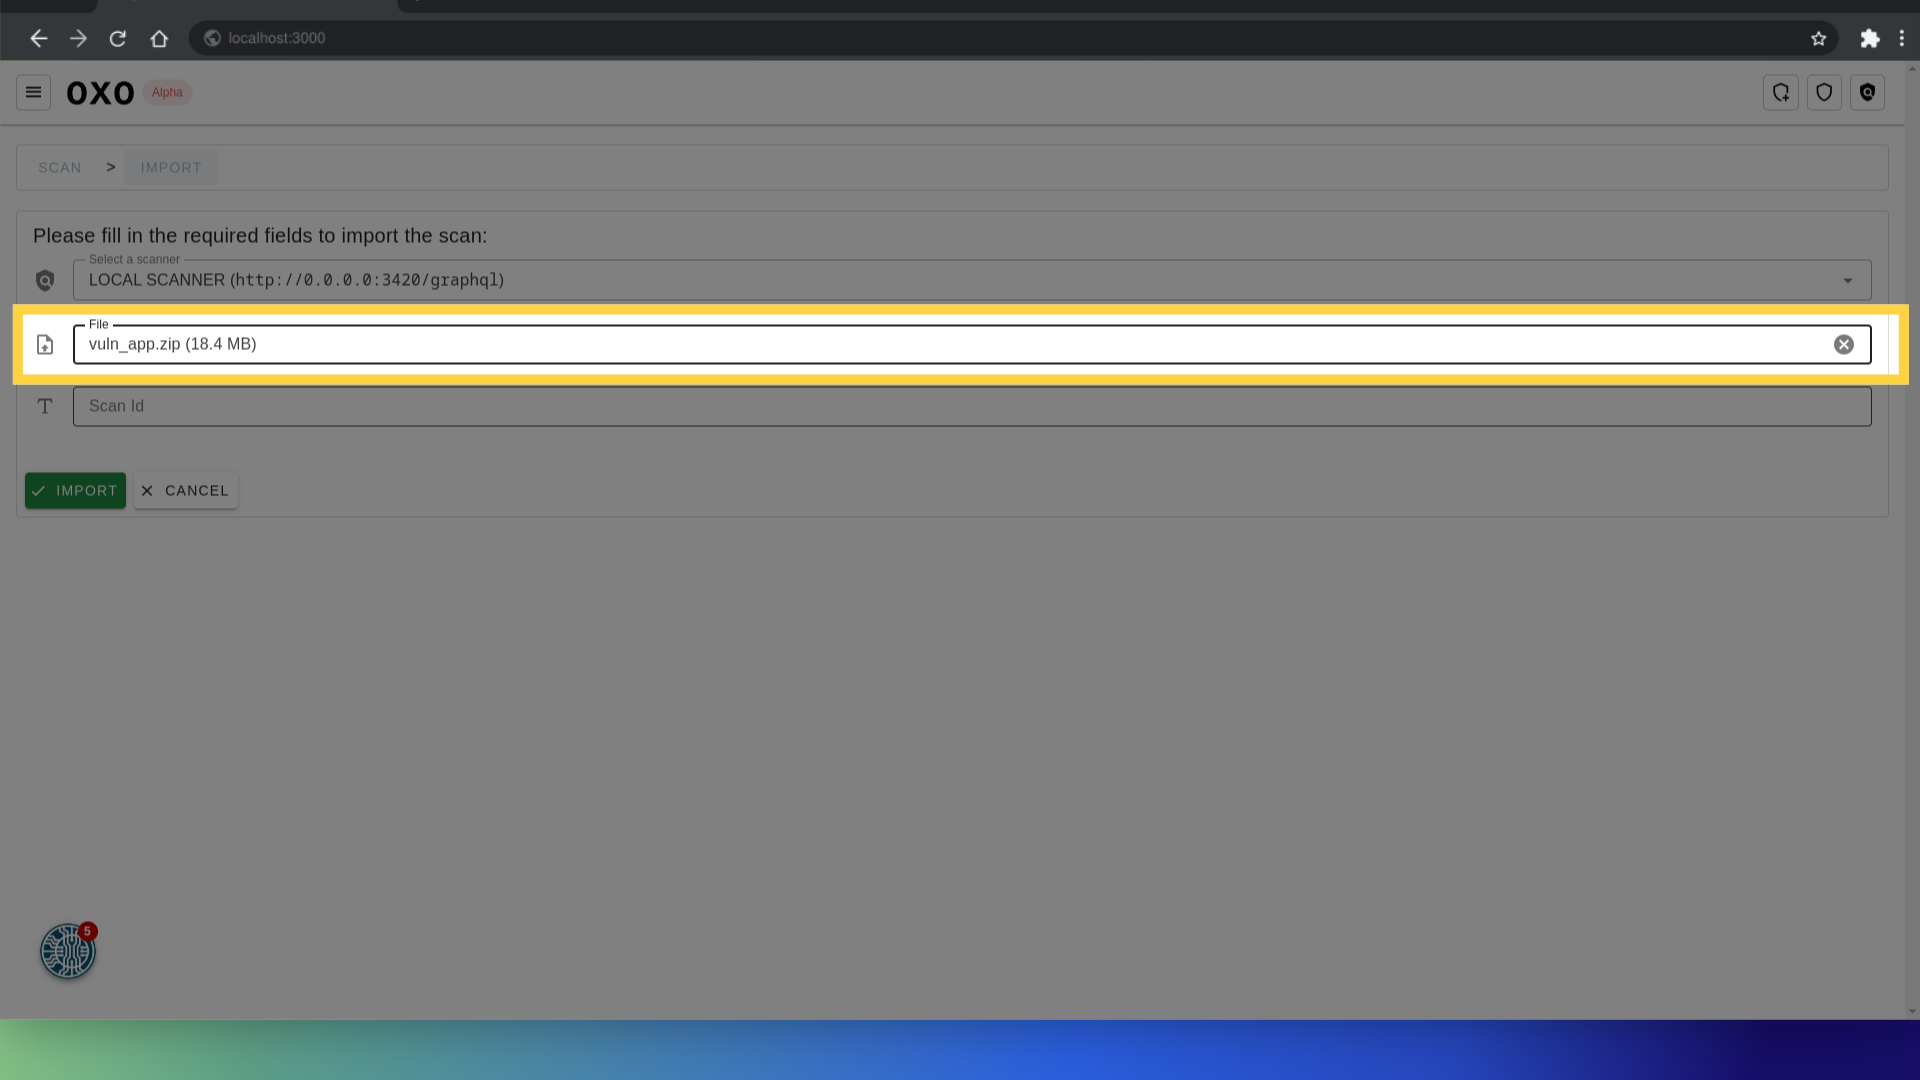
A form will appear where you need to specify the details for the scan import.
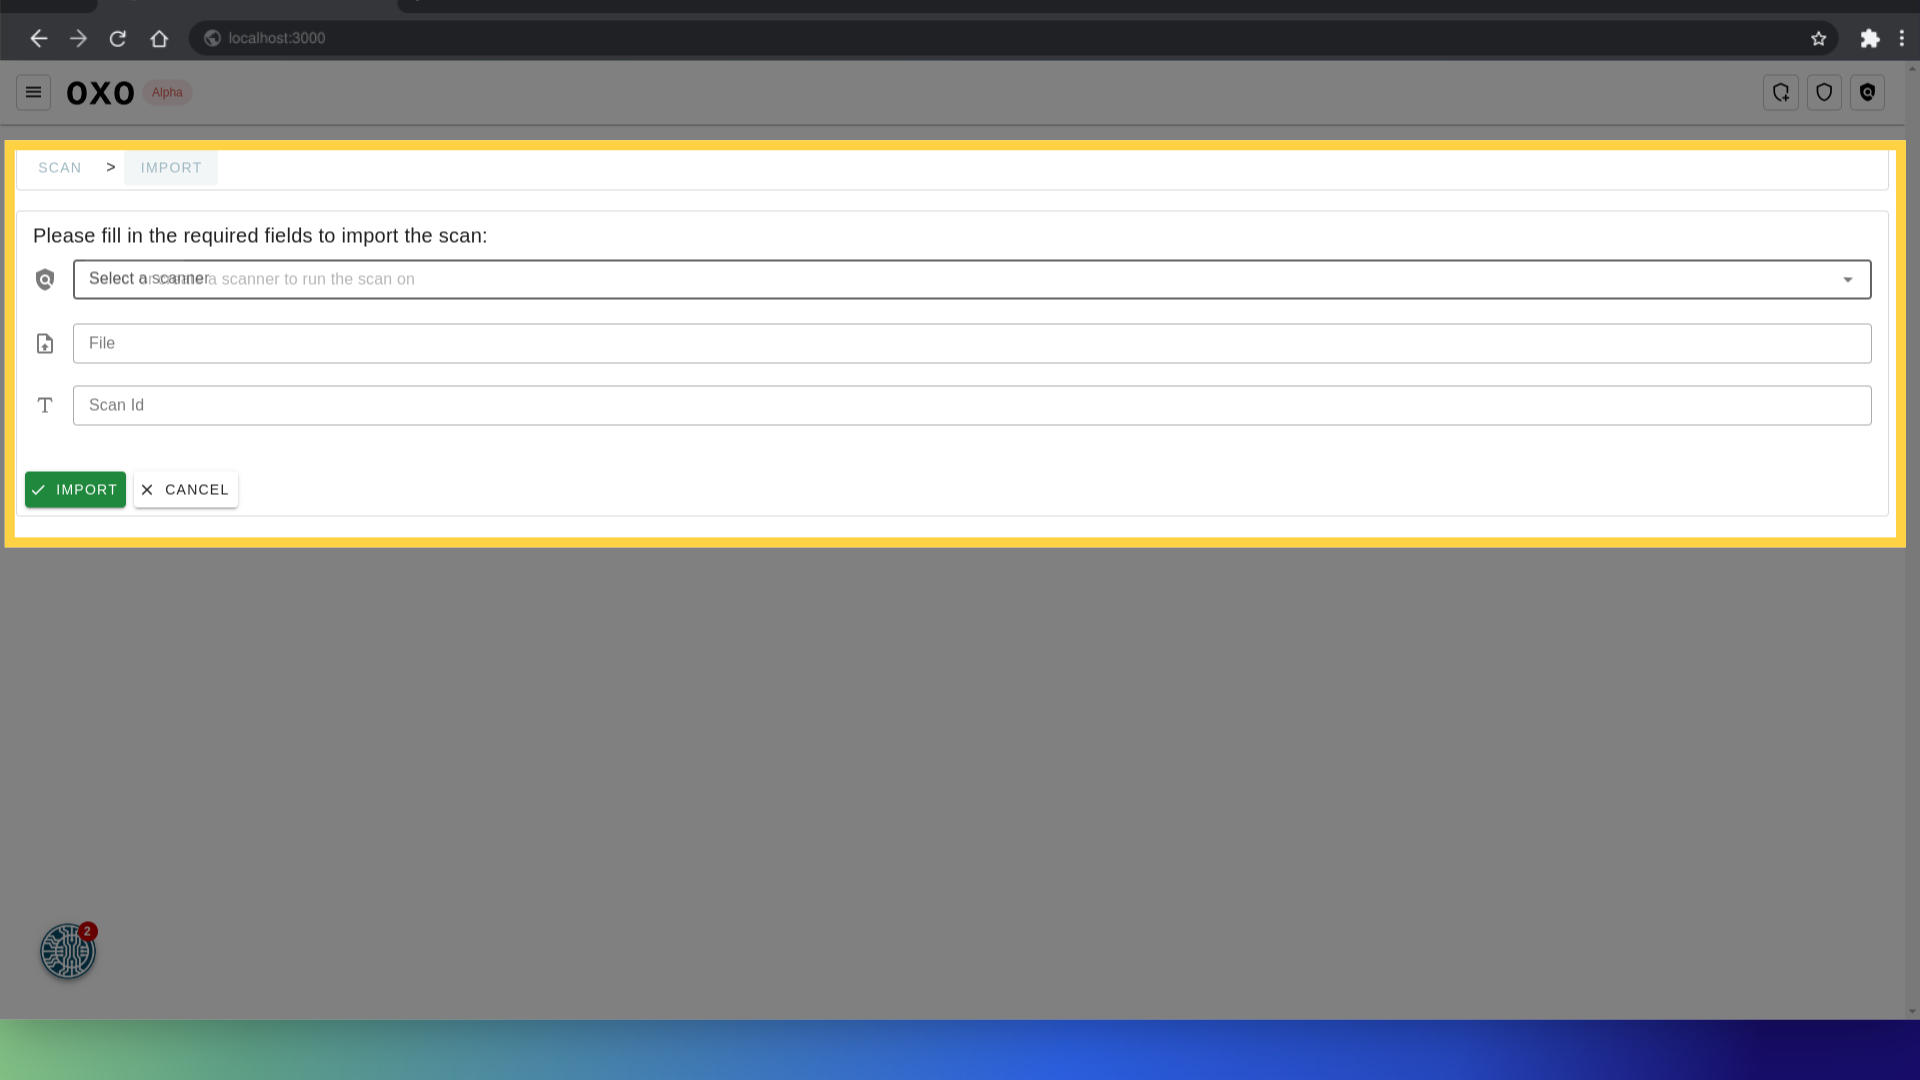
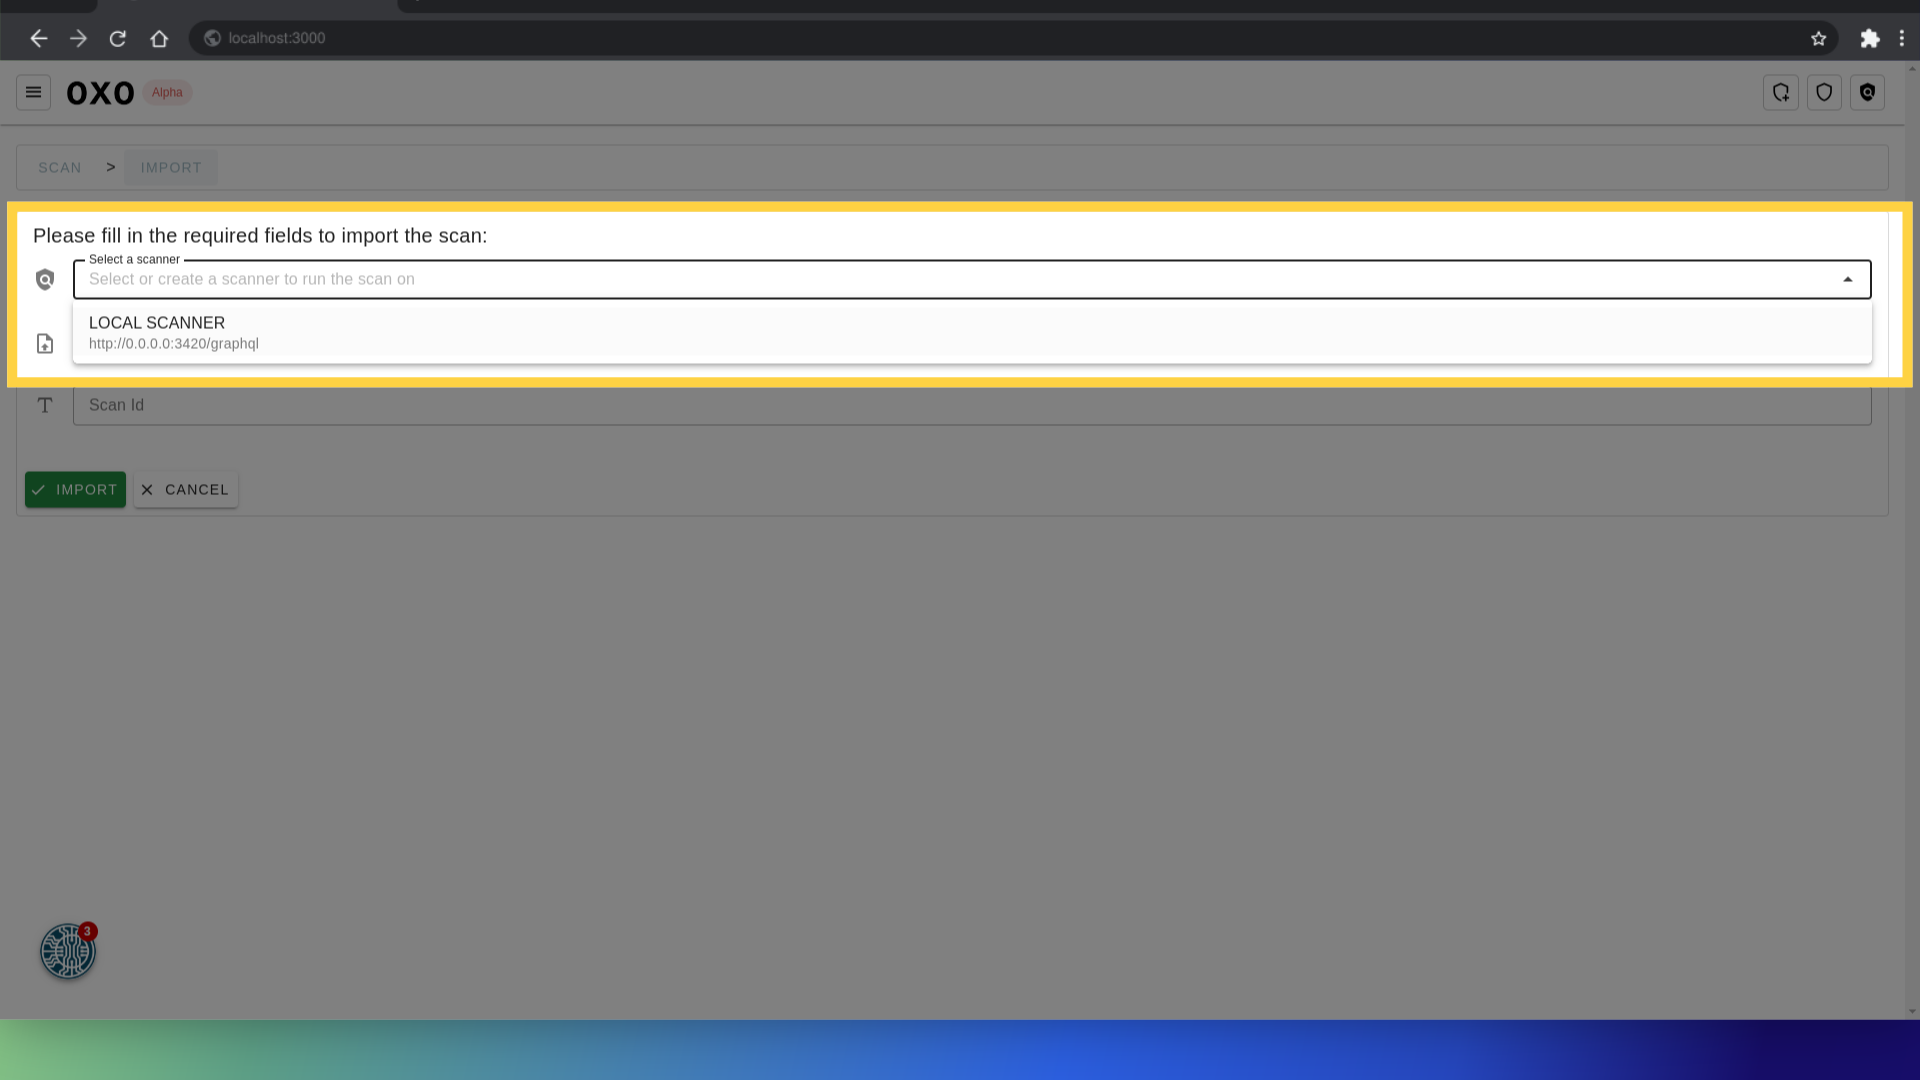
Scanner: Choose the scanner you want to import the scan to.
Scan ZIP File: Choose the ZIP file containing the scan data you wish to import.
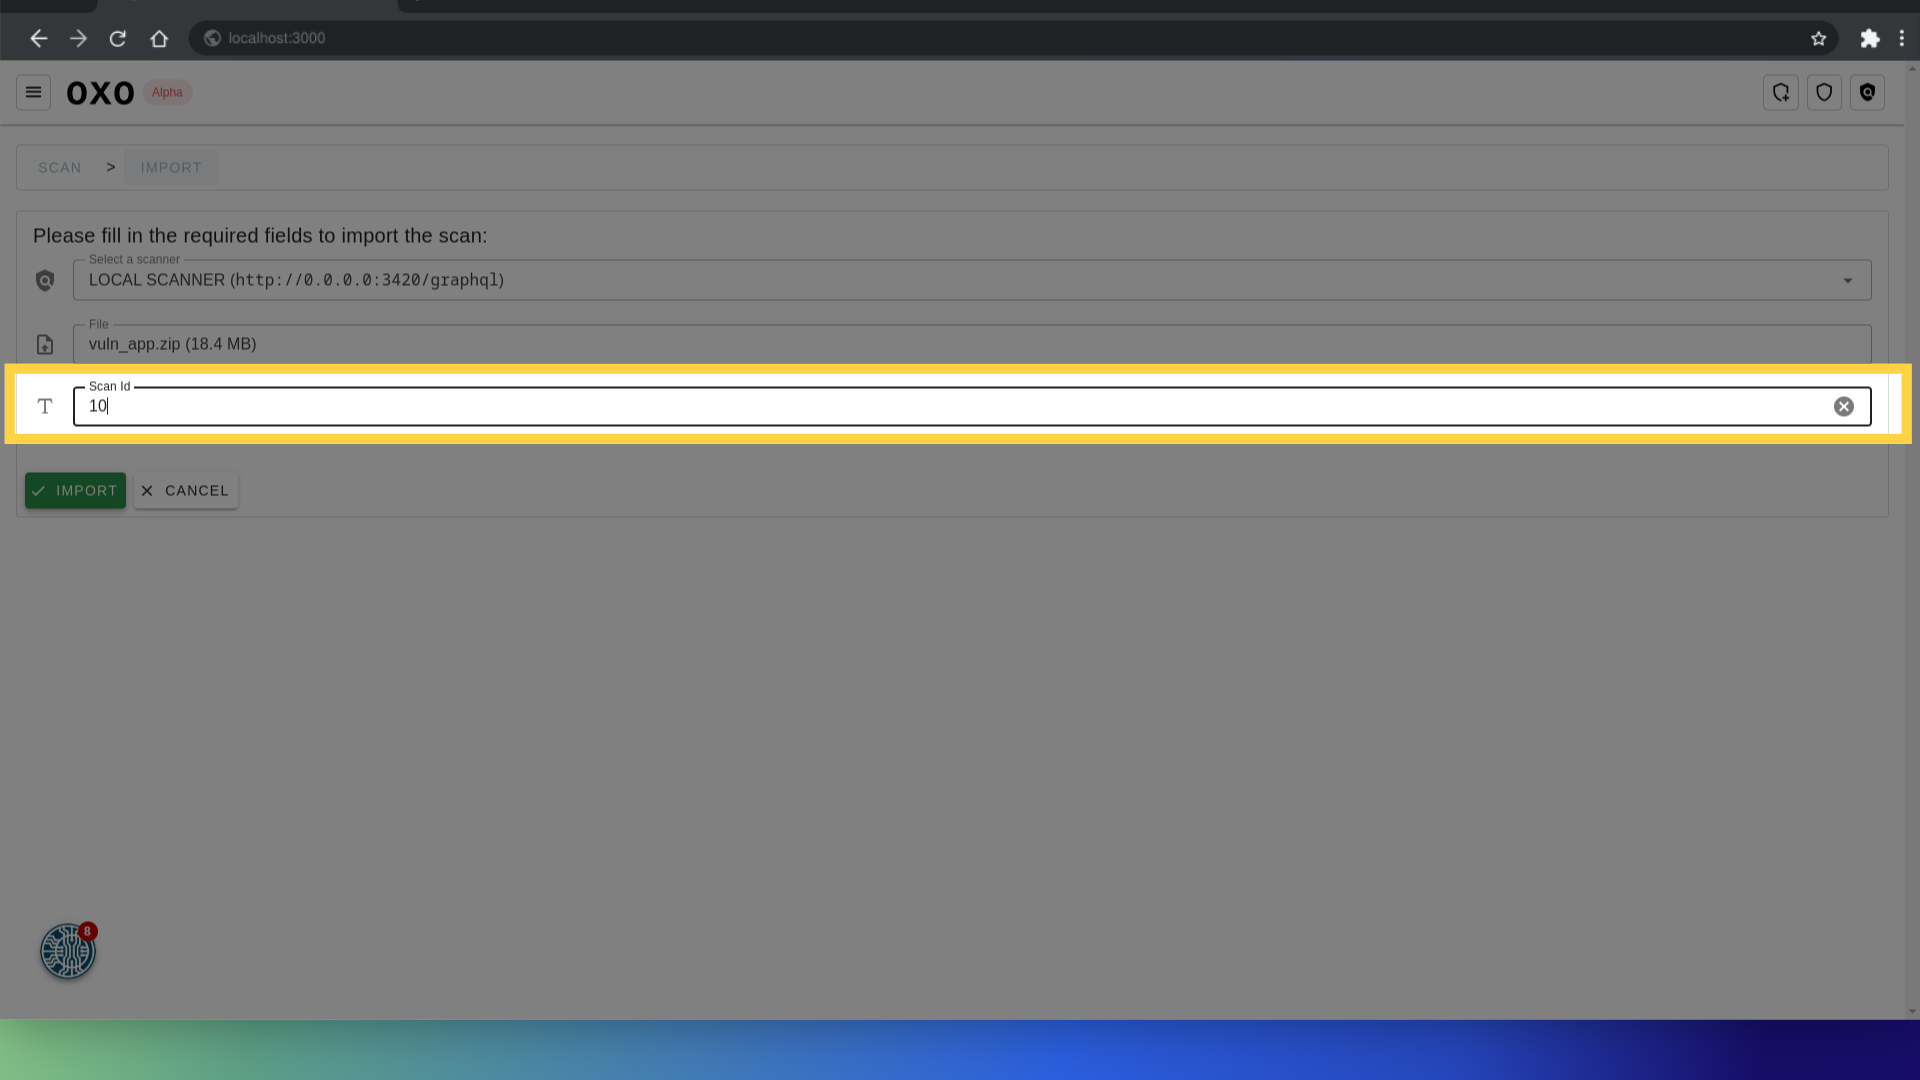
Scan ID: Enter the ID of the scan. If the scan already exists, its details will be appended with the imported data. If not, a new scan will be created.
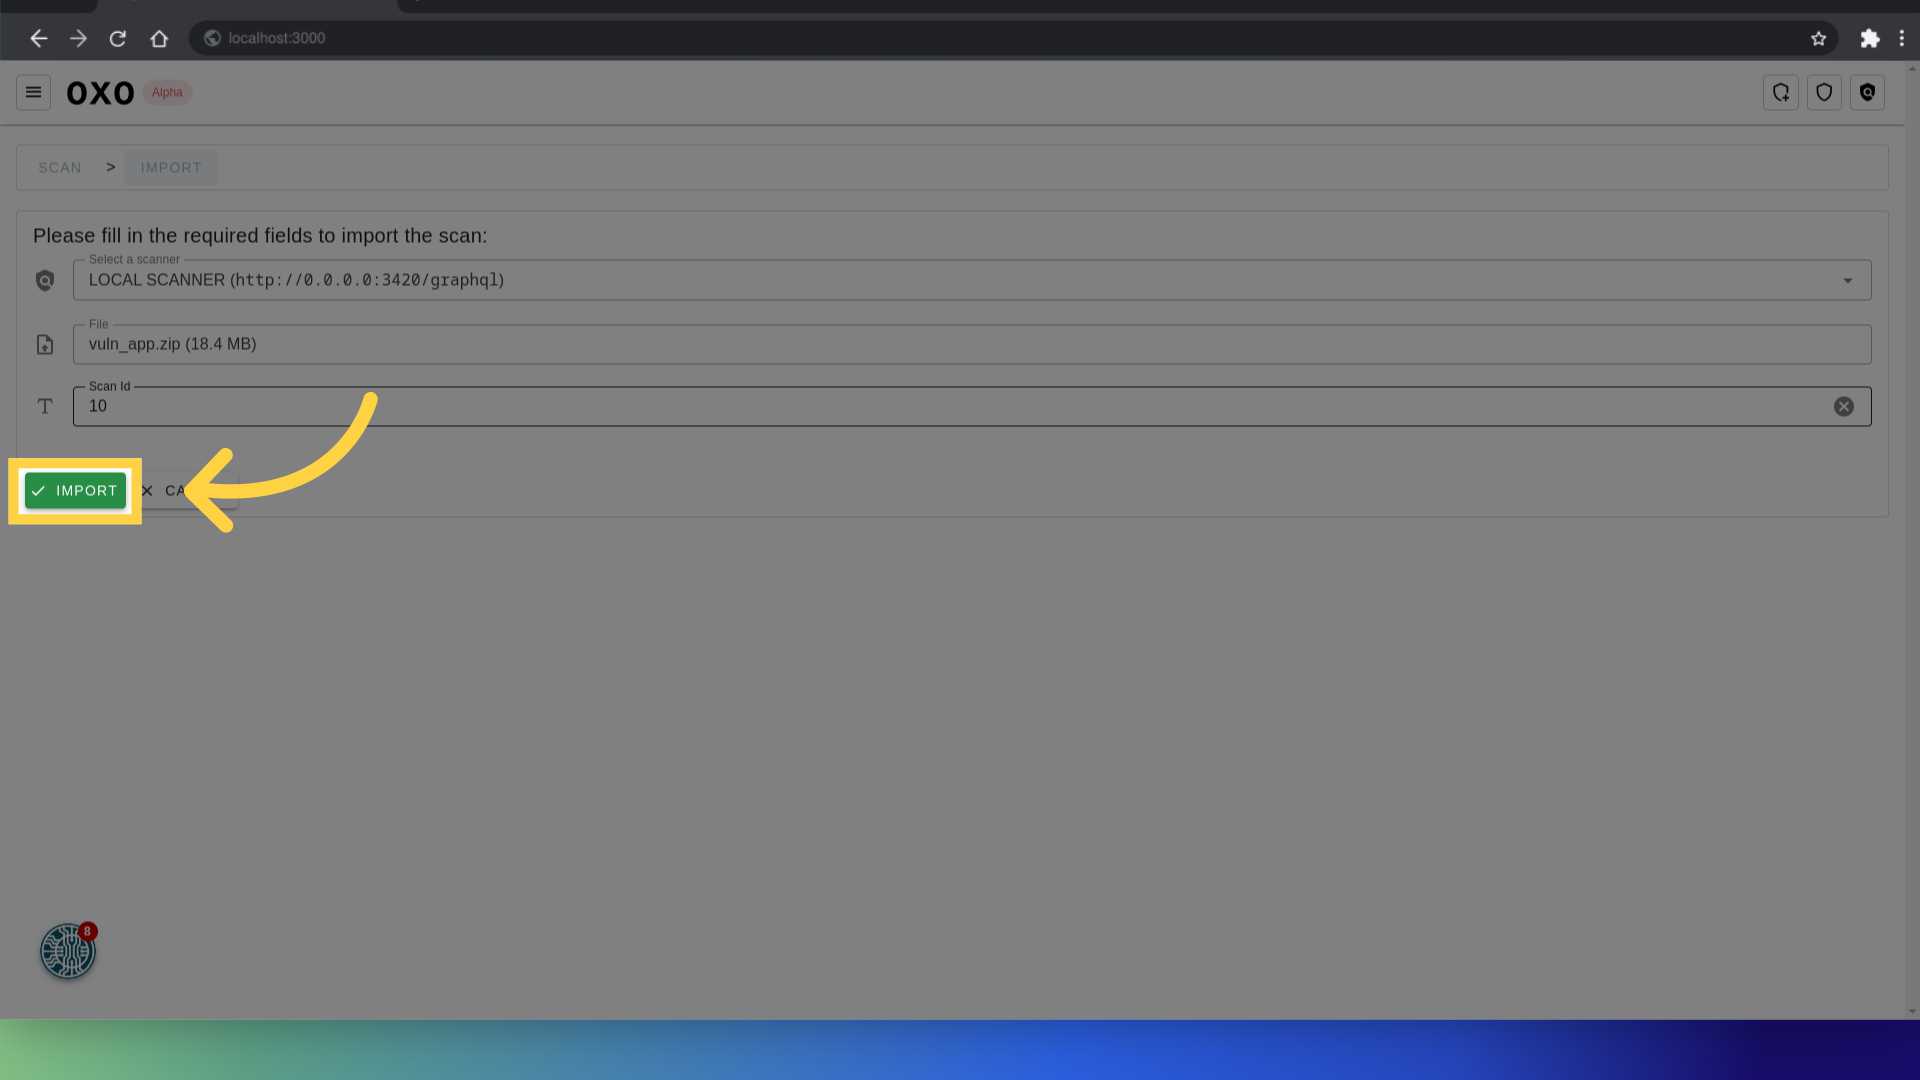
Once all fields are filled, click the "Import" button to begin the import process. Depending on the scan details, this process might take sometime.
Verify the import
To ensure the import was successful. Navigate to the Scan List page by clicking on the scan list button.
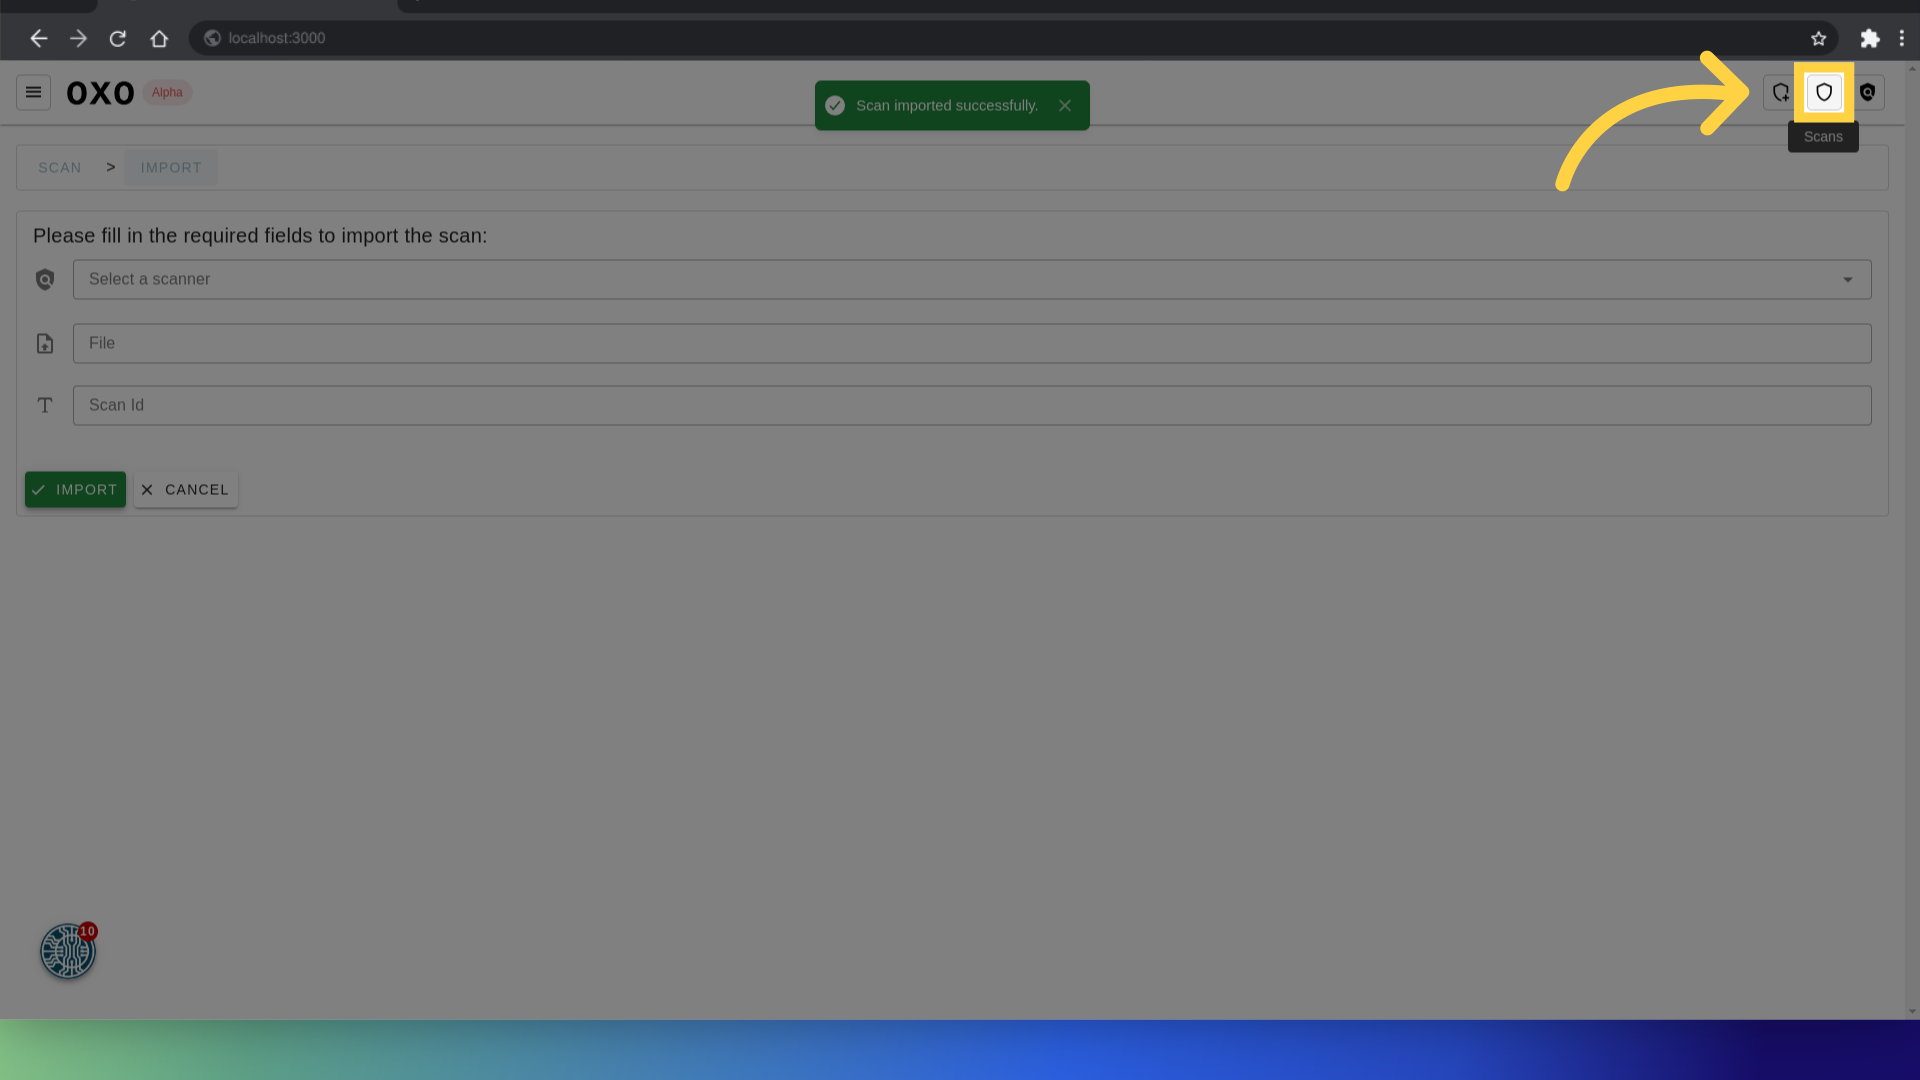
From here you can see that the scan is imported:
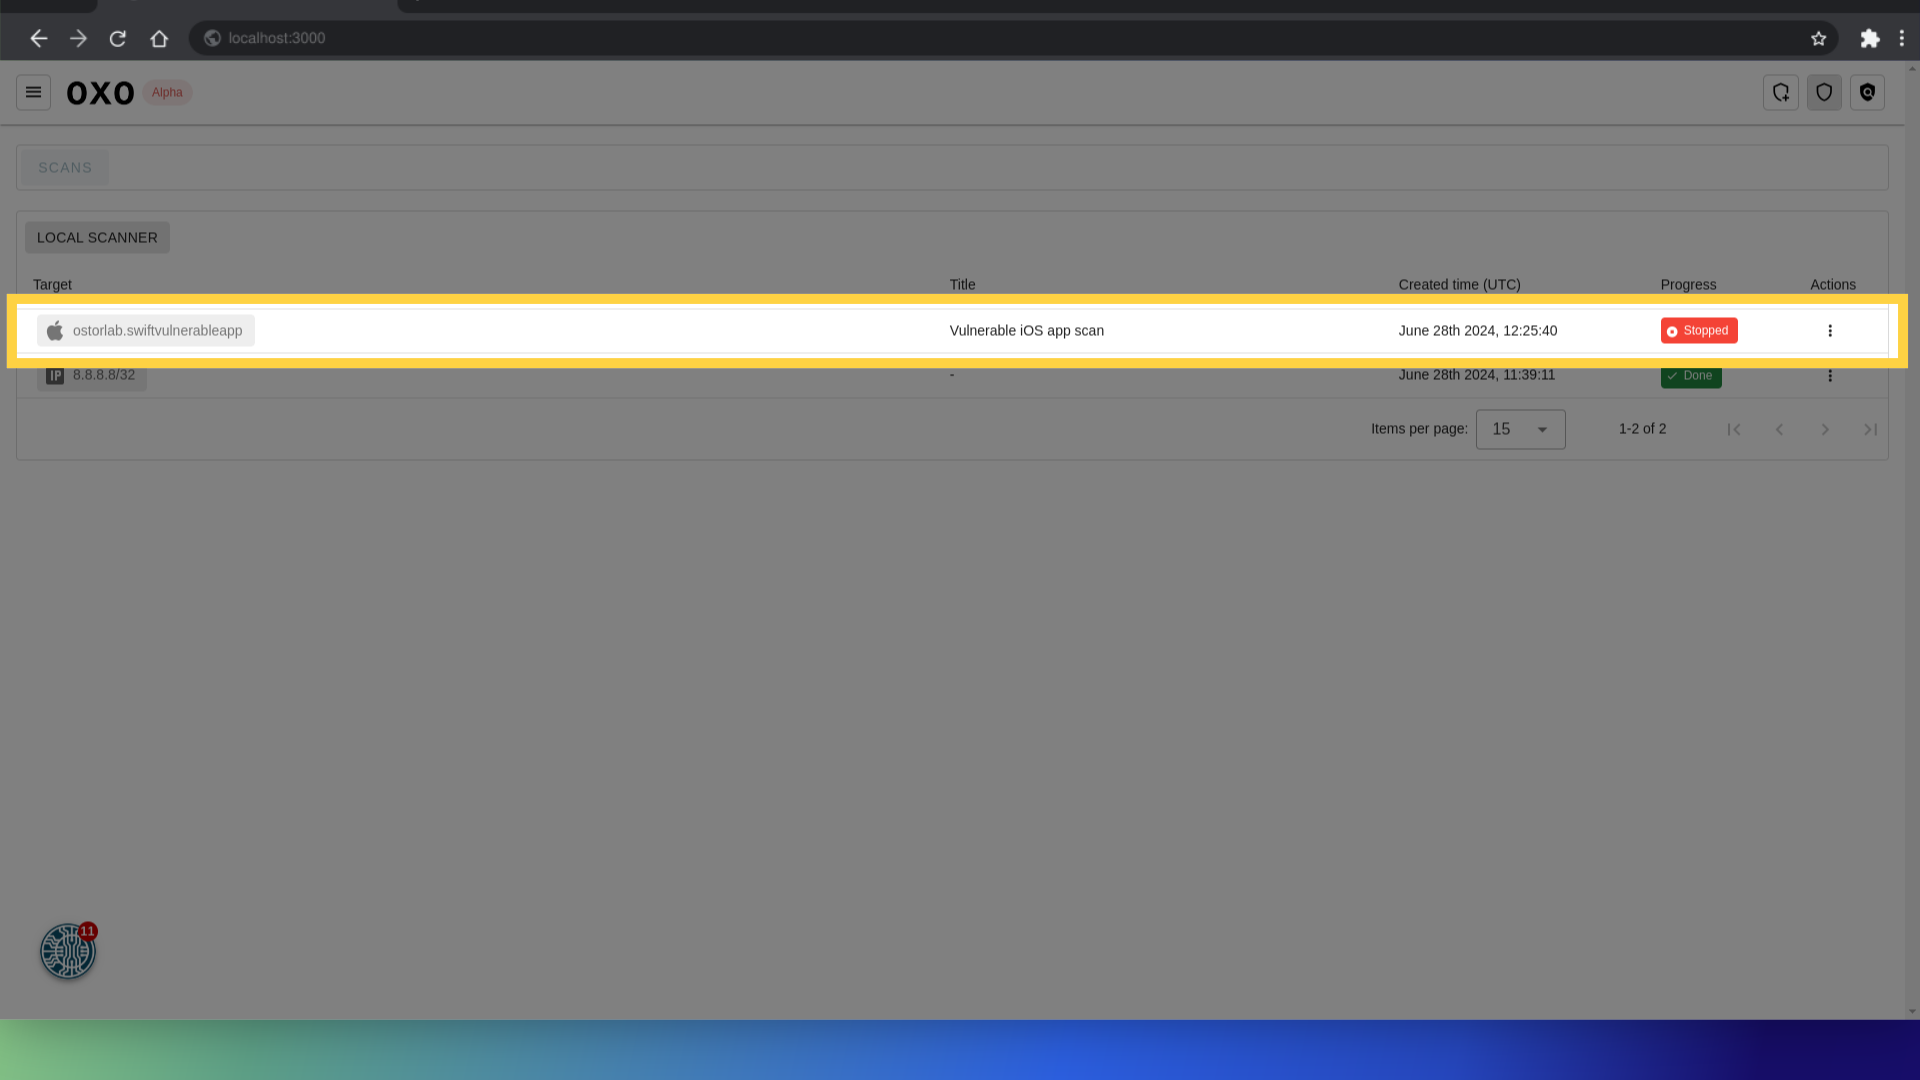
By following this guide, you have successfully imported scan results into the OXO UI platform. You can now view and analyze the imported scan data, including detailed summaries and vulnerabilities, directly from the Scan List page. This process enhances your ability to manage and utilize scan data effectively and also import scans from one scanner to another, providing greater flexibility and control over your scanning operations.